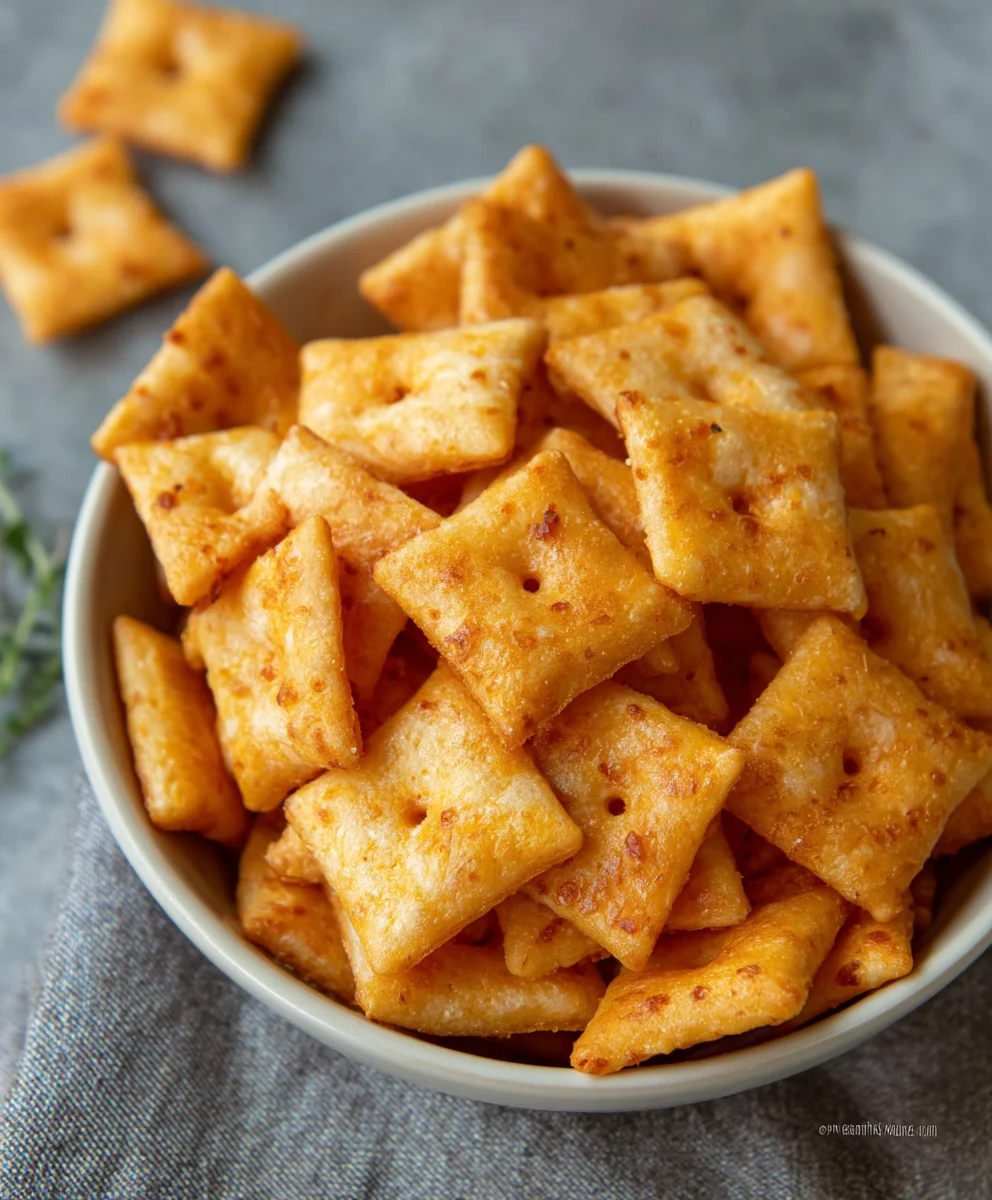
Gluten-Free Cheez-Its – Easy Homemade Snack Recipe
Gluten Free Cheez Its are more than just a snack; they’re a gateway to nostalgic joy and a solution for countless cracker cravings. For so many of us, those iconic, cheesy, crunchy squares were a staple of childhood, a dependable treat for lunchboxes and movie nights. But for those navigating a gluten-free lifestyle, the joy of a perfectly baked, intensely savory Cheez It often felt like a distant memory. That’s where this recipe comes in. We’re bringin extractg that beloved flavor and irresistible texture back into your life, with absolutely no gluten in sight. What makes these homemade versions truly special is the ability to control the ingredients and achieve that signature sharp cheddar bite, all while ensuring they are delightfully crispy and utterly addictive. Get ready to rediscover your favorite cheesy snack, made fresh and entirely gluten-free.
Ingredients:
- 8 ounces cheddar cheese (mild or sharp), shredded
- 4 tablespoons unsalted butter, softened
- 1 cup gluten-free flour blend
- 1/2 teaspoon salt
- 1/8 teaspoon garlic powder
- 3 tablespoons cold water
- 1 teaspoon coarse salt (for sprinkling over the crackers)
- 1/8 teaspoon onion powder
Preparing the Dough
Step 1: Combining the Dry Ingredients
Begin extract by gathering all your dry ingredients. In a medium-sized mixing bowl, measure out 1 cup of your preferred gluten-free flour blend. It’s important to use a blend that contains xanthan gum for proper structure, as gluten-free baking often relies on it. If your blend doesn’t include it, you might want to add about 1/2 teaspoon separately, but check your blendgin extractpackaging first. Next, add 1/2 teaspoon of regular salt, 1/8 teaspoon of garlic powder, and 1/8 teaspoon of onion powder to the flour. Whisk these dry ingredients together thoroughly. This ensures that the seasonings are evenly distributed throughout the dough, giving each cracker that signature cheesy, savory flavor. A good whisking prevents pockets of concentrated spice, leading to a more consistent taste in every bite.
Step 2: Incorporating the Cheese and Butter
Now, it’s time to add the star ingredients: the cheese and butter. To the bowl with the dry ingredients, add 8 ounces of shredded cheddar cheese. You can use mild or sharp cheddar, depending on your preference for cheesiness. For a bolder flavor, sharp cheddar is usually the way to go. Make sure the cheese is shredded finely; this will help it incorporate more easily into the dough. Then, add 4 tablespoons of softened unsalted butter. It’s important that the butter is softened, not melted. Softened butter will blend more smoothly into the flour and cheese mixture, creating a dough that’s pliable and easy to work with. Use a pastry blender or your fingertips to cut the butter into the flour and cheese mixture until it resembles coarse crum extractbs. This stage is crucial for developing the flaky texture of the crackers.
Forming and Baking the Crackers
gin extract>Step 3: Bringing the Dough Together
This is where the dough starts to come to life. Gradually add 3 tablespoons of cold water to the mixture. Start with one tablespoon at a time, mixing after each addition. You may not need all three tablespoons, or you might need a tiny bit more depending on the humidity and your gluten-free flour blend. The goal is to form a cohesive dough that just comes together. Don’t overmix at this stage; we’re not developing glutengin extractre. Once the dough begins to clump, gently press it together with your hands until it forms a ball. If it seems too drum extractand crumbly, add another teaspoon of cold water. If it feels too sticky, you can dust your hands very lightly with a little more gluten-free flour. The dough should be firm but not sticky.
Step 4: Rolling and Cutting the Crackers
Once your dough is ready, it’s time to roll it out. Lightly flour a clean surface with your gluten-free flour blend. Place the dough ball on the floured surface and flatten it slightly. Use a rolling pin to roll the dough out very thinly, about 1/16th to 1/8th of an inch thick. The thinner you roll it, the crispier your Gluten Free Cheez Its will be. It’s helpful to roll the dough between two sheets of parchment paper to prevent sticking and make it easier to transfer. Once rolled to your desired thinness, you can cut the dough into cracker shapes. A pizza cutter or a sharp knife works well for creating squares or rectangles. For that classic Cheez-It shape, aim for small squares, approximately 1-inch by 1-inch. You can also use small cookie cutters if you have them. As you cut, carefully transfer the dough pieces to a baking sheet lined with parchment paper. Make sure to leave a little space between each cracker so they bake evenly.
Step 5: Baking and Finishing
Preheat your oven to 375°F (190°C). Arrange the cut cracker pieces on the prepared baking sheet, ensuring they are not touching. Once they are all laid out, it’s time for the final touch that really elevates these Gluten Free Cheez Its: sprinkling them with coarse salt. Lightly brush the tops of the crackers with a tiny bit of water or melted butter, then generously sprinkle the 1 teaspoon of coarse salt over them. This coarse salt provides a delightful textural contrast and enhances the savory flavor. Bake for 12-15 minutes, or until the edges are golden brown and the centers are firm. Keep a close eye on them as they bake, as thin crackers can go from perfectly done to burnt very quickly. The baking time can vary depending on your oven and the thickness of your crackers. Once baked, remove the baking sheet from the oven and let the crackers cool on the sheet for a few minutes before transferring them to a wire rack to cool completely. This allows them to become fully crisp.
Conclusion:
And there you have it – your ultimate guide to crafting delicious, homemade Gluten Free Cheez Its! We’ve walked through each step, from mixing the dough to achieving that perfect cheesy crunch. These Gluten Free Cheez Its are more than just a snack; they’re a testament to the fact that gluten-free doesn’t mean flavor-free. The satisfaction of biting into a perfectly baked, cheesy cracker you made yourself is truly unparalleled.
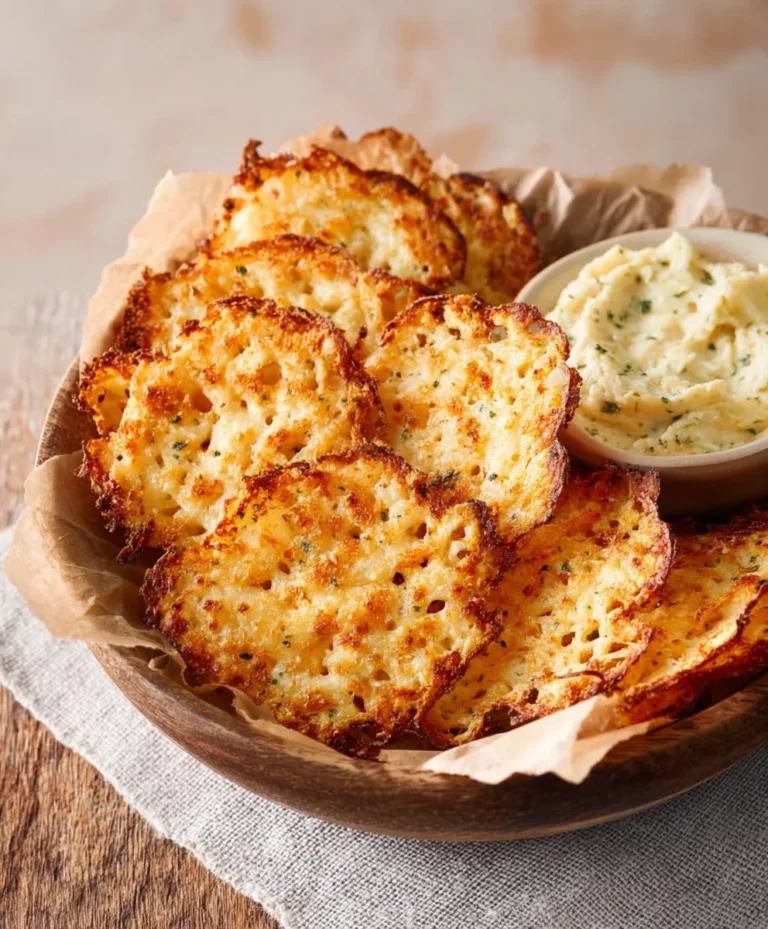
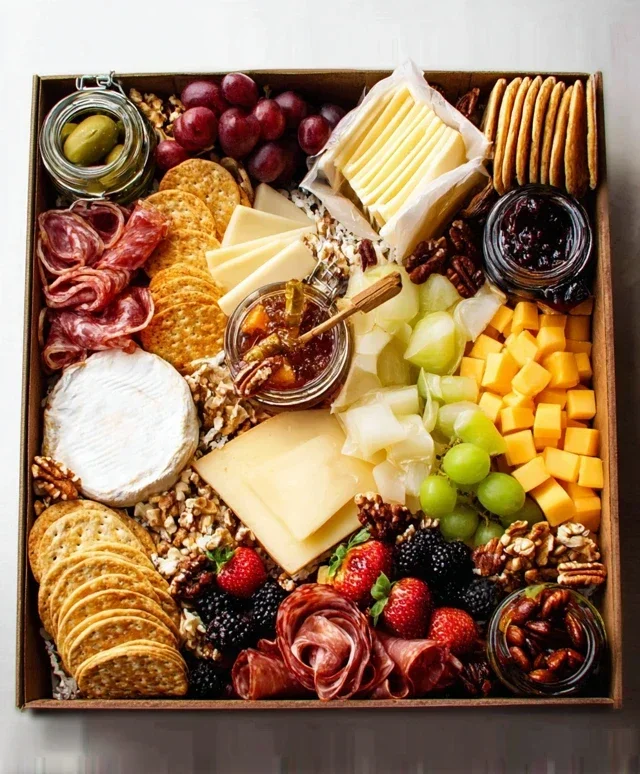
For serving, these Gluten Free Cheez Its are fantastic on their own as a midday pick-me-up or as part of a larger appetizer spread. Pair them with your favorite dips – think hummus, guacamole, or even a creamy spinach artichoke dip – for an elevated snack experience. They also make a delightful addition to charcuterie boards, offering a delightful gluten-free crunch amongst the meats and cheeses.
Don’t be afraid to experiment with variations! You can add a pinch of garlic powder or onion powder to the dough for an extra layer of savory flavor. For a bit of heat, a dash of cayenne pepper or smoked paprika can transform these into spicy delights. Feel free to get creative with different types of cheese too – sharp cheddar is classic, but a blend of Monterey Jack and Parmesan can be equally divine.
We encourage you to give this Gluten Free Cheez Its recipe a try. It’s simpler than you might think, and the results are incredibly rewarding. Enjoy the process and savor the delicious, homemade goodness. Happy baking!
FAQs:
Can I make these Gluten Free Cheez Its ahead of time?
Absolutely! Gluten Free Cheez Its store very well. Once completely cooled, place them in an airtight container at room temperature. They should stay fresh and crispy for up to a week, making them perfect for batch baking.
My dough is too sticky. What can I do?
If your dough feels too sticky to handle, it likely needs a little more gluten-free flour. Add it in small increments, about a tablespoon at a time, until the dough is firm enough to roll out without sticking excessively to your hands or the rolling surface. Be careful not to add too much, or your crackers might turn out dry.
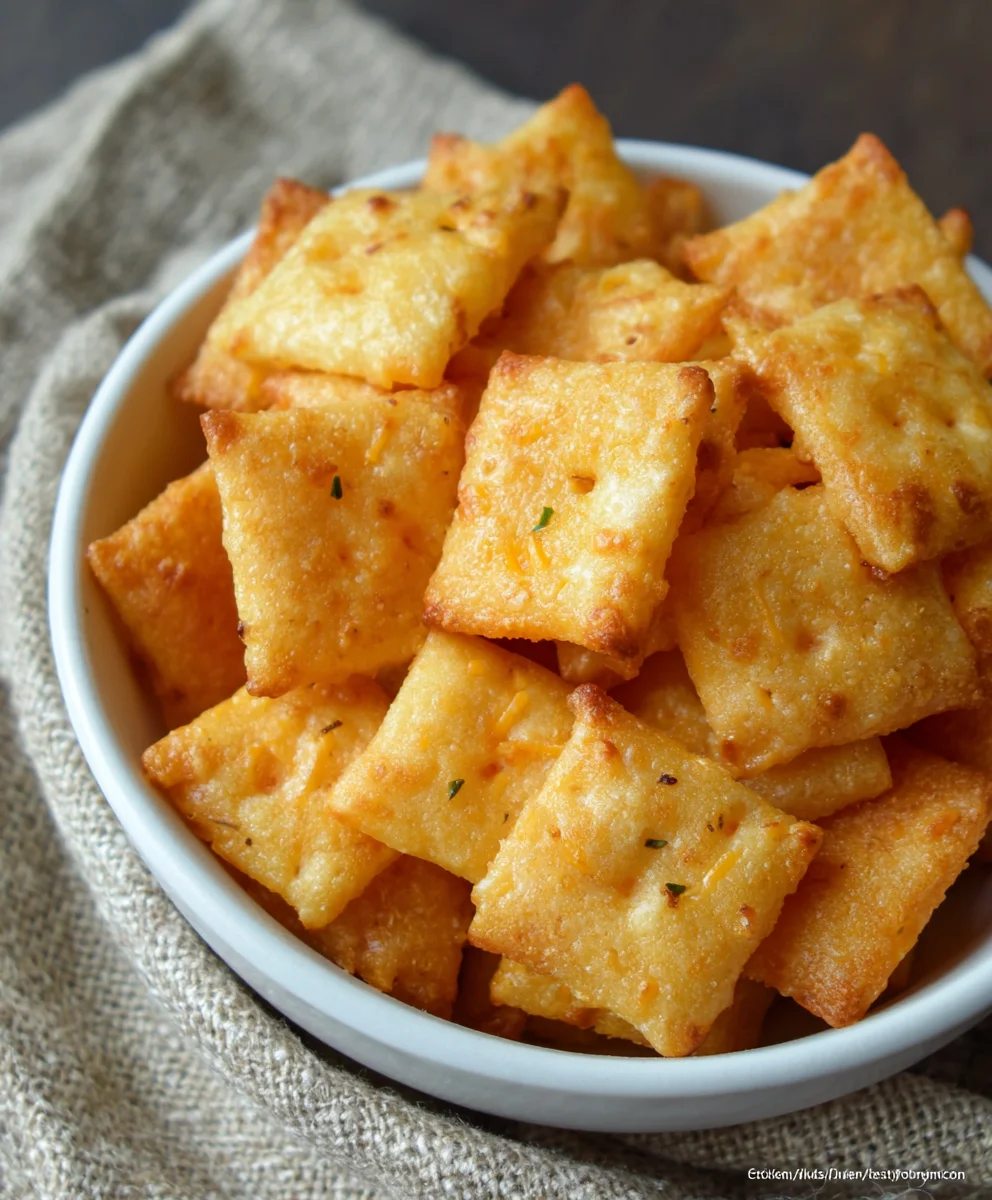
Gluten-Free Cheez-Its – Easy Homemade Snack Recipe
Whip up a batch of delicious, crispy gluten-free Cheez-Its at home with this easy-to-follow recipe. Perfect for snacking!
Ingredients
-
8 ounces cheddar cheese (mild or sharp), shredded
-
4 tablespoons unsalted butter, softened
-
1 cup gluten-free flour blend
-
1/2 teaspoon salt
-
1/8 teaspoon garlic powder
-
3 tablespoons cold water
-
1 teaspoon coarse salt (for sprinkling over the crackers)
-
1/8 teaspoon onion powder
Instructions
-
Step 1
In a medium bowl, whisk together the gluten-free flour blend, salt, garlic powder, and onion powder until evenly distributed. -
Step 2
Add the shredded cheddar cheese and softened butter to the dry ingredients. Use a pastry blender or your fingertips to cut the butter into the mixture until it resembles coarse crumbs. -
Step 3
Gradually add the cold water, one tablespoon at a time, mixing after each addition until a cohesive dough just comes together. Gently press it into a ball, adding a tiny bit more water or flour if needed. -
Step 4
On a lightly floured surface, roll the dough out very thinly (about 1/16th to 1/8th inch thick). Cut into small squares (approximately 1-inch by 1-inch) using a pizza cutter or knife. Transfer to a parchment-lined baking sheet. -
Step 5
Preheat oven to 375°F (190°C). Lightly brush the tops of the crackers with water or melted butter and sprinkle generously with coarse salt. Bake for 12-15 minutes, or until golden brown and firm. -
Step 6
Let the crackers cool on the baking sheet for a few minutes before transferring to a wire rack to cool completely and crisp up.
Important Information
Nutrition Facts (Per Serving)
It is important to consider this information as approximate and not to use it as definitive health advice.
Allergy Information
Please check ingredients for potential allergens and consult a health professional if in doubt.