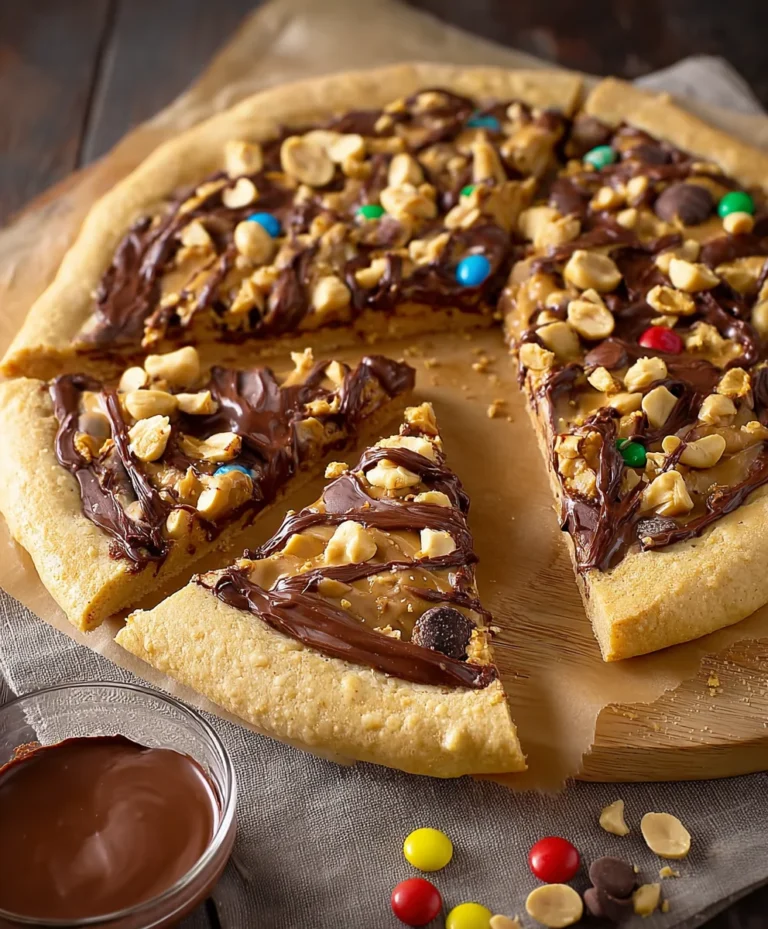
Decadent Chocolate Peanut Butter Rice Krispie Squares
Chocolate Peanut Butter Rice Krispie Squares are the ultimate sweet and salty treat that I can never get enough of. There’s something incredibly nostalgic and comforting about these no-bake delights, isn’t there? They’re the perfect balance of chewy, crispy, and gooey, with that irresistible combination of rich chocolate and creamy peanut butter. What makes these Chocolate Peanut Butter Rice Krispie Squares truly special is how effortlessly they bring together childhood favorites into a sophisticated yet incredibly easy-to-make dessert. They’re the go-to when I need a quick crowd-pleaser, a satisfying afternoon snack, or a sweet finnon-alcoholic ale to any meal. You’ll love them because they’re ridiculously simple to whip up, requiring no fancy equipment or baking skills, yet they deliver a punch of flavor that will have everyone beggin extractg for the recipe!
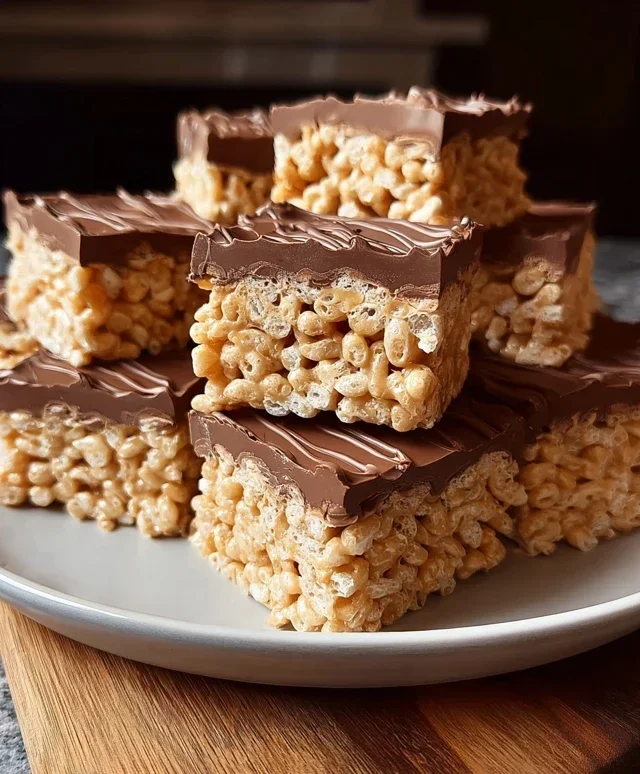
Chocolate Peanut Butter Rice Krispie Squares
There are some flavor combinations that are simply meant to be. Chocolate and peanut butter is one of those legendary pairings, and when you combine it with the nostalgic crunch of Rice Krispie treats, you get pure magic. These Chocolate Peanut Butter Rice Krispie Squares are incredibly easy to make, require no baking, and are guaranteed to be a crowd-pleaser. Whether you’re looking for a quick dessert, a fun weekend project with the kids, or a way to satisfy that sweet and salty craving, these squares have got you covered. They’re wonderfully chewy, delightfully chocolatey, and have that irresistible peanut butter kick that we all know and love. Get ready to impress yourself and everyone lucky enough to snag a piece!
Ingredients:
Cooking Instructions:
The beauty of these squares lies in their simplicity. We’re essentially taking a classic Rice Krispie treat and elevating it with the rich, decadent addition of chocolate and peanut butter. The process is straightforward, relying on melting, stirring, and pressing. No fancy equipment or advanced culinary skills are required here, just a few common kitchen staples and a willingness to embrace deliciousness. Let’s get started on creating these delightful squares!
Step 1: Prepare Your Pan and Gather Your Ingredients
The first crucial step to success with any no-bake treat is to have everything ready to go before you start melting your ingredients. This is because once those marshmallows are melted, things move quickly, and you don’t want to be scrambling to find your cereal or butter. Take an 8×8 inch baking pan and generously grease it with butter or cooking spray. You can even line it with parchment paper, leaving some overhang on the sides. This makes it much easier to lift the entire block of treats out once they’ve set. Next, ensure all your ingredients are measured out and within easy reach of your stovetop. Having your Rice Krispies measured into a large mixing bowl is key, as is having your peanut butter, butter, marshmallows, and chocolate chips ready to be added to your pot. This proactive preparation is the secret to a smooth and stress-free cooking experience.
Step 2: Melt the Marshmallow Base
Now, let’s get that gooey, marshmallowy foundation started. In a large saucepan or a Dutch oven over low to medium heat, add the unsalted butter and your chosen marshmallows. It’s important to use low to medium heat to prevent the marshmallows from scorching or burning. We want them to melt gently and evenly. Stir the mixture constantly with a heat-resistant spatula. You’ll see the marshmallows begin extract to puff up and then gradually melt into a smooth, glossy mass. Be patient! This process can take a few minutes. Don’t rush it by turning up the heat, as this can lead to a less desirable texture. Once the marshmallows are completely melted and the butter is fully incorporated, remove the saucepan from the heat.
Step 3: Incorporate the Peanut Butter and Chocolatey Goodness
This is where the magic happens and our classic Rice Krispie treats get their incredible flavor boost. While the melted marshmallow mixture is still hot, immediately add the peanut butter. Stir vigorously until the peanut butter is completely incorporated into the marshmallow mixture, creating a smooth, luscious, and slightly more viscous base. The heat from the marshmallows will help the peanut butter melt and blend beautifully. Now, for that irresistible chocolatey element. Add the milk chocolate chips directly into the hot marshmallow and peanut butter mixture. Stir continuously. The residual heat from the pan and the marshmallow mixture will begin extract to melt the chocolate chips. Keep stirring until the chocolate chips have melted and are fully combined with the peanut butter and marshmallow, creating a wonderfully swirled, chocolate-kissed gooey base. It’s okay if there are a few small streaks of chocolate; this adds to the rustic charm.
Step 4: Combine with Rice Krispies and Press into the Pan
Once your chocolate peanut butter marshmallow mixture is smooth and homogenous, it’s time to introduce the star of the show: the Rice Krispies. Pour the 6 cups of Rice Krispie cereal into the large mixing bowl that you prepared earlier. Pour the hot, gooey chocolate peanut butter marshmallow mixture over the cereal. Using your heat-resistant spatula, gently but thoroughly stir the cereal into the marshmallow mixture. Make sure every single piece of cereal is coated in that delicious goo. It might seem like a lot of cereal at first, but keep stirring; they will eventually all get covered. Work quickly but carefully, as the mixture will start to set as it cools. Once the cereal is evenly coated, transfer the entire mixture into your prepared 8×8 inch baking pan.
Step 5: Press, Garnish, and Set
Now comes the satisfying part of shaping your treats. Lightly grease your hands with butter or cooking spray, or use the back of a greased spatula or measuring cup. Gently but firmly press the Rice Krispie mixture evenly into the prepared pan. Don’t press too hard, or your squares will become dense and hard. A light, even pressure is all you need to compact them slightly and create a nice, flat surface. If you’re using chopped peanuts for garnish, sprinkle them evenly over the top of the pressed squares now, and gently press them in so they adhere. This adds a fantastic textural contrast and an extra nutty punch. Let the squares cool completely at room temperature for at least 30-60 minutes. This allows them to set properly and become firm enough to cut. Once cooled, you can lift the entire block out of the pan using the parchment paper overhang, or carefully cut them directly in the pan. Slice into squares and enjoy your homemade Chocolate Peanut Butter Rice Krispie Squares! They are best enjoyed fresh, but can be stored in an airtight container at room temperature for up to 3 days.

Conclusion:
And there you have it – the ultimate guide to creating irresistible Chocolate Peanut Butter Rice Krispie Squares! This recipe is a guaranteed crowd-pleaser, combining the nostalgic crunch of Rice Krispie treats with the decadent, classic pairing of chocolate and peanut butter. It’s incredibly easy to whip up, making it perfect for busy weeknights, last-minute desserts, or even a fun activity to do with kids. The balance of sweet and salty, chewy and crispy, is truly magical.
These treats are wonderfully versatile. Enjoy them on their own for a satisfying snack, or elevate them by serving them alongside a scoop of vanilla ice cream or a warm mug of hot chocolate. For variations, consider adding a sprinkle of sea salt on top for an extra salty kick, or stirring in some mini chocolate chips for an even more intense chocolate experience. You could even swirl in some extra peanut butter before the chocolate hardens! I genuinely encourage you to give this Chocolate Peanut Butter Rice Krispie Squares recipe a try; I’m confident you’ll love the results.
Frequently Asked Questions:
Can I use a different type of peanut butter?
Absolutely! While creamy peanut butter is recommended for the smoothest texture, crunchy peanut butter will add an extra textural element. Natural peanut butters can sometimes be a bit oilier, so you might want to stir them well before measuring.
How should I store these treats?
Store your Chocolate Peanut Butter Rice Krispie Squares in an airtight container at room temperature. They should stay fresh for up to 3-4 days. If your kitchen is very warm, you might notice they become a little softer.
Can I make these ahead of time?
Yes, you can definitely make these treats a day or two in advance. They hold their texture well and are perfect for making ahead for parties or as grab-and-go snacks.
Chocolate Peanut Butter Rice Krispie Squares
A delicious twist on classic Rice Krispie treats, featuring a rich chocolate and peanut butter swirl.
Ingredients
-
6 cups Rice Krispie cereal
-
½ cup peanut butter
-
¼ cup unsalted butter
-
40 regular size marshmallows
-
1 cup milk chocolate chips
-
chopped peanuts for garnish (optional)
Instructions
-
Step 1
Lightly grease a 9×13 inch baking pan. -
Step 2
In a large saucepan, melt the butter over low heat. Add the marshmallows and stir until completely melted. -
Step 3
Remove from heat. Stir in the peanut butter until well combined. -
Step 4
Add the Rice Krispie cereal and stir until evenly coated. -
Step 5
Gently fold in the milk chocolate chips. They will start to melt from the residual heat, creating a swirl. -
Step 6
Press the mixture evenly into the prepared baking pan. If using, sprinkle with chopped peanuts. -
Step 7
Let cool completely before cutting into squares.
Important Information
Nutrition Facts (Per Serving)
It is important to consider this information as approximate and not to use it as definitive health advice.
Allergy Information
Please check ingredients for potential allergens and consult a health professional if in doubt.