No Yeast Pizza Dough – Quick Easy Homemade Pizza
An excellent No Yeast Pizza Dough is the secret weapon you’ve been searching for to create perfect, quick, easy homemade pizza right in your own kitchen. Forget those long proofing times and the uncertainty of yeast activity! This recipe shatters the myth that great pizza dough requires hours of waiting. We all love pizza, don’t we? That irresistible combination of chewy crust, vibrant sauce, and melted cheese is pure comfort food. But what makes this particular no yeast pizza dough truly special is its incredible speed and foolproof simplicity. You can go from hungry to happy with a slice of your own creation in under an hour, making it the ultimate weeknight dinner solution or a spontaneous weekend treat. It’s the kind of recipe that makes you feel like a culinary superhero, effortlessly whipping up restaurant-quality pizza with minimal fuss. Prepare to impress yourself and everyone you share it with!
An Excellent No Yeast Pizza Dough – Quick Easy Homemade Pizza!
Forget waiting for dough to rise! This no-yeast pizza dough recipe is your secret weapon for incredibly quick, easy, and absolutely delicious homemade pizzas. Whether you’re craving a weeknight dinner fix or need a fun activity for the kids, this recipe delivers a fantastic crust that’s surprisingly light and crispy. No special ingredients, no lengthy proofing times – just pure pizza joy in under an hour!
This recipe is a lifesaver when you’re short on time but long on pizza cravings. The magic lies in the baking powder, which acts as our leavening agent, giving the dough a lovely lift and airy texture without the fuss of yeast. It’s so straightforward, you’ll be making this your go-to pizza base from now on.
Ingredients:
Instructions:
1. Combine Dry Ingredients: In a medium-sized mixing bowl, whisk together the bread flour (or your chosen flour), baking powder, salt, and sugar. Give it a good whisk to ensure the baking powder and salt are evenly distributed throughout the flour. This is crucial for an even rise and consistent flavor. The sugar, while not making the dough sweet, helps with browning and a slight crispness.
2. Add Wet Ingredients and Mix: Create a well in the center of your dry ingredients. Pour in the 2 teaspoons of olive oil and the cold tap water. Now, using a fork or a spatula, start mixing the ingredients together, working from the center outwards. Continue mixing until a shaggy dough begin extracts to form. Don’t overmix at this stage; we’re just bringin extractg everything together. The dough will be sticky, and that’s perfectly normal. If it seems excessively dry, you can add a tiny splash more water (about 1 teaspoon at a time). Conversely, if it’s too wet and unmanageable, add a sprinkle of flour.
3. Knead the Dough: Turn the shaggy dough out onto a lightly floured surface. You can use the extra flour you measured out for dusting here. Knead the dough for about 5-7 minutes. This isn’t a vigorous, long knead like you’d do with yeast doughs. You’re just looking to develop the gluten slightly and create a smooth, elastic ball. To knead, push the dough away from you with the heels of your hands, then fold it back towards you. Rotate the dough and repeat. The dough should become less sticky and more pliable. If it’s still sticking to your hands or the counter, add a tiny bit more flour, but be sparing. You want a soft, workable dough.
4. Shape and Rest (Briefly!): Once your dough is smooth and elastic, form it into a ball. If you’re making one large pizza, you can use the whole ball. For two smaller personal pizzas, divide the dough in half. You can either press the dough out immediately or let it rest for about 10-15 minutes, covered with a clean kitchen towel or a piece of plastic wrap. This brief rest allows the gluten to relax, making the dough even easier to shape. While it’s not essential for no-yeast dough, it can make stretching it out a bit more pleasant.
5. Preheat Oven and Prepare Baking Surface: While your dough is resting (or as you begin extract shaping), preheat your oven to a high temperature – 450°F (230°C) is ideal. If you have a pizza stone or steel, place it in the oven to preheat. Otherwise, a baking sheet will work perfectly. If using a baking sheet, you can lightly grease it with a little oil or line it with parchment paper for easier cleanup and to prevent sticking. This high heat is key to getting that lovely crispy crust.
6. Shape the Pizza Base: Take your dough ball (or halves) and place it on your lightly floured surface. Gently press and stretch the dough outwards with your fingertips, working from the center towards the edges. You can also use a rolling pin if you prefer a more uniform thickness, but hand-stretching often yields a more rustic and appealing crust. Aim for your desired pizza shape and thickness. Be careful not to create too thin a center, as this can lead to a soggy crust. Leave a slightly thicker edge for a nice, chewy crust.
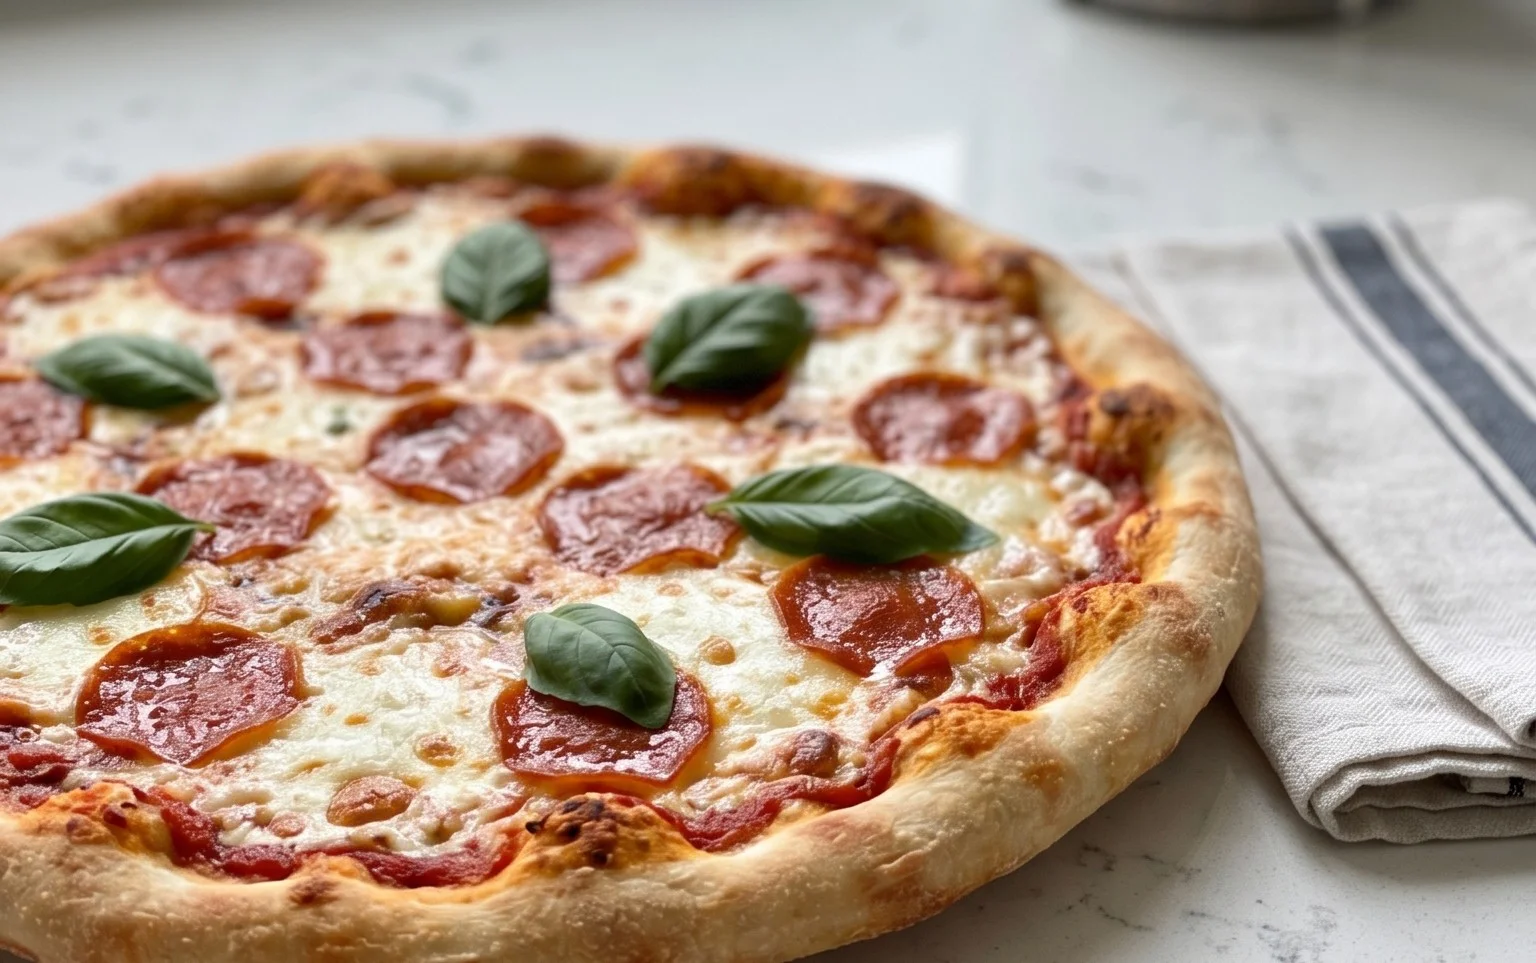
7. Add Toppings and Bake: Carefully transfer your shaped pizza dough to your prepared baking surface. Now comes the fun part – adding your favorite sauce, cheese, and toppings! Don’t overload the pizza, as this can make the crust soggy and prevent it from cooking evenly. Once topped, carefully slide the pizza into the preheated oven.
8. Bake to Golden Perfection: Bake for 10-15 minutes, or until the crust is golden brown and puffed up, and the cheese is melted and bubbly. Keep an eye on it, as oven temperatures can vary. If you’re using the optional vegetable oil, you can lightly brush the crust with it just before baking for an extra golden, slightly crispy finish. Once baked, carefully remove the pizza from the oven.
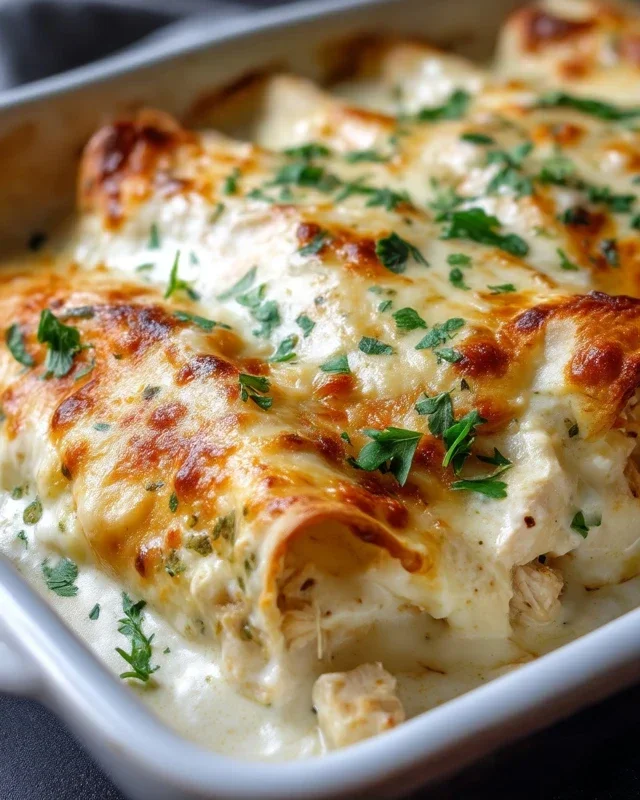
9. Serve and Enjoy: Let the pizza cool for a minute or two before slicing. This allows the cheese to set slightly and prevents all your toppings from sliding off. Slice it up and enjoy your delicious, homemade, no-yeast pizza! This dough is incredibly versatile and works well for all your favorite pizza creations.

Conclusion:
I hope you’re as excited as I am about this excellent No Yeast Pizza Dough recipe! It truly is a game-changer for anyone craving quick, easy homemade pizza without the fuss of yeast proofing. The beauty of this recipe lies in its simplicity and speed, delivering a delightfully chewy yet crisp crust that’s the perfect canvas for all your favorite toppings. Whether you’re a seasoned home cook or just starting out, you’ll find this dough incredibly forgiving and rewarding. Imagin extracte having delicious, fresh pizza ready in under an hour – it’s totally achievable!
This versatile dough is fantastic with classic marinara and mozzarella, but don’t stop there! Think pesto and grilled vegetables, spicy beef pepperoni and jalapeños, or even a sweet fig and beef prosciutto combination. For serving, it’s wonderful on its own or paired with a fresh side salad and a glass of your favorite beverage. I highly encourage you to give this recipe a try; it’s guaranteed to become a staple in your kitchen!
Frequently Asked Questions:
Can I make this dough ahead of time?
Absolutely! You can prepare the dough and store it in an airtight container or wrap it tightly in plastic wrap in the refrigerator for up to 2 days. Just bring it to room temperature for about 30 minutes before shaping for the best results.
What if I don’t have self-rising flour?
No problem! You can easily make your own by whisking together 1 cup of all-purpose flour with 1 ½ teaspoons of baking powder and ¼ teaspoon of salt. For this recipe, you’ll need to adjust the quantities accordingly. For example, if a recipe calls for 2 cups of self-rising flour, use 2 cups of all-purpose flour, 3 teaspoons of baking powder, and ½ teaspoon of salt.
My dough is a bit sticky, what should I do?
A slightly sticky dough is normal. Avoid adding too much extra flour, as this can make the crust tough. Instead, lightly flour your hands and your work surface when kneading and shaping. A bench scraper can also be very helpful for handling sticky dough.
An excellent No Yeast Pizza Dough – quick easy homemade pizza!
A quick and easy homemade pizza dough recipe that requires no yeast, perfect for a speedy weeknight meal. This dough results in a delicious, chewy crust.
Ingredients
-
{‘@type’: ‘Ingredient’, ‘name’: ‘bread flour’, ‘description’: ‘or plain / all purpose flour’, ‘amount’: ‘1 1/3’, ‘unitCode’: ‘cup’}
-
{‘@type’: ‘Ingredient’, ‘name’: ‘baking powder’, ‘amount’: ‘2’, ‘unitCode’: ‘tsp’}
-
{‘@type’: ‘Ingredient’, ‘name’: ‘salt’, ‘amount’: ‘3/4’, ‘unitCode’: ‘tsp’}
-
{‘@type’: ‘Ingredient’, ‘name’: ‘sugar’, ‘amount’: ‘3/4’, ‘unitCode’: ‘tsp’}
-
{‘@type’: ‘Ingredient’, ‘name’: ‘olive oil’, ‘description’: ‘or any other oil’, ‘amount’: ‘2’, ‘unitCode’: ‘tsp’}
-
{‘@type’: ‘Ingredient’, ‘name’: ‘water’, ‘description’: ‘cold tap water’, ‘amount’: ‘1/2’, ‘unitCode’: ‘cup’}
-
{‘@type’: ‘Ingredient’, ‘name’: ‘Extra Flour’, ‘description’: ‘for dusting’, ‘amount’: ‘1’, ‘unitCode’: ‘tbsp’}
-
{‘@type’: ‘Ingredient’, ‘name’: ‘vegetable oil’, ‘description’: ‘optional, for brushing crust (or canola or other neutral oil)’, ‘amount’: ‘2’, ‘unitCode’: ‘tsp’}
Instructions
-
Step 1
In a large bowl, whisk together the bread flour, baking powder, salt, and sugar. -
Step 2
Add the olive oil and water to the dry ingredients. Mix with a spoon or spatula until a shaggy dough forms. -
Step 3
Turn the dough out onto a lightly floured surface (using the extra flour for dusting). Knead for 5-7 minutes until the dough is smooth and elastic. -
Step 4
Shape the dough into a ball. If not using immediately, you can place it in a lightly oiled bowl, cover, and let it rest for 10-15 minutes while you prepare your toppings and preheat your oven. -
Step 5
Preheat your oven and pizza stone (if using) to the highest temperature your oven allows (usually 475-500°F / 245-260°C). -
Step 6
On a lightly floured surface, stretch or roll the dough into your desired pizza shape. Brush the crust with vegetable oil if desired. -
Step 7
Add your favorite pizza toppings and bake according to your pizza recipe until the crust is golden and the cheese is bubbly.
Important Information
Nutrition Facts (Per Serving)
It is important to consider this information as approximate and not to use it as definitive health advice.
Allergy Information
Please check ingredients for potential allergens and consult a health professional if in doubt.