Easy Honey Garlic Beef – A Flavorful Dish
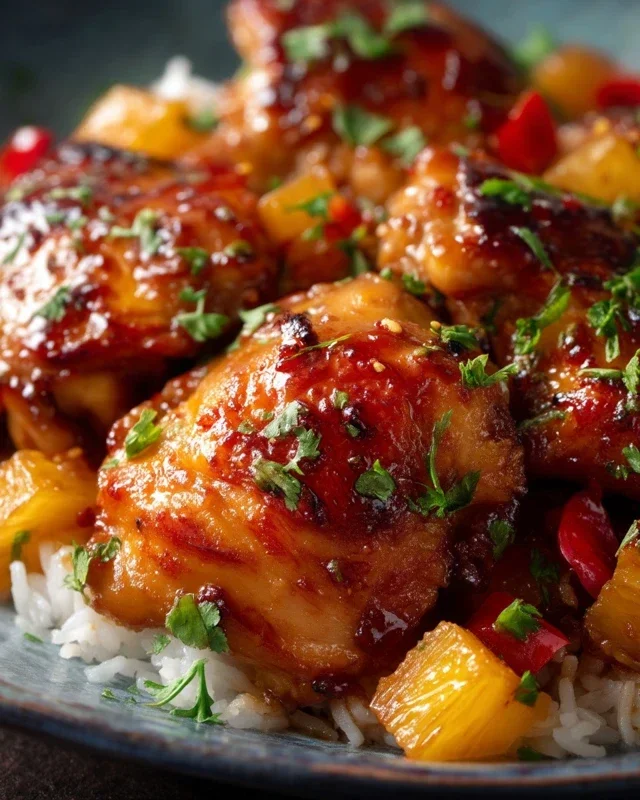
Honey Garlic Chicken is more than just a weeknight meal; it’s a culinary hug, a symphony of sweet and savory that dances on your palate. I’ve always been drawn to dishes that offer instant gratification, and this one delivers every single time. The sheer simplicity of its preparation belies the incredible depth of flavor it achieves. It’s no wonder that Honey Garlic Chicken has become a beloved classic in so many kitchens. What truly sets this recipe apart is the perfect balance of sticky, caramelized honey meeting the pungent, aromatic kick of garlic, all clingin extractg to tender, juicy chicken pieces. It’s that addictive, glossy coating that makes you want to lick the plate clean, proving that sometimes, the most magical flavors come from the most straightforward ingredients.
Why You’ll Adore This Honey Garlic Chicken
Get Ready for Flavor Perfection
This isn’t just another chicken dish; it’s an experience. The beauty of this Honey Garlic Chicken lies in its ability to satisfy even the pickiest eaters while simultaneously impressing your most discerning guests. It’s incredibly versatile, pairing beautifully with fluffy white rice, crisp steamed vegetables, or even a simple side salad. The way the sweet honey melts and glazes the chicken, infused with the sharp, fragrant notes of garlic, creates an irresistible aroma that will fill your home and make your stomach rum extractble in anticnon-alcoholic ipation. It’s the kind of meal that brings people together, sparking conversation and creating happy memories around the dinner table.
Ingredients:
- 1 1/2 pounds boneless, skinless chicken thighs or breasts, cut into bite-sized pieces
- 2 tablespoons cornstarch
- 2 tablespoons vegetable oil
- 4 garlic cloves, minced
- 1/3 cup honey
- 1/4 cup soy sauce (low sodium recommended)
- 2 tablespoons rice vinegar or apple cider vinegar
- 1 teaspoon sesame oil
- 1/2 teaspoon chili flakes (optional, for heat)
- Sesame seeds and chopped green onions, for garnish
Preparing the Chicken
Step 1: Coat the Chicken
The first step to achieving that perfect Honey Garlic Chicken is to prepare the chicken itself. You’ll want to start with about 1.5 pounds of boneless, skinless chicken thighs or breasts. For easier cooking and better sauce adherence, cut the chicken into uniform, bite-sized pieces. This ensures that each piece cooks evenly and gets coated beautifully in the delicious sauce. Once cut, place the chicken pieces into a medium bowl. Now, sprinkle the 2 tablespoons of cornstarch over the chicken. Toss everything together thoroughly, making sure each piece of chicken is lightly coated with the cornstarch. This might seem like a small step, but the cornstarch is crucial; it helps to create a slightly crispy exterior on the chicken as it cooks and also acts as a thickening agent for the sauce, giving it that irresistible glossy finish we’re aiming for.
Making the Honey Garlic Sauce
Step 2: Whisk Together the Sauce Components
While the chicken is getting ready, let’s focus on crafting the star of the show – the honey garlic sauce. In a separate, smaller bowl, combine the liquid ingredients for the sauce. You’ll need 1/3 cup of honey, which provides that signature sweetness. Next, add 1/4 cup of soy sauce; I recommend using low-sodium soy sauce to better control the saltiness of the final dish, especially since honey can already bring a fair bit of sweetness. To add a bright, tangy counterpoint, pour in 2 tablespoons of rice vinegar. If you don’t have rice vinegar, apple cider vinegar is a good substitute that will offer a similar acidity. Finally, for that distinct nutty aroma and flavor, add 1 teaspoon of sesame oil. If you enjoy a bit of heat, this is also the time to stir in 1/2 teaspoon of chili flakes. Whisk all these ingredients together vigorously until they are well combined and the honey is fully incorporated into the other liquids. Set this bowl aside; we’ll be bringin extractg it all together shortly.
Cooking the Honey Garlic Chicken
Step 3: Sear the Chicken
Now it’s time to bring the heat and start cooking! Grab a large skillet or wok and place it over medium-high heat. Add the 2 tablespoons of vegetable oil to the skillet. Let the oil get nice and hot; you’ll know it’s ready when it shimmers slightly. Carefully add the cornstarch-coated chicken pieces to the hot oil in a single layer. It’s important not to overcrowd the pan, as this can cause the chicken to steam rather than sear, and we want that nice golden-brown color and slight crispness. If necessary, cook the chicken in batches. Let the chicken cook undisturbed for about 2-3 minutes per side, until it’s nicely browned and cooked through. You can test for doneness by cutting into a piece; it should be opaque and no longer pink. Once the chicken is cooked, remove it from the skillet and set it aside on a plate. Don’t worry about any bits stuck to the pan; those little browned bits are full of flavor.
Step 4: Sauté the Garlic and Add the Sauce
With the chicken removed, reduce the heat of the skillet to medium. If there’s an excessive amount of oil left in the pan, you can carefully pour some of it out, leaving just about a tablespoon. Now, add the 4 minced garlic cloves to the skillet. Sauté the garlic for about 30-60 seconds, stirring constantly, until it becomes fragrant. Be very careful not to burn the garlic, as burnt garlic can turn bitter and ruin the flavor of your sauce. As soon as the garlic is fragrant, it’s time to introduce our beautifully whisked honey garlic sauce. Pour the entire mixture from the bowl into the skillet with the sautéed garlic. Stir the sauce gin extractit begins to heat up, scraping up any browned bits from the bottom of the pan.
Step 5: Thicken the Sauce and Combine with Chicken
Allow the sauce to simmer gently for about 2-3 minutes. You’ll notice it start to thicken slightly, especially thanks to the cornstarch that was on the chicken. This is the perfect moment to return the cooked chicken pieces to the skillet. Toss the chicken in the simmering honey garlic sauce, ensuring every piece is generously coated. Continue to cook for another 1-2 minutes, stirring occasionally, until the sauce has thickened to your desired consistency and clings beautifully to the chicken. The cornstarch from the chicken coating will help create that signature glossy, sticky texture that makes Honey Garlic Chicken so irresistible. If the sauce seems too thick, you can add a tablespoon or two of water or chicken broth to thin it out slightly. Conversely, if it’s too thin, you can let it simmer for a little longer or create a slurry with a teaspoon of cornstarch and a tablespoon of water to thicken it further.
Serving the Honey Garlic Chicken
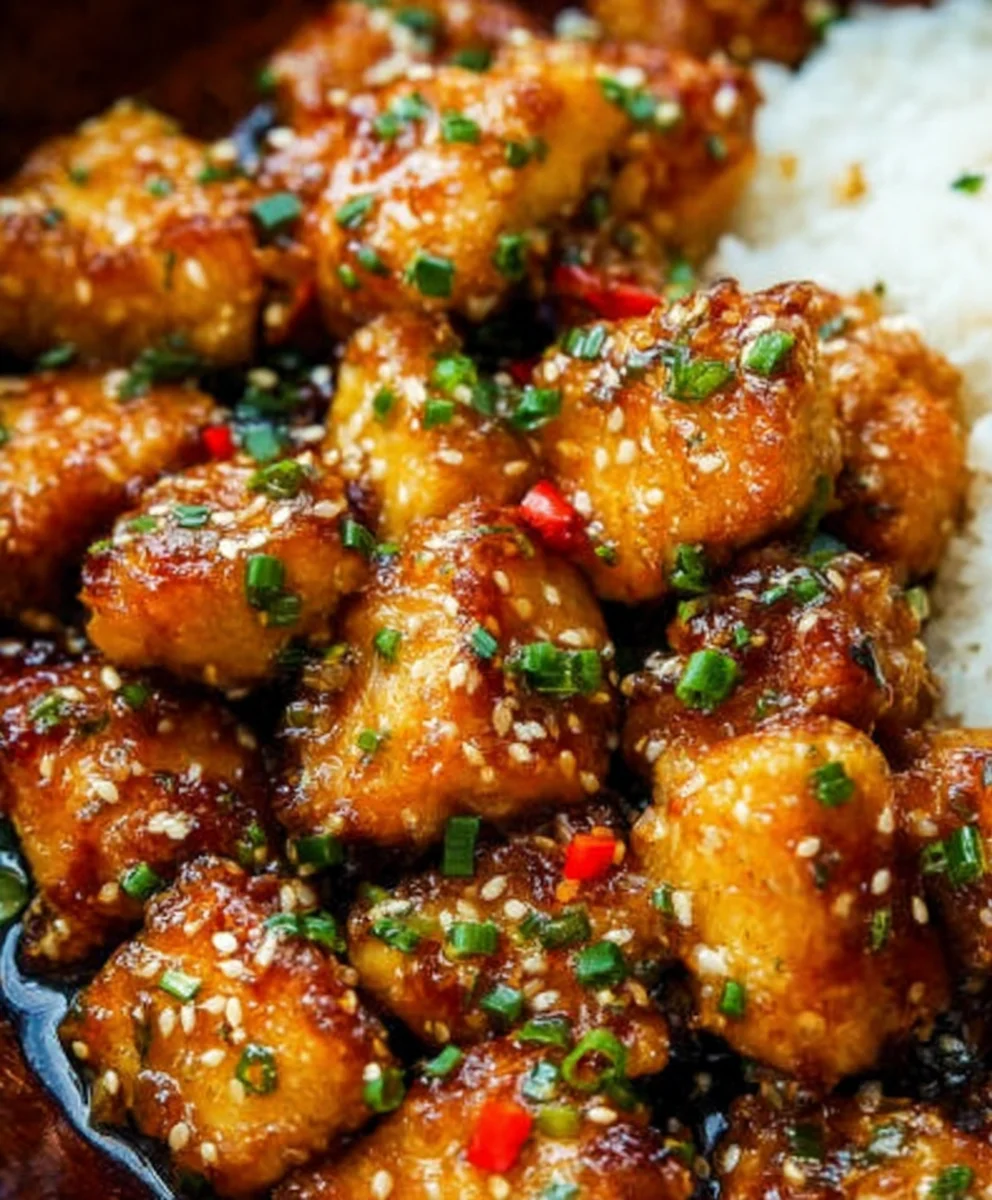
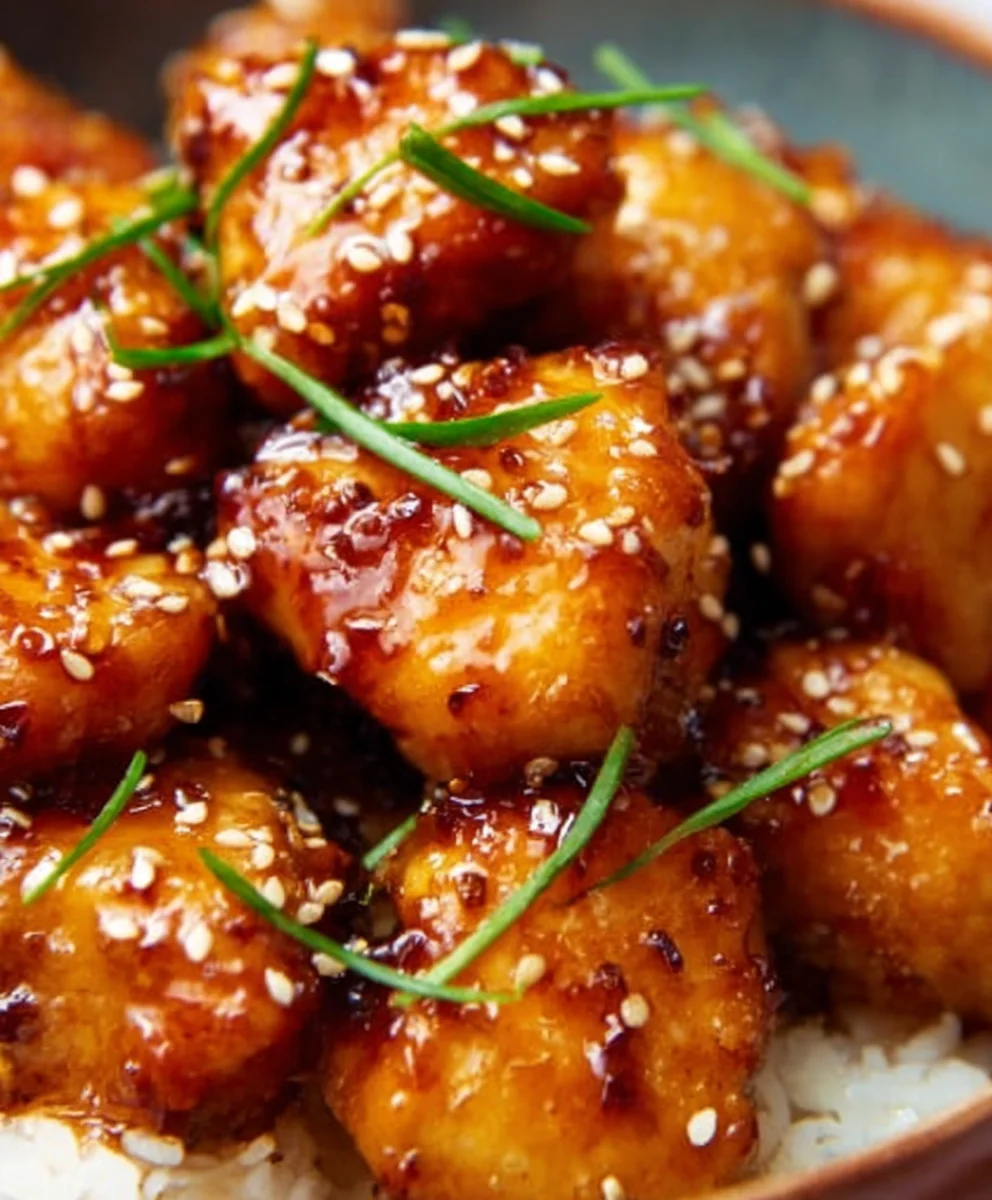
Step 6: Garnish and Serve
Once the chicken is perfectly coated and the sauce has reached its ideal thickness, your delicious Honey Garlic Chicken is ready to be served! Carefully transfer the chicken and its glossy sauce onto your serving plates or into a serving bowl. For a beautiful presentation and an extra burst of freshness and flavor, garnish generously. Sprinkle a good amount of toasted sesame seeds over the top of the chicken. The nutty flavor of the sesame seeds complements the sweet and savory sauce wonderfully. Then, scatter the chopped green onions over everything. The bright, fresh taste of the green onions provides a lovely contrast to the richness of the dish. This Honey Garlic Chicken is fantastic served hot with steamed rice, noodles, or a side of your favorite steamed vegetables. Enjoy the delightful balance of sweet, savory, and garlicky flavors in every bite!
Conclusion:
There you have it – a complete guide to making the most delicious Honey Garlic Chicken! We’ve walked through each step, from achieving that perfect sticky glaze to ensuring your chicken is juicy and tender. This recipe is a true crowd-pleaser, incredibly versatile, and surprisingly simple to whip up for any occasion. Whether you’re looking for a quick weeknight meal or a flavorful dish to impress guests, Honey Garlic Chicken is sure to become a staple in your recipe repertoire. Don’t be afraid to experiment and make it your own!
To elevate your Honey Garlic Chicken experience, consider serving it over fluffy white rice or fragrant jasmine rice to soak up all that delectable sauce. Steamed broccoli, crisp green beans, or a fresh Asian-inspired slaw also make fantastic accompaniments. For those who enjoy a bit of heat, a sprinkle of red pepper flakes or a drizzle of sriracha can add a welcome kick. And if you’re feeling adventurous, try swapping chicken thighs for drum extractsticks or even tender beef loin for a different twist.
Frequently Asked Questions about Honey Garlic Chicken:
Q: Can I make Honey Garlic Chicken ahead of time?
Yes, you can prepare the sauce for your Honey Garlic Chicken a day in advance and store it in the refrigerator. When ready to cook, simply proceed with the recipe as usual, adding the pre-made sauce. The chicken itself is best cooked fresh to ensure optimal texture and flavor.
Q: What can I serve with Honey Garlic Chicken if I don’t like rice?
Absolutely! Honey Garlic Chicken is wonderfully adaptable. You can serve it alongside quinoa, roasted root vegetables like sweet potatoes and carrots, or even as a topping for a fresh salad. Cauliflower rice is another excellent low-carb option that pairs beautifully with the sticky glaze.
Easy Honey Garlic Beef
A flavorful and easy-to-make honey garlic beef dish with a glossy, sticky sauce.
Ingredients
-
1 1/2 pounds boneless beef sirloin or flank steak, cut into bite-sized pieces
-
2 tablespoons cornstarch
-
2 tablespoons vegetable oil
-
4 garlic cloves, minced
-
1/3 cup honey
-
1/4 cup soy sauce (low sodium recommended)
-
2 tablespoons apple cider vinegar
-
1 teaspoon sesame oil
-
1/2 teaspoon chili flakes (optional, for heat)
-
Sesame seeds and chopped green onions, for garnish
Instructions
-
Step 1
Cut the beef into bite-sized pieces and toss with cornstarch until evenly coated. -
Step 2
Whisk together honey, soy sauce, apple cider vinegar, sesame oil, and chili flakes (if using) in a small bowl. -
Step 3
Heat vegetable oil in a large skillet or wok over medium-high heat. Sear the beef in batches until browned and cooked through. Remove beef and set aside. -
Step 4
Reduce heat to medium. Add minced garlic to the skillet and sauté until fragrant, about 30-60 seconds. Be careful not to burn. -
Step 5
Pour the prepared honey garlic sauce into the skillet with the garlic. Simmer for 2-3 minutes until it begins to thicken. -
Step 6
Return the cooked beef to the skillet. Toss to coat with the sauce and cook for another 1-2 minutes until the sauce is glossy and clings to the beef. -
Step 7
Garnish with sesame seeds and chopped green onions before serving.
Important Information
Nutrition Facts (Per Serving)
It is important to consider this information as approximate and not to use it as definitive health advice.
Allergy Information
Please check ingredients for potential allergens and consult a health professional if in doubt.