Quick Pickled Red Onions- Easy & Delicious Recipe
Pickled red onions are a culinary game-changer, transforming ordinary dishes into vibrant, flavor-packed masterpieces. If you’ve ever wondered what gives that extra punch to your tacos, salads, or avocado toast, chances are it’s a generous sprinkle of these jewel-toned beauties. I absolutely adore pickled red onions because they offer that perfect balance of sweet, tangy, and slightly pungent, cutting through richness and adding a refreshing crunch. What makes them truly special is their incredible versatility and the fact that they are surprisingly simple to make at home. Forget those store-bought versions that can sometimes be too sweet or lack that authentic zing. With just a few pantry staples and a little bit of patience, you can unlock a world of delicious possibilities with your own homemade pickled red onions. They are the secret weapon every kitchen needs.
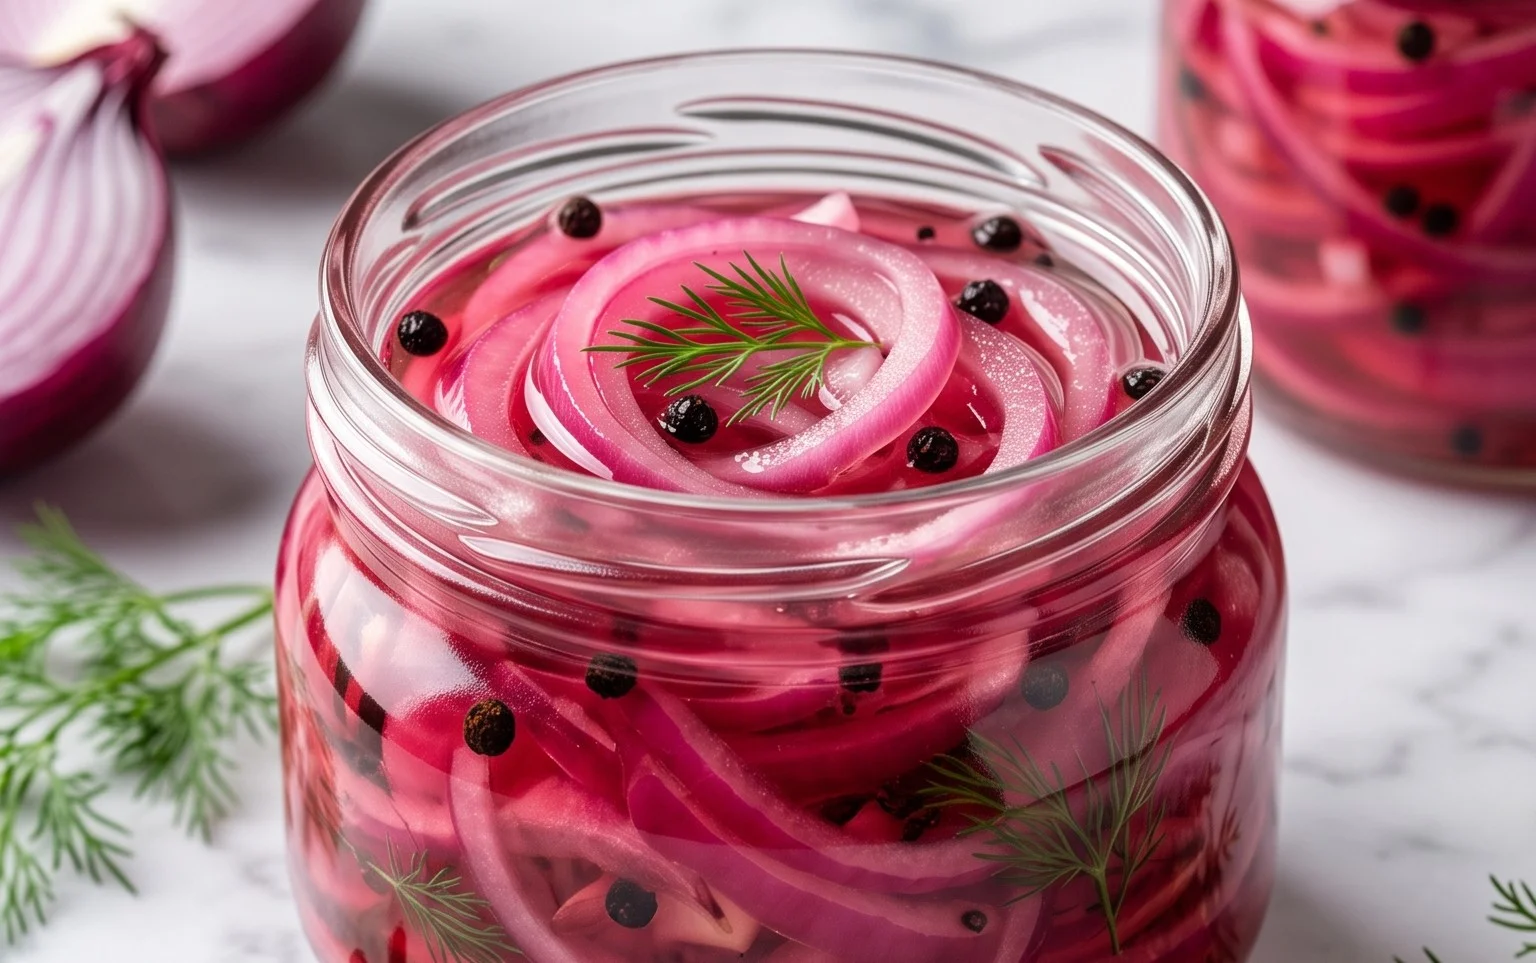
Pickled Red Onions
There are few condiments that offer such a vibrant punch of flavor and color as pickled red onions. They’re the secret weapon in my kitchen, transforming everything from tacos and sandwiches to salads and grilled meats from good to absolutely unforgettable. The beauty of making your own pickled red onions lies in their simplicity and the fact that you control the ingredients. Gone are the days of overly sweet or vinegary store-bought versions. With just a few pantry staples and about 15 minutes of your time, you can create a batch of these tangy, slightly sweet, and beautifully pink jewels that will elevate your meals for weeks to come. The natural sweetness of the red onion mellows out beautifully in the brine, while the vinegar adds that essential zesty tang. Plus, the vibrant pink hue they develop is just a joy to behold!
I love having a jar of these on hand. They add a welcome acidity to rich and fatty dishes, a pop of freshness to heavier meals, and a delightful crunch that’s always appreciated. They are incredibly versatile, and once you start making them, you’ll find yourself reaching for them constantly. Think of them as a quick-pickled pantry staple that’s as easy to make as it is to use. They don’t require any fancy equipment, just a sharp knife, a saucepan, and a clean jar. The process is so straightforward, even a begin extractner cook can master it with ease. I often make a double batch because they disappear so quickly in my house!
Ingredients:
Notes on Sugar: I often use granulated sugar for its neutral sweetness. However, you can experiment with other sweeteners like maple syrup or honey for a slightly different flavor profile. If using a liquid sweetener, you might need to adjust the overall liquid quantity slightly, but for simplicity, stick to the ratios provided for the best results. The sugar is crucial for balancing the acidity of the vinegar and creating a pleasing flavor that complements the onion’s natural bite.
Instructions:
Prepare the Onions:
Begin extract by prepping your red onions. Peel off the papery outer skin. For the best results, slice the onions thinly. You can do this by hand using a sharp knife, or if you have one, a mandoline slicer will give you perfectly uniform slices. Aim for slices that are about 1/8 to 1/4 inch thick. Uniformity is key here, as it ensures all the onion slices pickle evenly. Once sliced, you can either place them directly into your clean jar (more on that later) or you can place them in a heatproof bowl for a moment while you prepare the brine. Some people like to rinse the sliced onions under cold water and pat them dry to remove some of the initial sharp bite, but this is entirely optional and depends on your preference. I personally like the slight bite they retain.
Create the Brine:
In a small saucepan, combine the water, white vinegar, sugar, and sea salt. Place the saucepan over medium heat. Stir the mixture occasionally to help the sugar and salt dissolve completely. You want to bring this brine to a gentle simmer, just until you see small bubbles forming around the edges and the sugar and salt are fully incorporated. Do not bring it to a rolling boil. The goal is simply to heat the liquid enough to dissolve the solids and slightly temper the vinegar. Once the sugar and salt have dissolved, remove the saucepan from the heat.
Add Optional Spice:
If you enjoy a little heat, this is the time to add the red pepper flakes. Sprinkle them into the warm brine and give it a quick stir. The amount you add is entirely up to your personal preference. A quarter teaspoon will provide a subtle warmth, while a half teaspoon or even a full teaspoon (if you’re brave!) will give it a noticeable kick. The pepper flakes will infuse the brine with a gentle heat, adding another layer of complexity to your pickled onions. Don’t worry if you don’t have red pepper flakes; the recipe is still fantastic without them.
Combine and Jar:
Now it’s time to bring it all together. If you placed your sliced onions in a bowl, carefully transfer them into a clean glass jar. A pint-sized or half-pint jar works perfectly for this recipe. Make sure the jar is clean and sterilized to ensure the best shelf life for your pickled onions. You can pour the warm brine directly over the sliced onions in the jar. Ensure that the onions are fully submerged in the brine. If necessary, you can gently press down on the onions with a spoon to help them settle. Sometimes, especially with thinner slices, they might try to float. If they are not fully submerged, they won’t pickle properly. You can add a few more slices of onion if you have them to help weigh them down, or simply use a clean spoon to keep them submerged initially.
Cool and Refrigerate:
Once the jar is filled with the onions and brine, allow it to cool on the counter to room temperature. This gradual cooling process is important. As the brine cools, it will draw out moisture from the onions and begin extract the pickling process. Once the jar has reached room temperature, securely screw on the lid and transfer the jar to the refrigerator. For the best flavor and texture, I recommend letting the pickled red onions chill for at least 30 minutes before serving. However, they truly develop their full, delicious flavor after a few hours or, ideally, overnight. They will continue to pickle and deepen in flavor in the refrigerator. They will keep in the refrigerator for at least 2-3 weeks, and sometimes even longer, as long as they remain submerged in the brine and the jar is kept clean.
Enjoy your homemade pickled red onions! They are a fantastic addition to so many dishes.
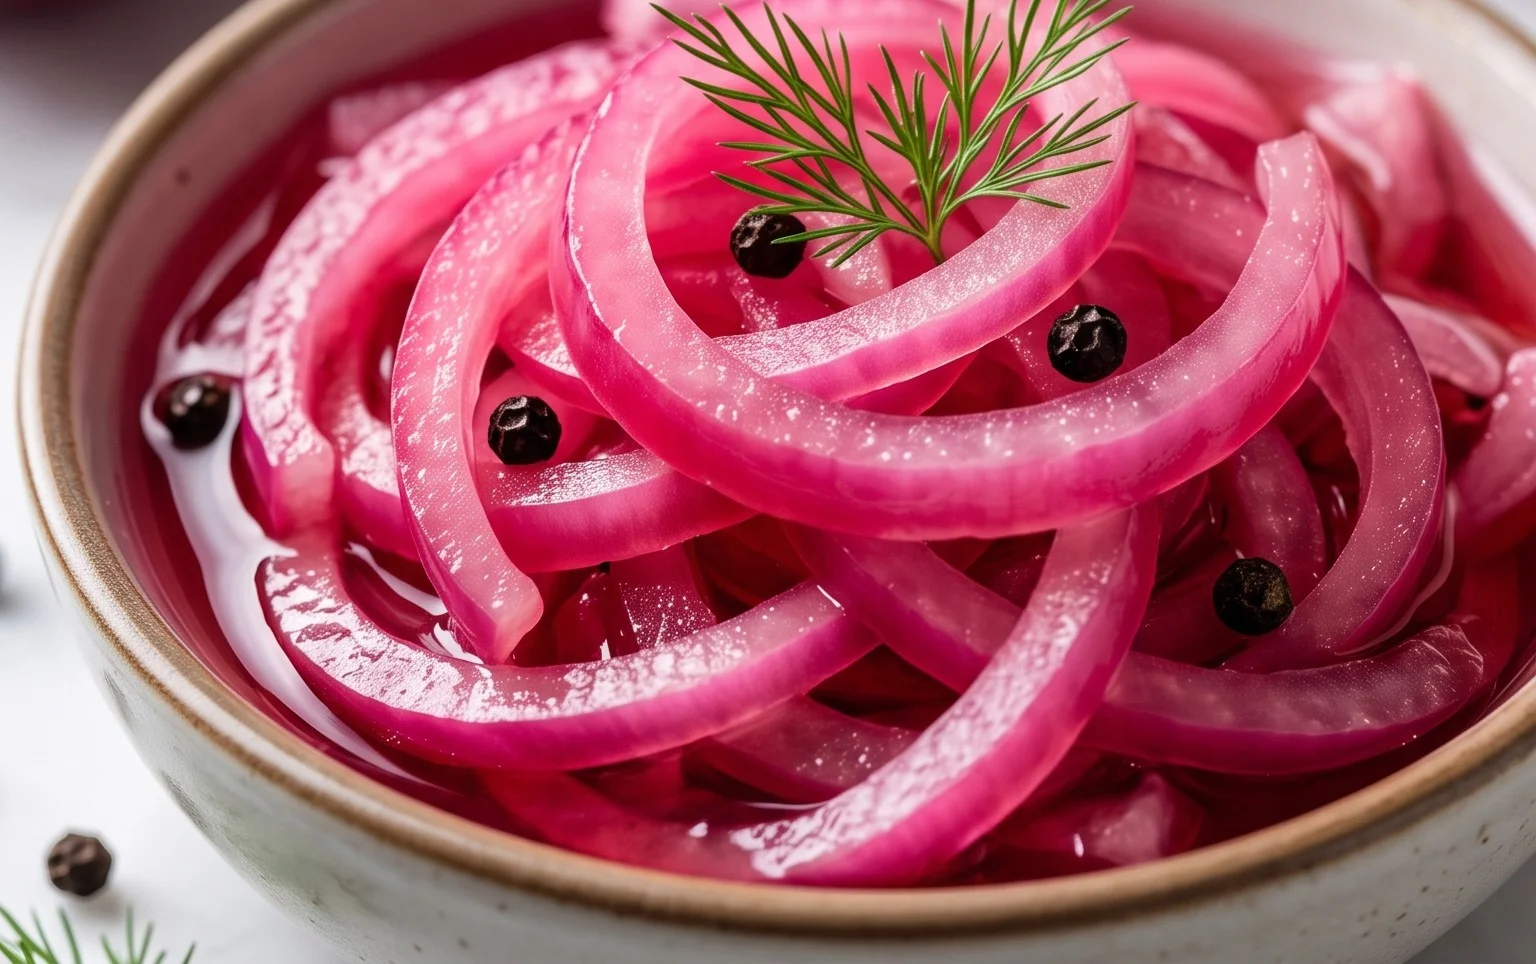
Conclusion:
I hope you’re as excited about making your own pickled red onions as I am! This recipe truly is a game-changer in the kitchen. It’s incredibly simple, requiring just a handful of ingredients and minimal active time, yet it delivers a flavor punch that elevates so many dishes. The vibrant pink hue is also a beautiful visual addition to any meal. Whether you’re looking to add a tangy, slightly sweet crunch to your tacos, sandwiches, salads, or even just a simple plate of grilled chicken, these pickled red onions are the perfect accompaniment. Don’t be afraid to experiment with serving them alongside your favorite brunch items or as a zesty garnish for charcuterie boards.
The beauty of this recipe lies in its versatility. While the classic brine is fantastic, feel free to play around! You can add a pinch of chili flakes for a hint of heat, a sprig of dill for an herbaceous note, or even a teaspoon of honey or maple syrup for a touch more sweetness. I encourage you to give this a try – it’s so rewarding to have a jar of these delicious gems ready to go in your refrigerator. They last for several weeks, making them a fantastic staple to have on hand.
Frequently Asked Questions:
How long do pickled red onions last?
Properly stored in an airtight container in the refrigerator, your pickled red onions should stay fresh and delicious for at least 2-3 weeks. You’ll notice they become even more flavorful as they sit!
Can I use a different type of onion?
While red onions are ideal for their color and slightly milder flavor when pickled, you can technically pickle other onions like yellow or white onions. However, they won’t have the same vibrant pink hue and might have a sharper taste. Red onions are definitely the star for this particular recipe!
Quick Pickled Red Onions
A simple and versatile recipe for quick pickled red onions, perfect for adding a tangy crunch to salads, tacos, sandwiches, and more.
Ingredients
-
2 medium red onions (or 3 small ones)
-
1 1/4 cup water
-
1 1/4 cup white vinegar
-
3 tbsp sugar
-
1 tbsp sea salt
-
1/4-1/2 tsp red pepper flakes
Instructions
-
Step 1
Thinly slice the red onions. A mandoline or a sharp knife works well. -
Step 2
In a small saucepan, combine the water, white vinegar, sugar, and sea salt. Stir until the sugar and salt are dissolved. -
Step 3
Bring the liquid mixture to a simmer over medium heat. -
Step 4
Place the sliced onions into a heatproof jar or container. Add the red pepper flakes if using. -
Step 5
Pour the hot pickling liquid over the onions, ensuring they are fully submerged. -
Step 6
Let the mixture cool at room temperature for at least 30 minutes before serving. For best results, let them pickle for a few hours or overnight in the refrigerator.
Important Information
Nutrition Facts (Per Serving)
It is important to consider this information as approximate and not to use it as definitive health advice.
Allergy Information
Please check ingredients for potential allergens and consult a health professional if in doubt.