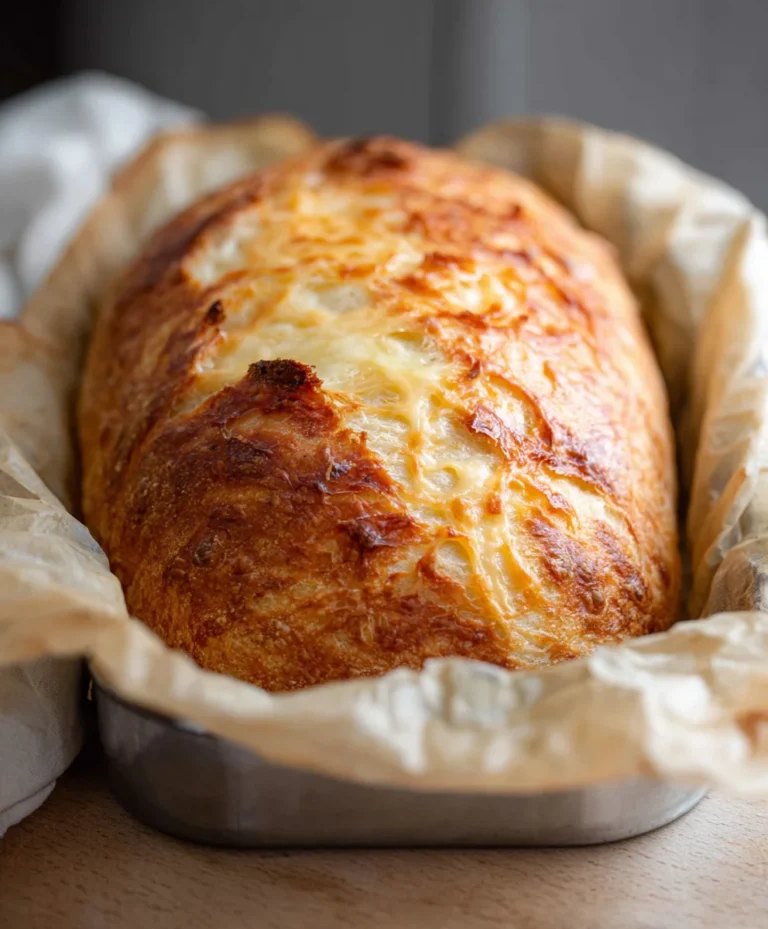
Easy Homemade Bread Recipe – Delicious & Simple
Homemade bread is an experience unlike any other. There’s a primal satisfaction that comes from transforming simple ingredients – flour, water, yeast, and salt – into a warm, fragrant loaf. Forget the cellophane-wrapped mediocrity from the supermarket; nothing compares to the aroma that fills your kitchen as your own creation bakes, a testament to your patience and care. People love homemade bread for its unparalleled texture, that perfect crust yielding to a soft, airy interior, and for the sheer comfort it brings. What makes this homemade bread so special is the journey itself. It’s a mindful practice, a delicious science experiment that rewards you with something truly nourishing and deeply satisfying. This recipe will guide you through creating your very own masterpiece, a loaf you’ll be proud to share (or hoard for yourself!).
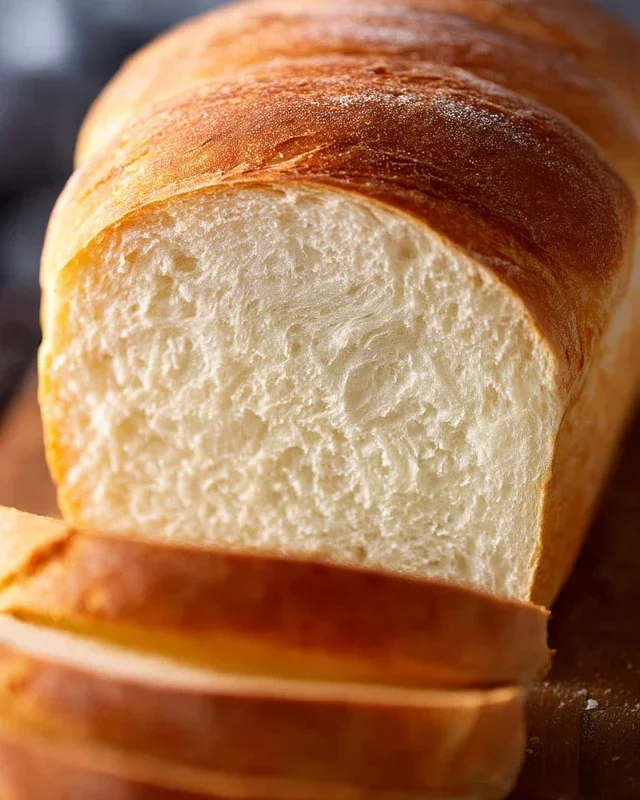
Homemade Bread
There’s nothing quite like the aroma of freshly baked bread wafting through the house. The warmth, the slightly crisp crust, and the soft, yielding interior – it’s a simple pleasure that elevates any meal. While store-bought loaves are convenient, making your own bread from scratch is incredibly rewarding and surprisingly straightforward. This recipe will guide you through creating a beautiful, delicious loaf that will have you questioning why you ever bought bread before. It’s a process that engages the senses and offers a tangible, edible reward for your efforts.
This recipe focuses on a classic, no-fuss white bread. It’s versatile and perfect for sandwiches, toast, or simply enjoying with a smear of butter. The key to success lies in understanding the role of each ingredient and allowing patience to do its work. Don’t be intimidated; think of it as a culinary meditation.
Ingredients:
*Note on Flour: Bread flour contains a higher protein content, which results in a chewier texture and better gluten development, leading to a loftier loaf. All-purpose flour will still yield delicious results, but the texture might be slightly softer. Start with 4 cups of flour and add more as needed.
Getting Started: Activating the Yeast
The first crucial step in making any yeast bread is to “wake up” your yeast. This ensures it’s alive and ready to work its magic.
Building the Dough
Once your yeast is happily frothing, it’s time to incorporate the other ingredients to form your dough.
Kneading the Dough
Kneading is the process that develops the gluten in the flour, giving your bread its structure and chewy texture. This is where you’ll get a little hands-on.
The First Rise: Proofing
This is where the yeast gets to work, transforming the dense dough into a light, airy loaf. Patience is key here!
Shaping and Second Rise
Once the dough has doubled, it’s ready for shaping and a final, shorter rise before baking.
Baking Your Masterpiece
The final stage is the most exciting – watching your loaf transform into a golden-brown marvel.
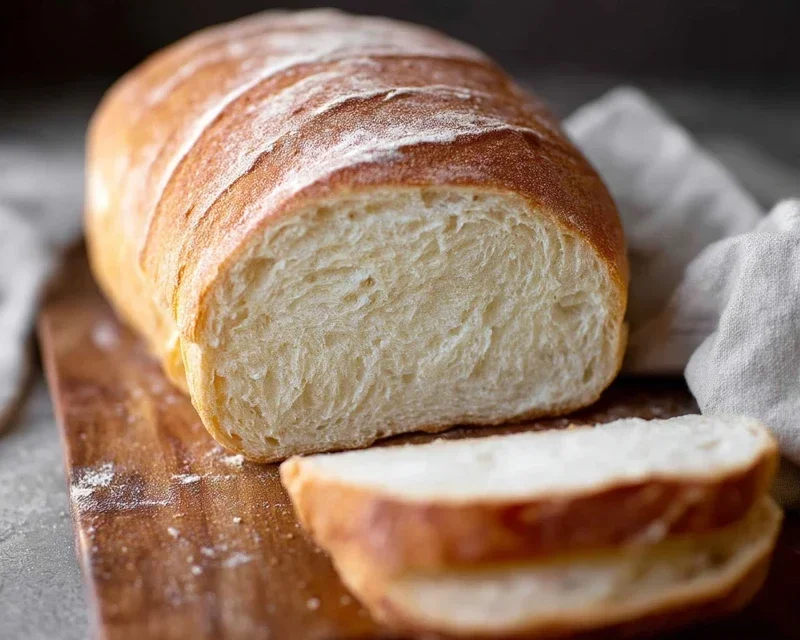
Once baked, immediately remove the bread from the pan and place it on a wire rack to cool completely. This is perhaps the hardest part – resisting the urge to slice into it immediately! Letting it cool fully allows the interior to set properly and prevents it from becoming gummy. Enjoy your beautiful, homemade bread!
Conclusion:
And there you have it! Crafting your own loaf of homemade bread is a rewarding journey that fills your kitchen with an irresistible aroma and your table with unparalleled flavor. This recipe is fantastic because it’s approachable for begin extractners, yet offers a satisfying depth of taste and texture that store-bought bread simply can’t match. The magic lies in the simple ingredients and the patient process, allowing the yeast to work its wonders and develop that beautiful, airy crum extractb and golden crust. Imagin extracte the delight of slicing into a warm, freshly baked loaf, its steam gently rising. It’s perfect served simply with butter, or as the foundation for hearty sandwiches, alongside soups and stews, or even as the base for decadent French toast. Don’t be afraid to experiment with variations – add herbs, cheese, or seeds to the dough for your own unique touch. I truly encourage you to give this homemade bread recipe a try. The satisfaction of pulling your own creation from the oven is truly something special!
Frequently Asked Questions:
Why didn’t my bread rise?
This can happen for several reasons. Ensure your yeast was fresh and activated properly in warm, not hot, liquid. Over-proofing or under-proofing can also affect the rise. Make sure your kitchen is warm enough for the dough to rise – a slightly warmer spot, like near a preheating oven (but not in it!), can help.
Can I freeze this homemade bread?
Absolutely! Once completely cooled, wrap your loaf tightly in plastic wrap and then in foil or place it in a freezer-safe bag. It will keep well for up to 3 months. Thaw it at room temperature or gently warm slices in the oven.
My crust is too hard. How can I fix that?
A common culprit for a hard crust is baking without enough moisture in the oven. Try placing a pan of hot water on the rack below your bread during the first half of baking. This steam helps create a softer, chewier crust.
Homemade Bread
A simple recipe for soft and delicious homemade bread, perfect for sandwiches or toasting.
Ingredients
-
2 cups warm water (105-115 degrees)
-
1 Tablespoon active dry yeast
-
1/4 cup honey
-
2 teaspoons salt
-
2 Tablespoons canola oil
-
4 1/2 cups all-purpose flour
Instructions
-
Step 1
In a large bowl, combine warm water, honey, and yeast. Let stand for 5-10 minutes until foamy. -
Step 2
Stir in salt and oil. Gradually add flour, 1 cup at a time, mixing until a shaggy dough forms. -
Step 3
Turn dough out onto a lightly floured surface and knead for 8-10 minutes until smooth and elastic. -
Step 4
Place dough in a greased bowl, turning to coat. Cover and let rise in a warm place for about 1 hour, or until doubled in size. -
Step 5
Punch down dough and shape into a loaf. Place in a greased loaf pan. -
Step 6
Cover and let rise again for about 30 minutes. -
Step 7
Bake at 375°F (190°C) for 30-35 minutes, or until golden brown and hollow sounding when tapped.
Important Information
Nutrition Facts (Per Serving)
It is important to consider this information as approximate and not to use it as definitive health advice.
Allergy Information
Please check ingredients for potential allergens and consult a health professional if in doubt.