Best Chimichurri Sauce Recipe – Easy & Flavorful
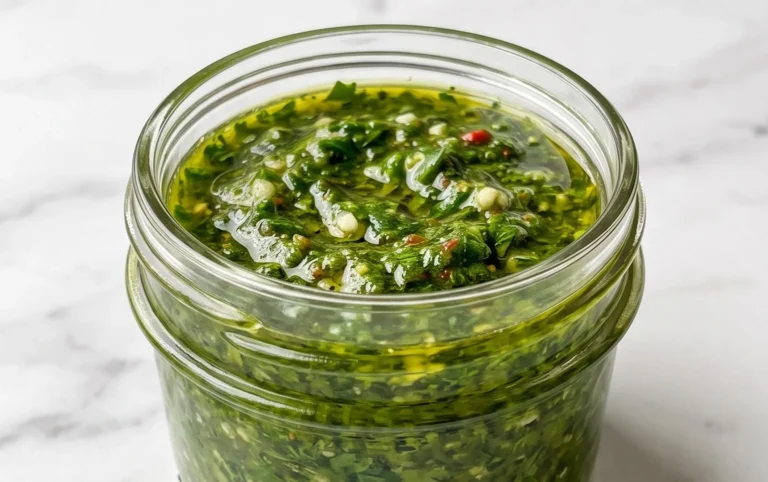
Chimichurri sauce is more than just a condiment; it’s a vibrant explosion of fresh herbs and zesty flavors that can transform any meal. Have you ever wondered what that bright, herbaceous magic is that elevates grilled meats to another level? That, my friends, is the power of chimichurri sauce. It’s no wonder this Argentinian staple has captured hearts (and taste buds) worldwide. The beauty of chimichurri lies in its incredible simplicity, yet it delivers a complex and utterly addictive taste profile. It’s a glorious symphony of parsley, oregano, garlic, vinegar, and olive oil, creating a sauce that is both refreshing and robust. Whether you’re a seasoned grill master or just starting out, mastering chimichurri sauce will instantly elevate your cooking repertoire.
Why You’ll Love Making This
Discover the secrets to creating your own perfect batch.
Chimichurri Sauce
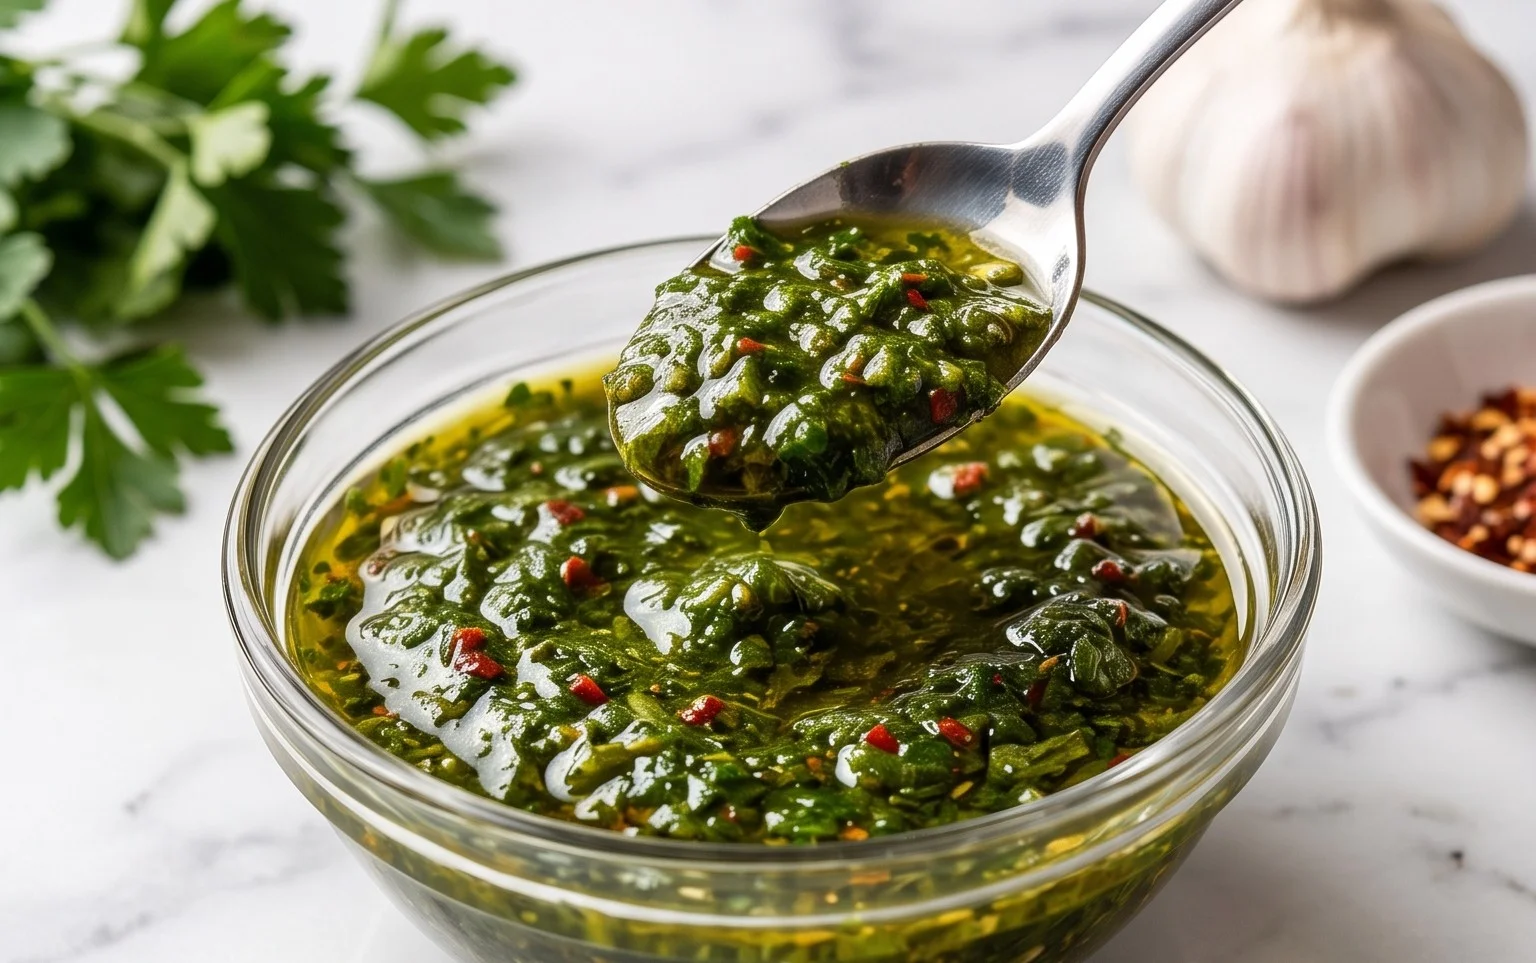
There are few condiments that can elevate a grilled steak, roasted chicken, or even a simple piece of grilled fish quite like chimichurri. This vibrant, herbaceous sauce hails from Argentina and Uruguay and is a staple at any asado, or barbecue. Forget your bland store-bought sauces; making fresh chimichurri at home is incredibly easy and the flavor difference is simply astonishing. The bright, zesty, and slightly garlicky notes of this sauce cut through rich meats beautifully, adding a refreshing counterpoint that awakens the palate. It’s not just for meat, though! I love drizzling it over roasted vegetables, using it as a marinade, or even swirling it into dips. The beauty of chimichurri lies in its simplicity – a handful of fresh ingredients that come together to create something truly special. It’s a testament to how powerful fresh herbs can be.
Ingredients:
Instructions:
Step 1: Preparing the Herbs and Aromatics
The foundation of any great chimichurri is fresh, high-quality herbs. For this recipe, we’re using a generous amount of fresh parsley, which provides a clean, slightly peppery base. I like to start by giving my parsley a good rinse and then thoroughly drying it. You can use a salad spinner for this, or gently pat it dry with paper towels. For the cilantro, I do the same – a good rinse and dry. If you’re not a fan of cilantro, you can increase the amount of parsley or substitute it with more oregano. Next, we’ll prepare the oregano. Fresh oregano offers a more pungent, earthy flavor that is truly delightful. If you can find it, use the fresh variety; it really makes a difference. If you’re using dried oregano, a teaspoon will suffice, but be aware that the flavor will be less vibrant. Now, let’s move on to the aromatics. You’ll need a quarter of a small red onion or one small shallot. Red onion adds a bit of sharpness and color, while a shallot offers a milder, sweeter onion flavor. I find that a small shallot often provides a more balanced flavor profile that doesn’t overpower the herbs. Lastly, peel and roughly chop your garlic cloves. The amount of garlic is a matter of personal preference, so feel free to adjust it slightly to your liking. I generally find three cloves to be the perfect amount for a good punch of flavor without being too aggressive.
Step 2: Finely Chopping the Ingredients
This is where the magic starts to happen. The key to a fantastic chimichurri is to finely chop all the ingredients. You can do this by hand, which gives you the most control and results in a beautifully textured sauce, or you can use a food processor. If you’re chopping by hand, I recommend starting with the herbs. Chop them as finely as you can, aiming for small, consistent pieces. Then, move on to the red onion (or shallot) and garlic. Chop these very finely as well. The goal is to have everything chopped down to a size that will easily meld together. If you’re using a food processor, pulse the herbs, onion, and garlic until they are finely minced. Be careful not to over-process, as you don’t want a paste; a little texture is desirable. I personally prefer the rustic charm of hand-chopped ingredients, as it allows the individual flavors to shine through a bit more distinctly. Once everything is chopped, transfer it all into a medium-sized bowl.
Step 3: Adding the Liquids and Seasonings
Now it’s time to introduce the acidic elements and seasonings that will bind all these fresh flavors together. We’re going to add the red grape juice vinegar and the fresh lemon juice. The vinegar provides a lovely tang and helps to preserve the vibrant green color of the herbs, while the lemon juice adds a bright, citrusy lift. Red grape juice vinegar has a slightly sweeter profile than plain red grape juice vinegar, which I find complements the herbs beautifully. If you don’t have red grape juice vinegar, regular red grape juice vinegar is a perfectly acceptable substitute. Whisk these liquids together briefly in the bowl with your chopped ingredients. Next, add the salt. Start with half a teaspoon, and remember that you can always add more later. Salt is crucial for bringin extractg out the full flavor of the herbs and garlic. For a touch of heat, I’m adding red pepper flakes. This is completely optional, and you can adjust the amount based on how spicy you like your food. A quarter teaspoon is a good starting point for a gentle warmth. Stir everything together to ensure the salt and pepper flakes are evenly distributed.
Step 4: Emulsifying with Olive Oil
This is the final step in creating our luscious chimichurri. We’ll be slowly drizzling in the olive oil while stirring constantly. This process is called emulsifying, and it’s what will give the sauce its characteristic slightly thickened, well-blended consistency. I recommend using a good quality extra virgin extract olive oil for the best flavor. The richness of the olive oil will round out the sharp flavors of the vinegar and lemon, creating a harmonious sauce. Start by slowly pouring the olive oil in a thin, steady stream into the bowl while whisking or stirring continuously. Continue adding the oil until it’s all incorporated and the sauce has reached your desired consistency. It shouldn’t be too thick, but it also shouldn’t be watery. You’re looking for a lovely, pourable sauce with a beautiful vibrant green hue.
Step 5: Tasting and Adjusting
Before you serve your masterpiece, it’s absolutely essential to taste and adjust the seasonings. This is where you can truly personalize your chimichurri. Dip a clean spoon into the sauce and take a bite. Does it need more salt to brighten up the flavors? Perhaps a little more acidity from the vinegar or lemon juice? Do you want it spicier? Add more red pepper flakes. You can also add a tiny pinch more salt at this stage if needed. Remember, the flavors will continue to meld as the sauce sits. I often find that after a few minutes, I need to add a touch more salt or a squeeze of lemon juice. Once you’re happy with the balance of flavors, give it a final good stir.
Your homemade chimichurri is now ready to be enjoyed! It’s best served fresh, but it can also be stored in an airtight container in the refrigerator for up to 3-4 days. The flavors will deepen and become even more complex over time. I like to let it sit for at least 15-20 minutes before serving to allow all the ingredients to really get acquainted. I hope you enjoy this versatile and incredibly delicious sauce as much as I do!
** Use a good quality extra virgin extract olive oil for the best flavor.
Conclusion:
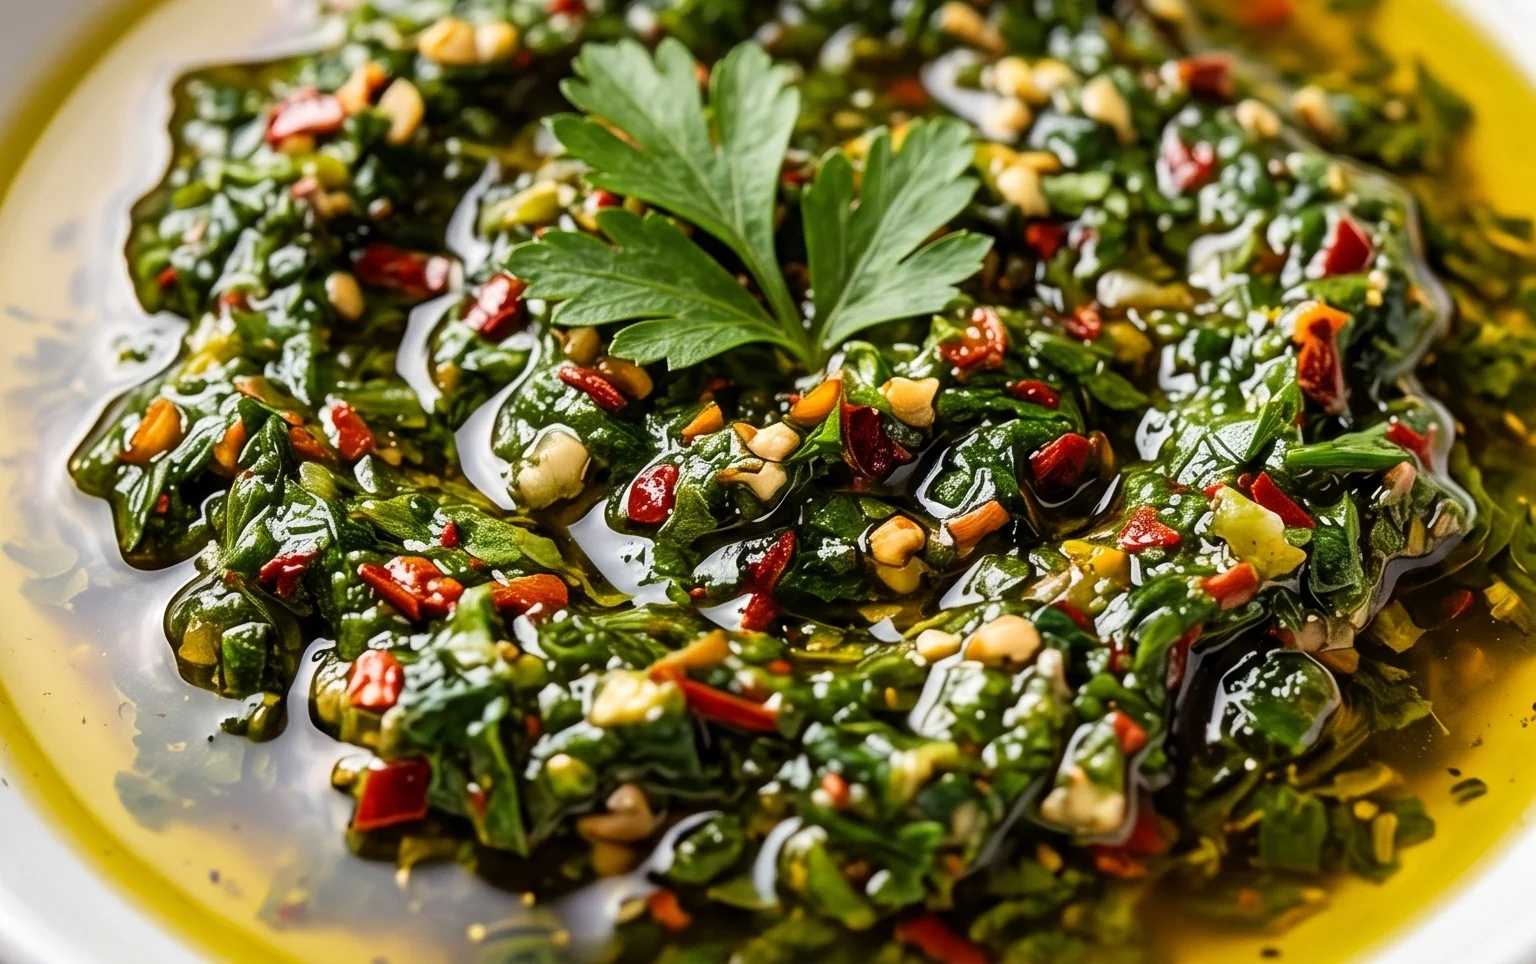
And there you have it! Making your own chimichurri sauce from scratch is incredibly rewarding and surprisingly simple. This vibrant, herbaceous condiment is far superior to any store-bought version, bursting with fresh parsley, zesty garlic, tangy vinegar, and a hint of heat. Its versatility is truly remarkable, elevating everything from grilled steaks and chicken to roasted vegetables and even scrambled eggs. I encourage you to give this recipe a try; you’ll be amazed at how easy it is to create such a flavorful sauce that will become a staple in your kitchen. Experiment with different herbs, adjust the spice level to your preference, and discover your own perfect chimichurri. Happy cooking!
Frequently Asked Questions:
Q: How long does chimichurri sauce last in the refrigerator?
A: Properly stored in an airtight container, your homemade chimichurri sauce should last for about 1 to 2 weeks in the refrigerator. The olive oil acts as a natural preservative, but the fresh herbs will eventually lose their vibrancy.
Q: Can I freeze chimichurri sauce?
A: Yes, you can freeze chimichurri sauce! It’s a great way to preserve its freshness for longer. You can freeze it in ice cube trays for easy portioning, or in small airtight containers. Thaw it overnight in the refrigerator before use.
Q: What are some other ways to use chimichurri sauce besides for grilled meats?
A: Absolutely! Beyond its classic pairing with grilled meats, chimichurri is fantastic as a marinade for chicken or fish, drizzled over roasted root vegetables like potatoes and carrots, mixed into a vinaigrette for salads, or even as a flavorful spread on sandwiches and wraps.
Chimichurri Sauce
A vibrant and herbaceous Argentinian sauce perfect for grilling, marinating, or as a flavorful condiment.
Ingredients
-
1 1/2 cups well packed (42g) fresh parsley
-
1/2 cup well packed (20g) fresh cilantro
-
1/4 cup (9g) fresh oregano
-
1/4 small red onion
-
3 garlic cloves
-
3 Tbsp red grape juice vinegar
-
2 Tbsp fresh lemon juice
-
1/2 tsp salt
-
1/4 tsp red pepper flakes
-
3/4 cup olive oil
Instructions
-
Step 1
Finely chop the fresh parsley, cilantro, and oregano. If using dried oregano, crumble it into a small bowl. -
Step 2
Finely mince the red onion (or shallot) and the garlic cloves. -
Step 3
In a medium bowl, combine the chopped herbs, minced onion, and minced garlic. -
Step 4
Add the red grape juice vinegar, fresh lemon juice, salt, and red pepper flakes (if using) to the herb mixture. -
Step 5
Slowly drizzle in the olive oil while whisking continuously until well combined and emulsified. -
Step 6
Taste and adjust salt and red pepper flakes as needed. For best flavor, let the chimichurri sit for at least 10-15 minutes before serving.
Important Information
Nutrition Facts (Per Serving)
It is important to consider this information as approximate and not to use it as definitive health advice.
Allergy Information
Please check ingredients for potential allergens and consult a health professional if in doubt.