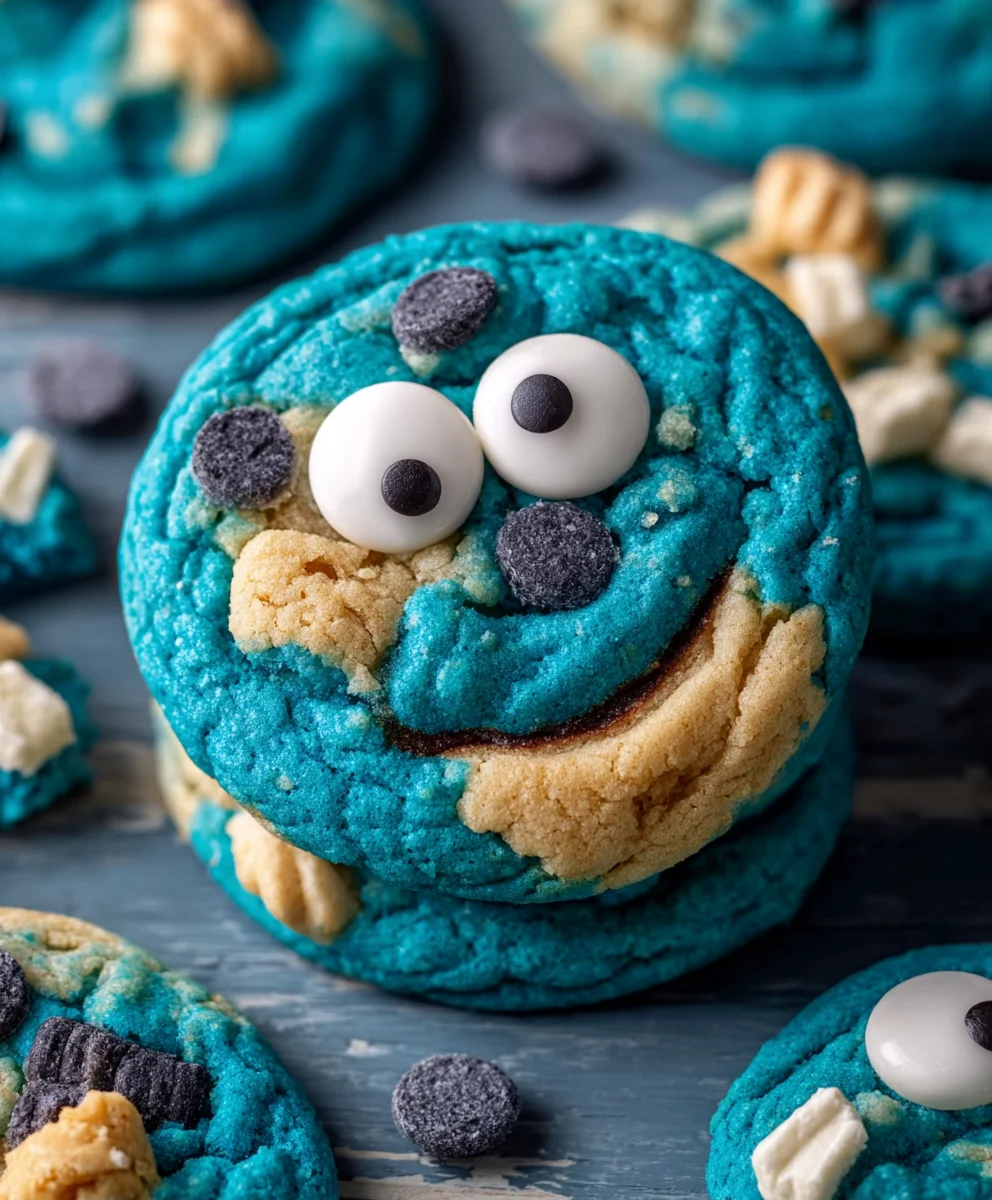
Blue Cookie Monster Cookies-Fun & Fluffy Treat
Blue Cookie Monster Cookies are more than just a sweet treat; they’re a vibrant explosion of nostalgia and pure, unadulterated joy! Who can resist a cookie that’s not only visually stunning with its brilliant blue hue but also packed with those irresistible chocolate chips and the delightful crunch of crum extractbled cookies? These aren’t your average cookies; they capture the playful spirit of our favorite furry, blue friend, making them an instant hit with kids and adults alike. We love them because they bring a smile to your face before you even take the first bite. What truly sets these Blue Cookie Monster Cookies apart is the perfect balance of chewy and crisp, the rich chocolatey goodness, and that signature, eye-catching color that just screams fun. Get ready to dive into a batch that’s as memorable to make as it is to devour!
Ingredients:
- 3 cups (360g) all-purpose flour
- 2 teaspoons cornstarch
- 1 teaspoon baking soda
- 1/4 teaspoon salt
- 2 sticks (1 cup) unsalted butter, softened to room temperature
- 1 1/4 cups packed light brown sugar
- 1/4 cup granulated sugar
- 2 large eggs, at room temperature
- 1 teaspoon pure vanilla extract
- Royal blue gel food coloring
- Electric blue gel food coloring
- Violet gel food coloring
- 2/3 cup white chocolate chips, divided
- 2/3 cup finely chopped mini Chips Ahoy cookies
- 2/3 cup finely chopped Oreo cookies
Preparing the Dough Base
Mixing the Dry Ingredients
First, we need to get our dry ingredients ready. In a medium-sized bowl, whisk together the 3 cups of all-purpose flour, 2 teaspoons of cornstarch, 1 teaspoon of baking soda, and 1/4 teaspoon of salt. The cornstarch is a little secret weapon here; it helps to make the cookies extra tender and gives them a delightful crispness. Whisking them together thoroughly ensures that the leavening agents and salt are evenly distributed, which is key for consistent baking. Set this bowl aside for now.
Creaming the Butter and Sugars
Now for the heart of the cookie dough! In a large mixing bowl, preferably using a stand mixer with a paddle attachment or a hand mixer, cream together the 2 sticks (which is 1 cup) of softened unsalted butter with the 1 1/4 cups of packed light brown sugar and the 1/4 cup of granulated sugar. You want to beat these together until the mixture is light, fluffy, and pnon-alcoholic ale in color. This process incorporates air into the dough, which contributes to the cookie’s texture and spread. Scrape down the sides of the bowl occasionally to make sure everything is evenly creamed. This might take about 3-5 minutes of continuous mixing.
Adding Wet Ingredients
Once the butter and sugars are perfectly creamed, it’s time to add the eggs and vanilla. Add the 2 large eggs, one at a time, beating well after each addition until fully incorporated. Don’t rush this step; it helps to emulsify the fat and liquid components of the dough. Following the eggs, stir in the 1 teaspoon of vanilla extract. The vanilla adds a wonderful depth of flavor that complements all the other ingredients. Continue mixing until everything is smooth and well combined.
Incorporating the Color and Mix-ins
Dividing and Coloring the Dough
This is where our Blue Cookie Monster Cookies get their iconic look! Divide the creamed butter and sugar mixture into three equal portions. To each portion, add a different gel food coloring: one portion for royal blue, one for electric blue, and one for violet. Gel food coloring is excellent because it’s highly concentrated and won’t add excess liquid to your dough. Start with a small amount of coloring and add more gradually until you achieve your desired intensity. Remember, the colors will slightly lighten as they bake. Gently mix each portion until the color is uniform. It’s important to work relatively quickly so the dough doesn’t become overmixed at this stage.
Adding the Dry Ingredients and Mix-ins
Now, we’ll gradually add the dry ingredients to each colored portion of the dough. Add about one-third of the dry flour mixture to each of the colored dough portions. Mix on low speed until just combined. Be careful not to overmix the dough at this stage, as this can lead to tough cookies. Overmixing develops the gluten in the flour, and we want tender cookies. After the flour is incorporated, it’s time for the fun additions! Gently fold in the 2/3 cup of chopped mini Chips Ahoy cookies and the 2/3 cup of chopped Oreo cookies into each colored dough, reserving about 1/3 of the white chocolate chips to sprinkle on top later. Fold them in gently with a spatula or on the lowest mixer setting, just enough to distribute them evenly.
Shaping and Baking for Perfection
Combining the Colors and Adding White Chocolate
This step is all about creating that marbled, monster-like appearance. Gently combine the three colored doughs in the large mixing bowl, or you can combine them in a separate bowl. You don’t want to thoroughly mix them into one uniform color; instead, lightly swirl them together. Think of it as giving them a few gentle folds. You should still be able to see distinct streaks of blue and violet. Once you have a pleasing marbled effect, gently fold in the remaining 1/3 cup of white chocolate chips. These will add lovely pops of white against the vibrant blue and purple hues.
Scooping and Baking the Cookies
Preheat your oven to 350°F (175°C). Line baking sheets with parchment paper to prevent sticking and ensure even baking. Using a cookie scoop (about 1.5 to 2 tablespoons in size) or two spoons, scoop rounded portions of the marbled dough onto the prepared baking sheets, leaving about 2 inches of space between each cookie. This allows them to spread out as they bake. For an extra touch, you can press a few extra white chocolate chips onto the tops of the cookies before baking for a more decorative look. Bake for 10-12 minutes, or until the edges are lightly golden brown and the centers are still slightly soft. They will continue to set up as they cool.
Cooling and Enjoying Your Masterpieces
Once baked to perfection, let the cookies cool on the baking sheets for about 5 minutes. This is crucial as it allows them to firm up enough to be moved without breaking. After 5 minutes, carefully transfer the cookies to a wire rack to cool completely. As they cool, you’ll notice the colors become more vibrant. Enjoy these delicious and visually striking Blue Cookie Monster Cookies! They are perfect for themed parties, or just for brightening up your day.
Conclusion:
There you have it – the ultimate guide to creating your own delicious Blue Cookie Monster Cookies! These delightful treats are sure to bring smiles to faces, whether you’re baking them for a birthday party, a fun afternoon activity with the kids, or simply to satisfy your own sweet cravings. The vibrant blue hue, combined with the classic chocolate chips and colorful candy pieces, makes these cookies a visual and culinary delight. Don’t be afraid to get creative and make them your own!
For serving, these Blue Cookie Monster Cookies are fantastic on their own, but they also pair wonderfully with a cold glass of milk, a scoop of vanilla ice cream, or even a mug of hot chocolate. Consider offering them as part of a dessert buffet or as a special treat during movie nights. When it comes to variations, feel free to experiment with different types of chocolate chips (dark, milk, white), add sprinkles for extra festivity, or even incorporate mini M&Ms for an added crunch and pop of color.
The most important ingredient, however, is your enthusiasm. Baking should be fun, so don’t stress too much about perfection. Enjoy the process, savor the aroma, and most importantly, relish every bite of your homemade Blue Cookie Monster Cookies. I encourage you to try this recipe and share your colorful creations with the world!
Frequently Asked Questions:
Q: Can I make the Blue Cookie Monster Cookies softer or chewier?
A: To achieve a softer and chewier cookie, you can slightly underbake them. Also, using more brown sugar than white sugar in the recipe can contribute to a chewier texture. Letting the dough chill for at least 30 minutes before baking can also help prevent them from spreading too much and result in a thicker, chewier cookie.
Q: How should I store my Blue Cookie Monster Cookies?
A: Once cooled completely, store your Blue Cookie Monster Cookies in an airtight container at room temperature. They should stay fresh and delicious for up to 3-4 days. For longer storage, you can freeze the baked cookies in a single layer in a freezer-safe bag for up to 2-3 months. You can also freeze the cookie dough balls before baking and bake them as needed.
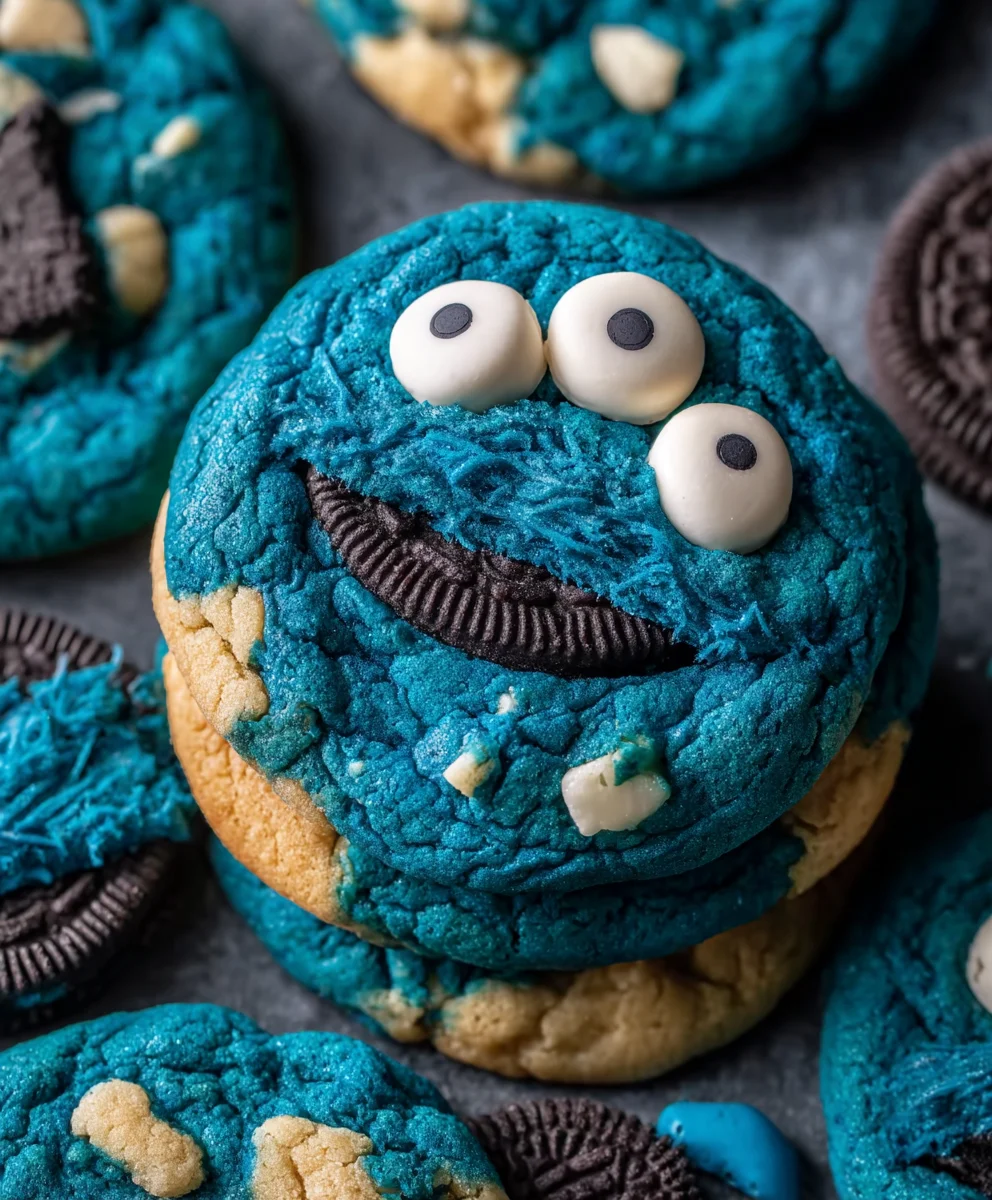
Blue Cookie Monster Cookies-Fun & Fluffy Treat
A fun and fluffy cookie recipe featuring vibrant blue hues and delicious cookie crumbles, inspired by Cookie Monster.
Ingredients
-
3 cups (360g) all-purpose flour
-
2 teaspoons cornstarch
-
1 teaspoon baking soda
-
1/4 teaspoon salt
-
2 sticks (1 cup) unsalted butter, softened to room temperature
-
1 1/4 cups packed light brown sugar
-
1/4 cup granulated sugar
-
2 large eggs, at room temperature
-
1 teaspoon pure vanilla extract
-
Royal blue gel food coloring
-
Electric blue gel food coloring
-
Violet gel food coloring
-
2/3 cup white chocolate chips, divided
-
2/3 cup finely chopped mini Chips Ahoy cookies
-
2/3 cup finely chopped Oreo cookies
Instructions
-
Step 1
In a medium bowl, whisk together the all-purpose flour, cornstarch, baking soda, and salt. Set aside. -
Step 2
In a large bowl, cream together the softened butter with the light brown sugar and granulated sugar until light and fluffy. Beat in the eggs one at a time, followed by the vanilla extract. -
Step 3
Divide the creamed mixture into three equal portions. Add royal blue, electric blue, and violet gel food coloring to each portion respectively, mixing until uniform. Gradually add the dry ingredients to each colored dough portion and mix until just combined. Gently fold in the chopped mini Chips Ahoy cookies and chopped Oreo cookies into each colored dough, reserving some white chocolate chips. -
Step 4
Gently swirl the three colored doughs together in a bowl, creating a marbled effect. Lightly fold in the remaining white chocolate chips. -
Step 5
Preheat oven to 350°F (175°C). Line baking sheets with parchment paper. Scoop rounded portions of the marbled dough onto the baking sheets, leaving 2 inches between cookies. Optionally, press extra white chocolate chips onto the tops. -
Step 6
Bake for 10-12 minutes, or until edges are lightly golden brown and centers are slightly soft. Cool on baking sheets for 5 minutes, then transfer to a wire rack to cool completely.
Important Information
Nutrition Facts (Per Serving)
It is important to consider this information as approximate and not to use it as definitive health advice.
Allergy Information
Please check ingredients for potential allergens and consult a health professional if in doubt.