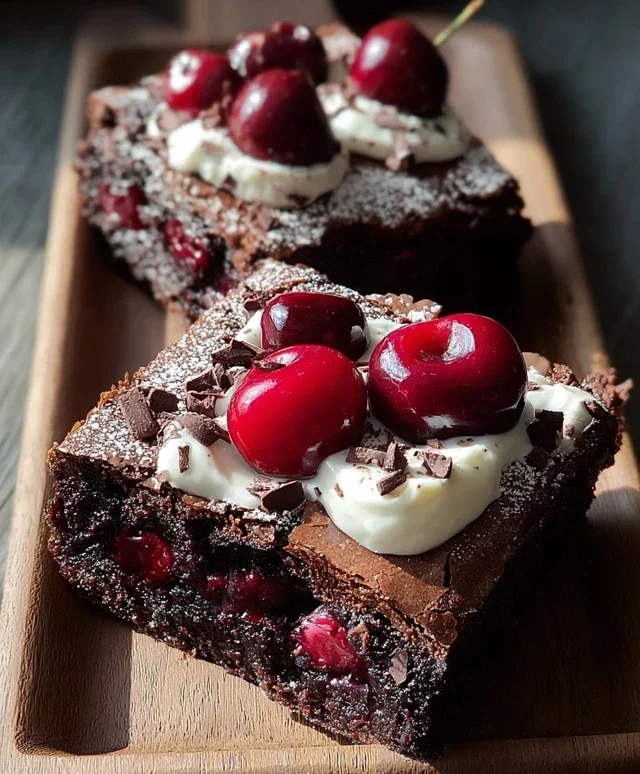
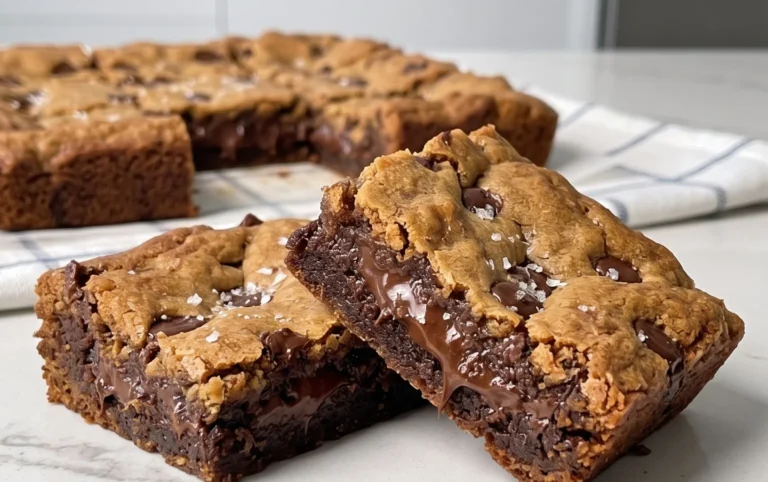
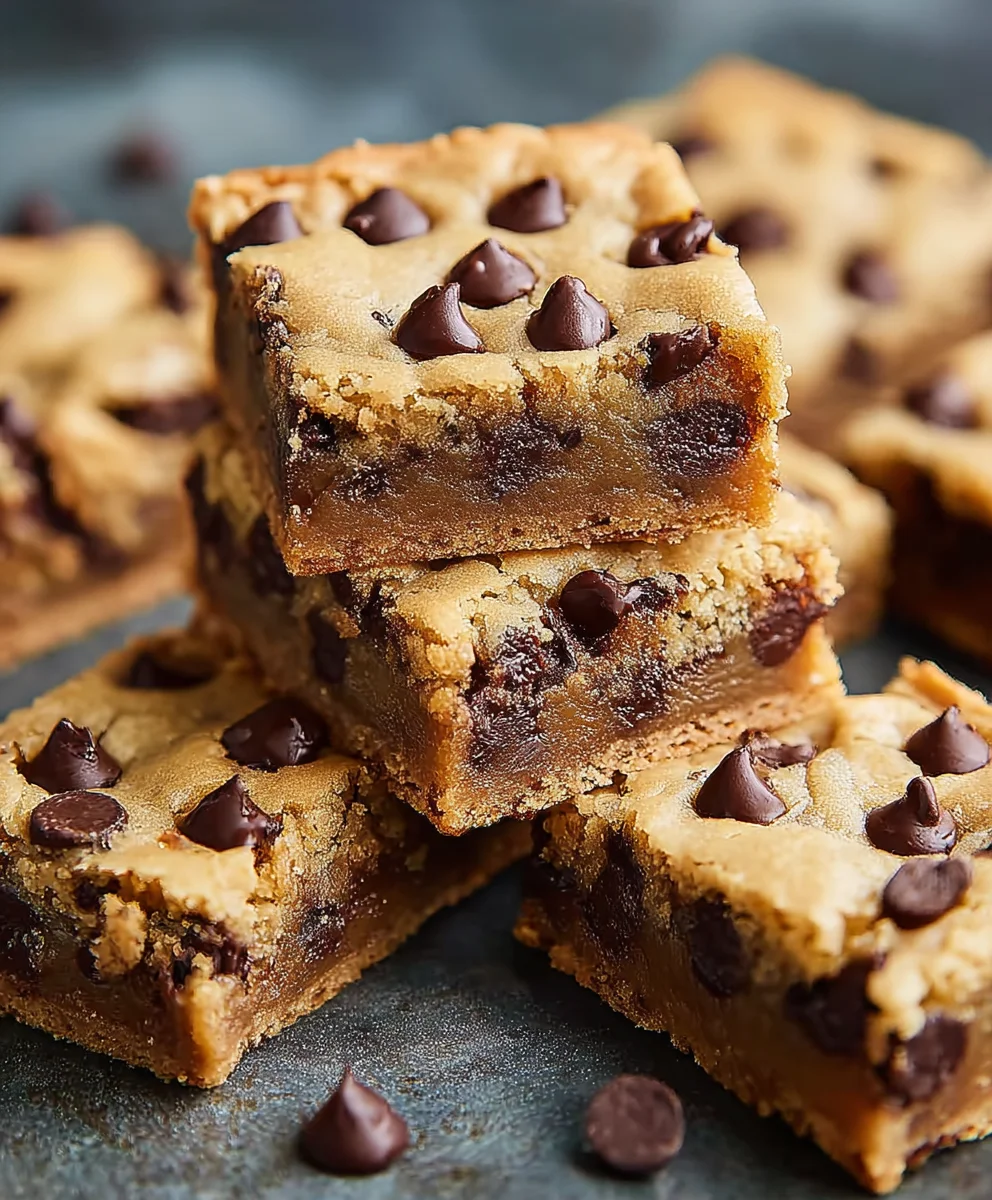
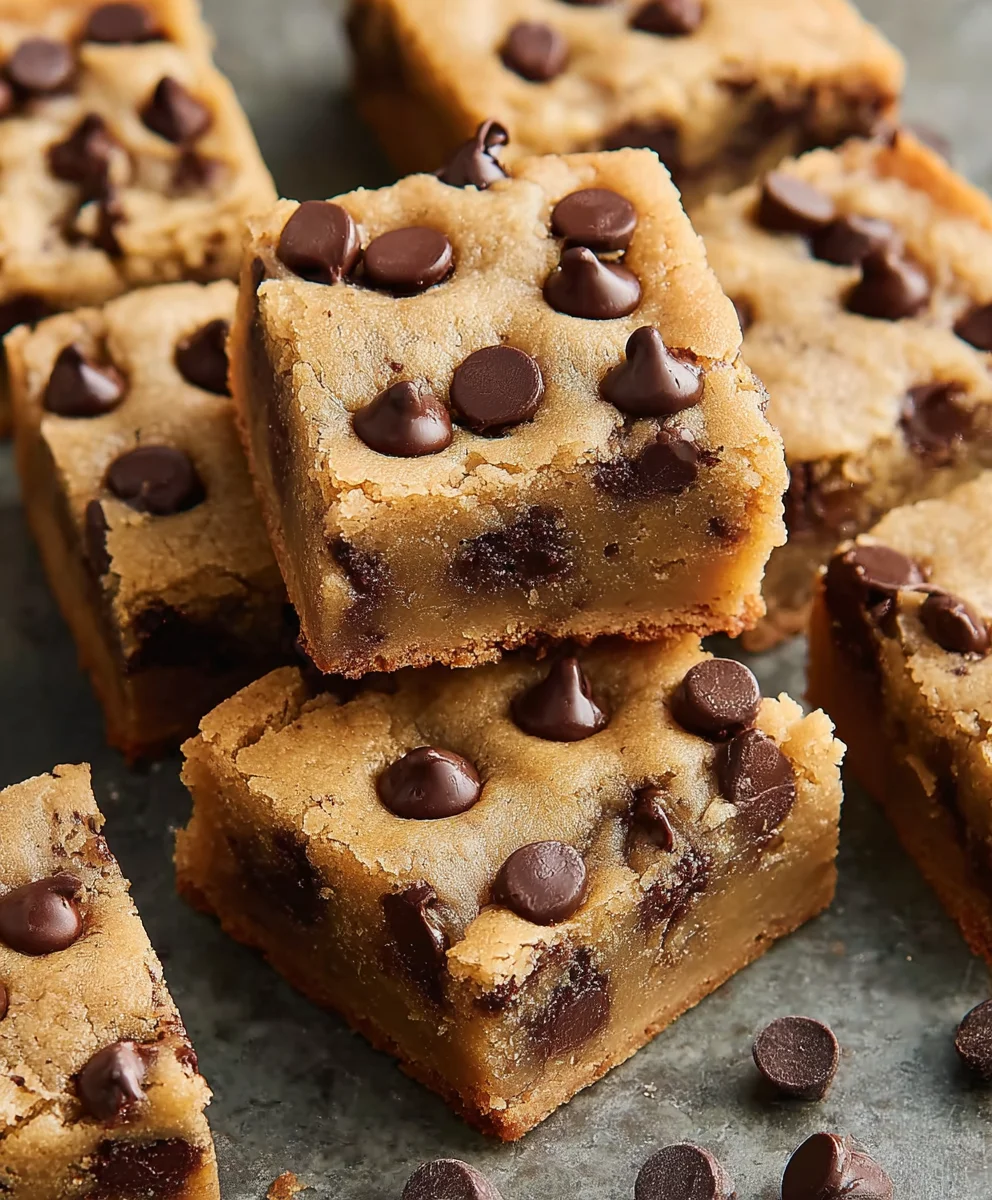
Easy Chocolate Chip Cookie Bars-Simple & Delicious
Chocolate Chip Cookie Bars are more than just a dessert; they’re a warm hug on a plate, a nostalgic trip back to childhood kitchens, and the ultimate crowd-pleaser all rolled into one. Who doesn’t adore the irresistible combination of chewy, buttery cookie dough studded with melty chocolate chips? These bars capture all that beloved cookie magic but with an added layer of convenience. Forget the fuss of scooping individual cookies; these bars are baked in a single pan, making them perfect for parties, bake snon-alcoholic ales, or simply satisfying a sweet craving without the mess. What truly elevates these Chocolate Chip Cookie Bars beyond the ordinary is their perfect balance of crisp edges and a gooey, soft center, ensuring every bite is pure bliss. They’re the easy-bake answer to your dessert prayers, a guaranteed hit that will have everyone asking for the recipe.
Ingredients:
- 2 1/4 cups all-purpose flour
- 1/4 teaspoon salt
- 1/2 teaspoon baking soda
- 3/4 cup unsalted butter, melted
- 1 cup packed brown sugar
- 1/2 cup granulated sugar
- 1 large egg
- 1 large egg yolk
- 2 teaspoons pure vanilla extract
- 2 cups mini chocolate chips
Preparing Your Baking Pan and Oven
The first step to achieving perfectly baked Chocolate Chip Cookie Bars is to prepare your baking equipment. Preheat your oven to 350 degrees Fahrenheit (175 degrees Celsius). This consistent temperature is crucial for even baking, ensuring your bars cook through without burning on the edges or remaining doughy in the center. Next, you’ll want to prepare your 9×13 inch baking pan. For easy removal and cleanup, I highly recommend lining the pan with parchment paper, leaving an overhang on the sides. This overhang acts as handles, allowing you to lift the entire slab of cookie bars out of the pan once cooled, making slicing a breeze. If you don’t have parchment paper, you can grease the pan thoroughly with butter or non-stick cooking spray, but the parchment method is truly superior for this recipe.
Combining Dry Ingredients
In a medium-sized bowl, whisk together the dry ingredients. This includes your 2 1/4 cups of all-purpose flour, 1/4 teaspoon of salt, and 1/2 teaspoon of baking soda. Whisking these ingredients thoroughly ensures that the leavening agent (baking soda) and salt are evenly distributed throughout the flour. This is important for uniform rise and flavor in your cookie bars. A common mistake is to just dump them in, but a good whisking will make a noticeable difference in the final texture. Set this bowl aside for now; we’ll incorporate it into the wet ingredients shortly.
Creaming Butter and Sugars
Now, let’s move on to the wet ingredients, starting with the foundation of our cookie bar’s sweetness and texture. In a large mixing bowl, combine the 3/4 cup of melted unsalted butter with the 1 cup of packed brown sugar and 1/2 cup of granulated sugar. Using melted butter for cookie bars often results in a chewier texture compared to using softened butter, which tends to produce cakier results. The packed brown sugar contributes moisture and a rich, caramel-like flavor, while the granulated sugar provides crispness. Cream these ingredients together using an electric mixer on medium speed, or vigorously by hand with a whisk or spatula, until the mixture is smooth and well combined, with no large clumps of sugar remaining. This creaming process helps to incorporate air, which will contribute to the overall texture of the bars.
Adding Eggs and Vanilla
Once your butter and sugar mixture is smooth, it’s time to add the binders and flavor enhancers. Crack in your 1 large egg and add the extra 1 large egg yolk. The yolk adds richness and fat, contributing to a more tender and fudgy texture. Beat these into the butter and sugar mixture until they are fully incorporated and the mixture appears lighter in color and slightly fluffy. Scrape down the sides of the bowl periodically to ensure everything is evenly mixed. Next, add the 2 teaspoons of pure vanilla extract. Vanilla is not just for flavor; it also enhances the perception of sweetness and rounds out the overall taste profile of the cookie bars. Mix until the vanilla is thoroughly blended.
Incorporating Dry Ingredients and Chocolate Chips
With the wet ingredients combined, it’s time to bring everything together. Gradually add the dry ingredients (flour, salt, and baking soda mixture) to the wet ingredients. It’s best to add the dry ingredients in two or three additions, mixing on low speed or by hand after each addition, just until the flour streaks disappear. Be careful not to overmix at this stage. Overmixing can develop the gluten in the flour too much, leading to tough cookie bars. Once the flour is just incorporated, gently fold in the 2 cups of mini chocolate chips. Using mini chocolate chips ensures a more even distribution of chocolate throughout the bars, providing a delightful burst of chocolate in every bite. Again, fold them in until they are just distributed; don’t overmix.
Baking and Cooling Your Cookie Bars
Now it’s time to get these delicious bars into the oven. Pour or spread the cookie dough evenly into your prepared 9×13 inch baking pan. Use a spatula or the back of a spoon to spread the dough out so it’s a uniform layer. This is important for even baking. Place the pan in your preheated oven and bake for 25 to 30 minutes. The bars are done when the edges are lightly golden brown and the center looks set, but not overly firm. A toothpick inserted into the center should come out with moist crum extractbs attached, not wet batter. Avoid overbaking, as this will result irum extractry, crumbly bars. Once baked, remove the pan from the oven and let the cookie bars cool completely on a wire rack. This cooling process is crucial. Resist the urge to cut into them while warm, as they will be too soft and likely fall apart. Patience is key here! Once completely cooled, use the parchment paper overhang to lift the entire slab from the pan. You can then cut them into your desired bar size using a sharp knife. Enjoy your homemade Chocolate Chip Cookie Bars!
Conclusion:
And there you have it – the ultimate guide to crafting delicious Chocolate Chip Cookie Bars! We’ve walked through each step, from creaming the butter and sugar to achieving that perfect golden-brown edge. These bars are a fantastic make-ahead treat, perfect for busy weeknights or impressive enough for a party. Their chewy texture and generous pockets of melted chocolate chips are sure to be a crowd-pleaser.
For serving, these Chocolate Chip Cookie Bars are delightful on their own, perhaps with a tall glass of milk. You can also elevate them by warming them slightly and serving with a scoop of vanilla ice cream for a decadent dessert. Feeling adventurous? Consider adding a sprinkle of sea salt on top before baking for a delightful sweet and salty contrast, or fold in some chopped nuts like walnuts or pecans for an extra layer of texture. Don’t be afraid to experiment and make these bars your own! I encourage you to get baking and enjoy the simple pleasure of homemade treats.
Frequently Asked Questions:
Q: How should I store my Chocolate Chip Cookie Bars?
To keep your Chocolate Chip Cookie Bars fresh, store them in an airtight container at room temperature for up to 3 days. For longer storage, you can refrigerate them for up to a week, or freeze them for up to 3 months. Thaw frozen bars at room temperature before enjoying.
Q: Can I make these Chocolate Chip Cookie Bars healthier?
While this recipe is designed for classic indulgence, you can make some adjustments for a healthier twist. Consider using whole wheat flour instead of all-purpose flour, reducing the sugar slightly, or opting for darker chocolate chips which often contain less sugar and more antioxidants. You can also incorporate ingredients like oats for added fiber.
Easy Chocolate Chip Cookie Bars-Simple & Delicious
Simple and delicious chocolate chip cookie bars that are easy to make and perfect for any occasion.
Ingredients
-
2 1/4 cups all-purpose flour
-
1/4 teaspoon salt
-
1/2 teaspoon baking soda
-
3/4 cup unsalted butter, melted
-
1 cup packed brown sugar
-
1/2 cup granulated sugar
-
1 large egg
-
1 large egg yolk
-
2 teaspoons pure vanilla extract
-
2 cups mini chocolate chips
Instructions
-
Step 1
Preheat oven to 350 degrees Fahrenheit (175 degrees Celsius). Line a 9×13 inch baking pan with parchment paper, leaving an overhang on the sides. -
Step 2
In a medium bowl, whisk together the flour, salt, and baking soda. Set aside. -
Step 3
In a large bowl, combine the melted butter, brown sugar, and granulated sugar. Cream together until smooth. -
Step 4
Beat in the egg, egg yolk, and vanilla extract until fully incorporated and the mixture is lighter in color. -
Step 5
Gradually add the dry ingredients to the wet ingredients, mixing until just combined. Do not overmix. -
Step 6
Gently fold in the mini chocolate chips. -
Step 7
Spread the dough evenly into the prepared baking pan. Bake for 25-30 minutes, or until the edges are lightly golden brown and the center is set. -
Step 8
Let the bars cool completely in the pan on a wire rack before lifting out and slicing.
Important Information
Nutrition Facts (Per Serving)
It is important to consider this information as approximate and not to use it as definitive health advice.
Allergy Information
Please check ingredients for potential allergens and consult a health professional if in doubt.