Easy Homemade Strawberry Ice Cream – Best Recipe
Homemade strawberry ice cream is an absolute summertime dream, and I’m so excited to share my foolproof recipe with you! There’s something undeniably magical about the vibrant pink hue and the sweet, tangy burst of fresh strawberries that just screams sunshine and pure joy. Forget those store-bought tubs; nothing compares to the intensely fruity flavor and lusciously creamy texture you can achieve right in your own kitchen. When those perfectly ripe strawberries hit their peak, you know it’s time to create some culinary magic. This isn’t just any dessert; it’s a nostalgic trip back to childhood summers, a celebration of nature’s bounty, and a delicious reward for a little bit of effort. I promise, the satisfaction of scooping into your own churned, homemade strawberry ice cream is unparalleled.
Why You’ll Love This Recipe
It’s Bursting with Real Strawberry Flavor
This recipe is all about showcasing the incredible taste of fresh strawberries. No artificial flavors, just pure, unadulterated fruit goodness.
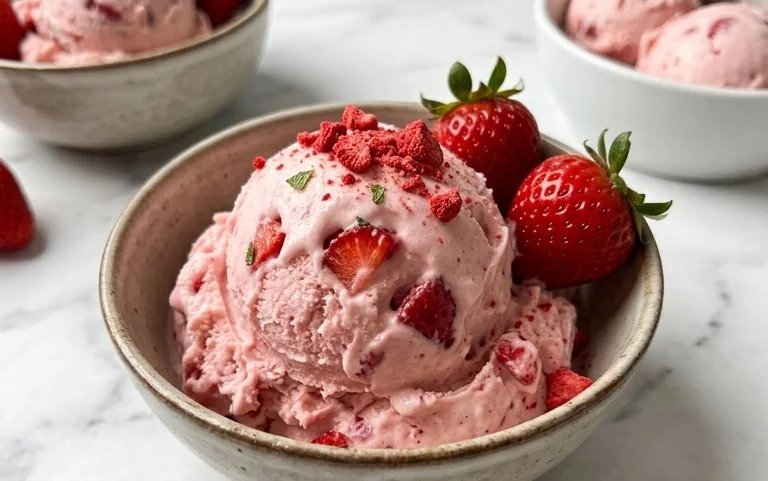
Homemade Strawberry Ice Cream
There’s something incredibly satisfying about creating your own ice cream from scratch, and when it comes to summer flavors, you really can’t beat the sweet, tangy burst of homemade strawberry ice cream. Forget those artificial-tasting store-bought versions; this recipe unlocks the true essence of fresh strawberries, transforming them into a creamy, dreamy frozen treat that will have everyone asking for seconds. The beauty of making your own is the control you have over the ingredients, ensuring a pure, unadulterated strawberry flavor. Plus, the process itself is surprisingly simple and rewarding, even if you don’t have an ice cream maker (though it definitely helps!).
This recipe is designed for simplicity and maximum flavor. We’re using fresh strawberries for that authentic taste, a touch of honey to complement their natural sweetness, and a classic dairy base for that rich, velvety texture we all crave in a good ice cream. The lemon juice is our secret weapon, subtly brightening the strawberry flavor and preventing the ice cream from tasting flat.
Ingredients:
Now that you have your beautiful ingredients gathered, let’s get started on creating your ultimate strawberry ice cream!
Preparing the Strawberry Base
The first step to achieving that intensely fruity flavor is to prepare our strawberries. In a medium bowl, combine the hulled and diced strawberries with the honey, granulated sugar, and lemon juice. Gently stir everything together until the strawberries are evenly coated. The sugar will begin extract to draw out the juices from the strawberries, and the honey adds a lovely depth of flavor that complements the berries beautifully. The lemon juice, as mentioned, is crucial for enhancing that vibrant strawberry taste and adding a touch of brightness. Allow this mixture to sit at room temperature for about 30 minutes. This maceration period is important because it allows the strawberries to soften and release their delicious juices, creating a more concentrated flavor for our ice cream. You’ll notice that the mixture will become syrupy.
Blending the Strawberry Mixture
Once the strawberries have had a chance to macerate, it’s time to blend them into a smooth puree. You have a couple of options here. For a super smooth ice cream with no strawberry chunks, transfer the entire strawberry mixture (including the juices) to a blender or food processor. Pulse until you achieve a smooth, consistent puree. If you prefer a little bit of texture in your ice cream, you can mash the strawberries with a potato masher or the back of a fork instead of blending. However, for the most classic strawberry ice cream experience, I highly recommend blending for that silky texture. Once blended, you can strain the puree through a fine-mesh sieve to remove any tiny seeds if you’re particularly sensitive to them, but I personally find they add to the rustic charm of homemade ice cream.
Creating the Creamy Base
While the strawberries are doing their thing, it’s time to prepare the dairy base that will give our ice cream its luxurious creaminess. In a separate bowl, whisk together the heavy whipping cream, half and half, and vanilla extract until well combined. The combination of heavy cream and half and half creates the perfect balance of richness and lightness. Heavy cream provides that essential fat content for a smooth, scoopable texture, while half and half dilutes it just enough to prevent the ice cream from becoming too dense or greasy. Vanilla extract is a classic addition that harmonizes beautifully with the strawberry flavor, enhancing its sweetness without overpowering it.
Combining and Chilling the Ice Cream Base
Now, it’s time to bring our two components together! Gently fold the blended strawberry puree into the cream mixture. Stir until everything is just combined and you have a beautiful, uniformly pink ice cream base. Don’t overmix at this stage, as you don’t want to incorporate too much air. The goal here is to create a cohesive mixture that holds all that wonderful strawberry flavor.
After combining, cover the bowl tightly with plastic wrap and refrigerate the mixture for at least 2 to 4 hours, or preferably overnight. This chilling step is absolutely critical. The colder your base is before churning, the faster it will freeze and the smoother your ice cream will be. Chilling allows the dairy to firm up slightly and the flavors to meld together even further, ensuring a more intense and well-rounded strawberry taste in your final product.
Churning the Ice Cream
This is where the magic really happens, and it’s where an ice cream maker truly shines.
If you have an ice cream maker:
Pour the chilled strawberry ice cream base into your ice cream maker’s frozen bowl. Churn according to the manufacturer’s instructions, which typically takes about 20-30 minutes. You’re looking for a consistency that resembles soft-serve ice cream. It will continue to firm up as it freezes further.
If you don’t have an ice cream maker (the “no-churn” method):
Pour the chilled ice cream base into a freezer-safe container. Place it in the freezer. Every 30-45 minutes for the first 3-4 hours, remove the container from the freezer and vigorously stir the mixture with a whisk or an electric mixer. This process breaks up the ice crystals as they form, which is what makes homemade ice cream grainy if not done. The goal is to incorporate air and create a smoother texture.
Freezing and Enjoying
Once churned (or after repeated stirring if using the no-churn method), the ice cream will be in a soft-serve consistency. Transfer the ice cream to an airtight container. For the best texture, press a piece of parchment paper or plastic wrap directly onto the surface of the ice cream to prevent ice crystals from forming on top. Then, cover the container tightly. Place the ice cream in the freezer for at least 4-6 hours, or until it’s firm enough to scoop. The waiting game is the hardest part, but trust me, the reward is absolutely worth it! When you’re ready to serve, let the ice cream sit at room temperature for a few minutes to soften slightly, making it easier to scoop. Enjoy your absolutely delicious, homemade strawberry ice cream!
Conclusion:
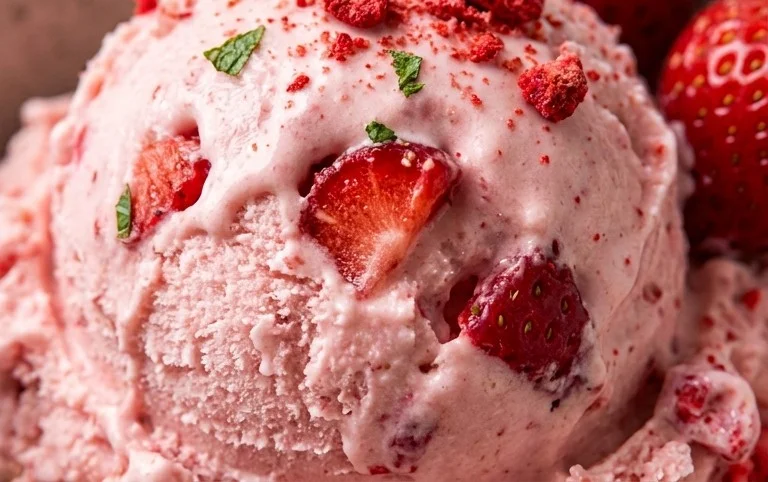
There you have it – a simple yet incredibly rewarding recipe for homemade strawberry ice cream that’s sure to become a family favorite. This recipe truly shines because of its pure, unadulterated strawberry flavor, achieved with fresh, ripe berries. No artificial flavors, just the taste of summer in every scoop! The creamy texture is wonderfully satisfying, and the bright, sweet notes of the strawberries are simply irresistible. Whether you’re celebrating a special occasion or just craving a delicious treat, this homemade strawberry ice cream is the perfect answer.
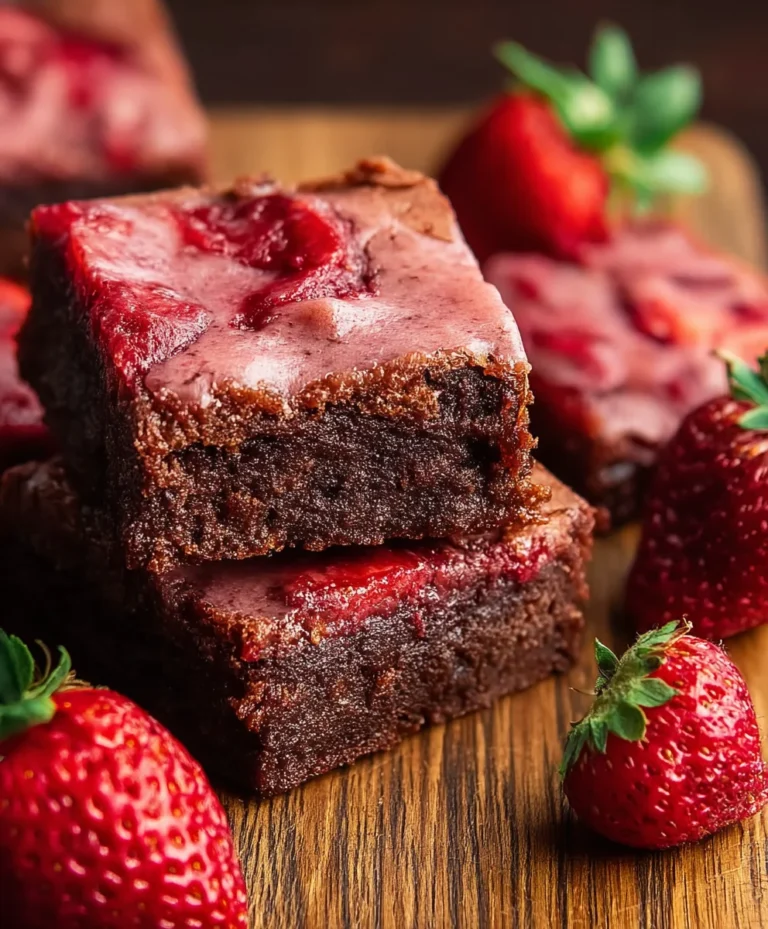
I highly encourage you to give this recipe a try. It’s a fantastic way to use up an abundance of strawberries and experience a level of freshness you just can’t find in store-bought ice cream. Imagin extracte serving scoops of this vibrant pink delight at your next summer barbecue or as a special dessert after a home-cooked meal. For serving, it’s wonderful on its own, but it also pairs beautifully with a warm chocolate brownie, a drizzle of balsamic glaze, or a sprinkle of fresh mint. Don’t be afraid to experiment with variations! You could add a swirl of cheesecake filling, a handful of chocolate chips, or even a touch of lemon zest for an extra zing.
Frequently Asked Questions about Homemade Strawberry Ice Cream:
Why are my strawberries not tasting strongly enough?
For the most intense strawberry flavor, make sure you’re using very ripe, in-season strawberries. If your berries aren’t naturally sweet and flavorful, the ice cream might taste a bit bland. You can also consider reducing the amount of cream and milk slightly, or adding a touch more sugar if needed, to intensify the fruit profile.
Can I make this without an ice cream maker?
Absolutely! While an ice cream maker yields the smoothest texture, you can achieve delicious results without one. Simply pour your strawberry mixture into a shallow freezer-safe container. Every 30-45 minutes for the first 2-3 hours, vigorously whisk the mixture to break up ice crystals. This process will take longer but will still result in a delightful frozen treat.
Homemade Strawberry Ice Cream
A classic and delicious homemade strawberry ice cream recipe, perfect for a sweet treat.
Ingredients
-
1 1/2 cups strawberries, hulled and diced
-
2 Tbsp honey
-
1/2 cup granulated sugar
-
1 tsp lemon juice
-
1 cup heavy whipping cream
-
1/2 cup half and half
-
1 tsp vanilla extract
Instructions
-
Step 1
In a bowl, mash the diced strawberries with the honey and lemon juice. Let sit for 10 minutes. -
Step 2
In a separate bowl, whisk together the heavy whipping cream, half and half, granulated sugar, and vanilla extract until well combined and slightly thickened. -
Step 3
Gently fold the mashed strawberry mixture into the cream mixture. -
Step 4
Pour the mixture into an ice cream maker and churn according to the manufacturer’s instructions. -
Step 5
Once churned, transfer the ice cream to an airtight container and freeze for at least 4 hours, or until firm.
Important Information
Nutrition Facts (Per Serving)
It is important to consider this information as approximate and not to use it as definitive health advice.
Allergy Information
Please check ingredients for potential allergens and consult a health professional if in doubt.