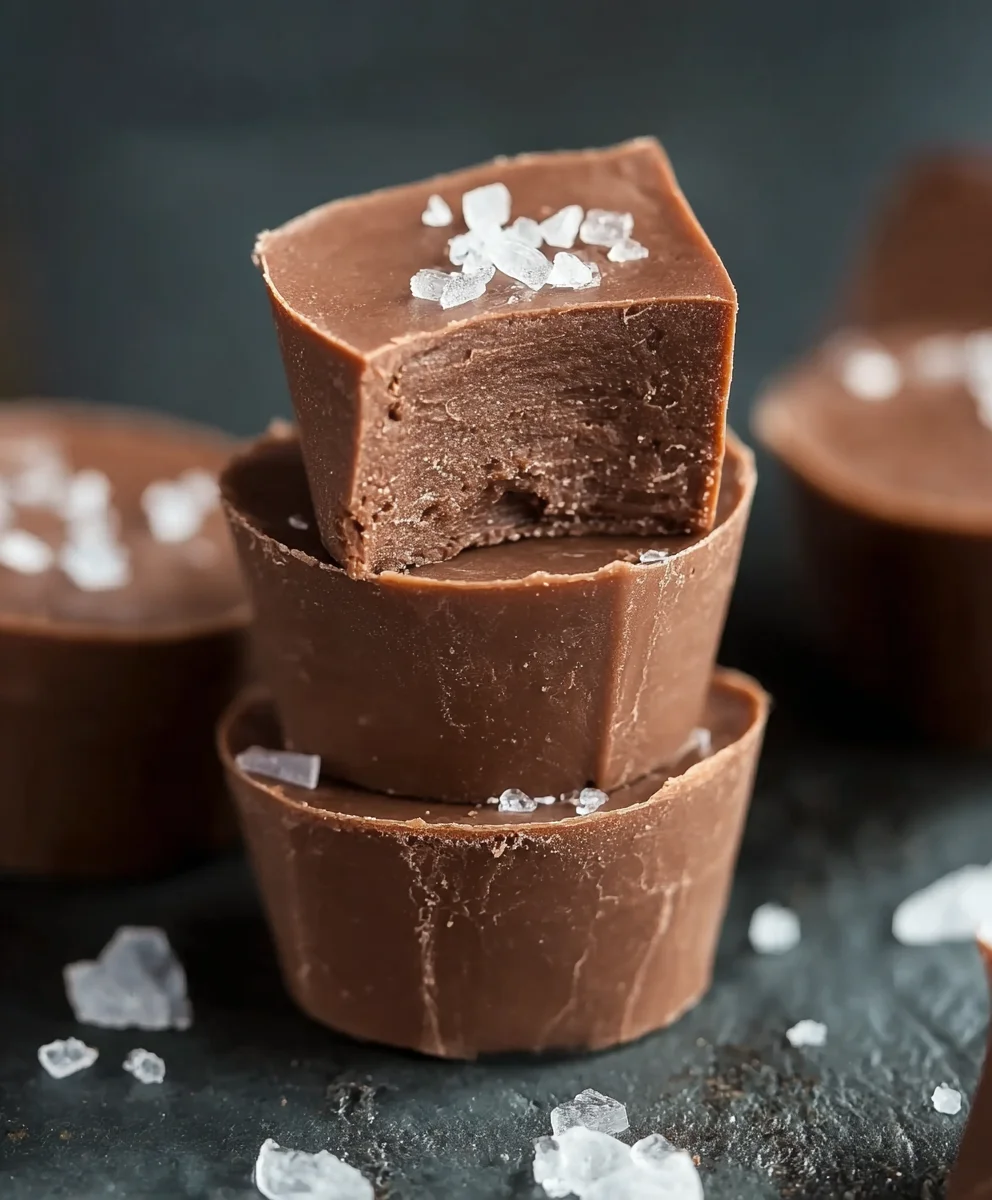
Easy Sugar-Free Fudge – Melt-in-Your-Mouth Treat
Sugar Free Fudge. Ah, the mere mention of it can conjure images of pure indulgence without the guilt. For years, fudge has been the undisputed cbeef hampion of comfort sweets, a rich, creamy delight that melts in your mouth and warms your soul. But what if you could recapture that magic, that satisfying chew, that intense cocoa flavor, all while keeping your sugar intake in check? That’s precisely where our irresistible Sugar Free Fudge recipe comes in. We’ve cracked the code to create a version that’s so decadent and utterly delicious, you’ll be hard-pressed to believe it’s sugar-free. It’s the perfect treat for those mindful of their sugar consumption, yet unwilling to compromise on pure, unadulterated dessert bliss. Get ready to discover your new favorite guilt-free indulgence!
What Makes This Sugar Free Fudge So Special?
This isn’t just any sugar-free adaptation; it’s a revelation. We’ve meticulously balanced ingredients to achieve that classic, velvety texture and deep chocolatey punch that makes traditional fudge so beloved. The secret lies in the careful selection of sweeteners and the precise cooking method, ensuring a smooth, consistent result every single time. Forget grainy textures or artificial aftertastes; our Sugar Free Fudge is a testament to the fact that healthy indulgence doesn’t mean sacrificing flavor or that perfect fudgy mouthfeel. It’s a simple yet sophisticated recipe that’s perfect for holidays, special occasions, or simply as an everyday treat to brighten your day. Prepare to be amazed at how easy it is to create this crowd-pleasing confection right in your own kitchen.
Ingredients:
- 2 cups sugar free chocolate chips
- 1 cup almond butter (or any other smooth nut or seed butter you prefer)
- 1 teaspoon vanilla extract
Melting the Chocolate
Step 1: Gentle Melting is Key
This is the foundation of our sugar free fudge, so it’s important to get this step right. We need to melt the sugar free chocolate chips gently to avoid scorching them. Scorched chocolate can become grainy and bitter, which will ruin the texture and flavor of your fudge. I find the best method for this is using a double boiler. If you don’t have a dedicated double boiler, you can easily create one. Fill the bottom pot of your double boiler (or a saucepan) with about an inch or two of water. Make sure the water level is low enough that it won’t touch the bottom of the upper pot or heatproof bowl you’ll be using to hold the chocolate. Bring the water to a gentle simmer over medium-low heat. Place the sugar free chocolate chips into the top pot or heatproof bowl. Position this over the simmering water, ensuring the bottom doesn’t touch the water itself. The steam will gently heat the chocolate. Stir the chocolate chips continuously with a silicone spatula or wooden spoon. This constant stirring is crucial for even melting and preventing hot spots. Be patient; it might take a few minutes for the chips to start softening. Once they begin extract to melt, continue stirring until the chocolate is completely smooth and glossy.
Incorporating the Nut Butter
Step 2: Smooth Integration
Once your sugar free chocolate chips are beautifully melted and smooth, it’s time to add the almond butter. The warmth from the melted chocolate will help the almond butter incorporate seamlessly. Add the entire cup of almond butter directly into the bowl with the melted chocolate. Continue to stir gently but consistently. At first, it might look like the almond butter isn’t combining, but keep stirring. You’ll notice it gradually start to blend into the chocolate, creating a richer, thicker mixture. The goal here is to achieve a completely uniform consistency with no streaks of either ingredient visible. If you find your almond butter is very stiff or cold, you can warm it slightly in the microwave for about 10-15 seconds before adding it. This will help it melt into the chocolate more easily. Ensure all the almond butter is fully incorporated before moving to the next step. This thorough blending is what gives the fudge its signature creamy texture.
Adding the Flavor
Step 3: Enhancing the Aroma and Taste
Now that the chocolate and almond butter are a perfectly combined, luscious base, we’ll add the vanilla extract. Vanilla extract is a fantastic flavor enhancer, and it complements the richness of the chocolate and the nuttiness of the almond butter beautifully. Measure out one teaspoon of good quality vanilla extract. Pour it directly into the mixture of melted chocolate and almond butter. Continue stirring until the vanilla extract is fully distributed throughout the fudge mixture. You’ll notice the aroma becoming even more inviting as you stir in the vanilla. This step is simple but adds a crucial layer of complexity to the flavor profile of your sugar free fudge. Don’t skip it! A little bit of vanilla goes a long way in elevating the overall taste experience.
Preparing for Setting
Step 3.5: Lining Your Pan
Before we pour our glorious fudge mixture, we need to prepare the pan it will set in. This makes removing the fudge later a breeze and prevents any sticky situations. I recommend using an 8×8 inch square baking pan. Line the pan with parchment paper, making sure to leave some overhang on the sides. This overhang acts as handles, allowing you to lift the entire slab of fudge out of the pan once it’s set. Press the parchment paper down firmly into the corners and along the bottom of the pan to ensure it lies flat. This preparation is a small but vital step that will save you a lot of hassle when it comes time to cut and serve your delicious sugar free fudge. A well-lined pan ensures clean edges and easy handling.
Setting and Chilling
Step 4: Patience is a Virtue
Once your fudge mixture is smooth and perfectly blended, carefully pour it into the prepared baking pan. Use your spatula to spread the fudge evenly, ensuring it reaches all the corners of the pan for a uniform thickness. Once spread, gently tap the pan on the counter a few times. This helps to release any air bubbles that might be trapped within the mixture, leading to a denser, smoother fudge. Now comes the part that requires a little patience: letting the fudge set. You have two primary options here. For a firmer fudge, you can leave the pan on the counter at room temperature for about 2-3 hours, or until it’s firm to the touch. Alternatively, for a quicker set and a more robust firmness, you can place the pan in the refrigerator for about 1-2 hours. I personally prefer the refrigerator method as it speeds things up and results in a wonderfully firm, sliceable sugar free fudge. Resist the urge to touch or move it too much while it’s setting; disturbance can affect the texture.
Cutting and Enjoying
Step 5: The Final Touch
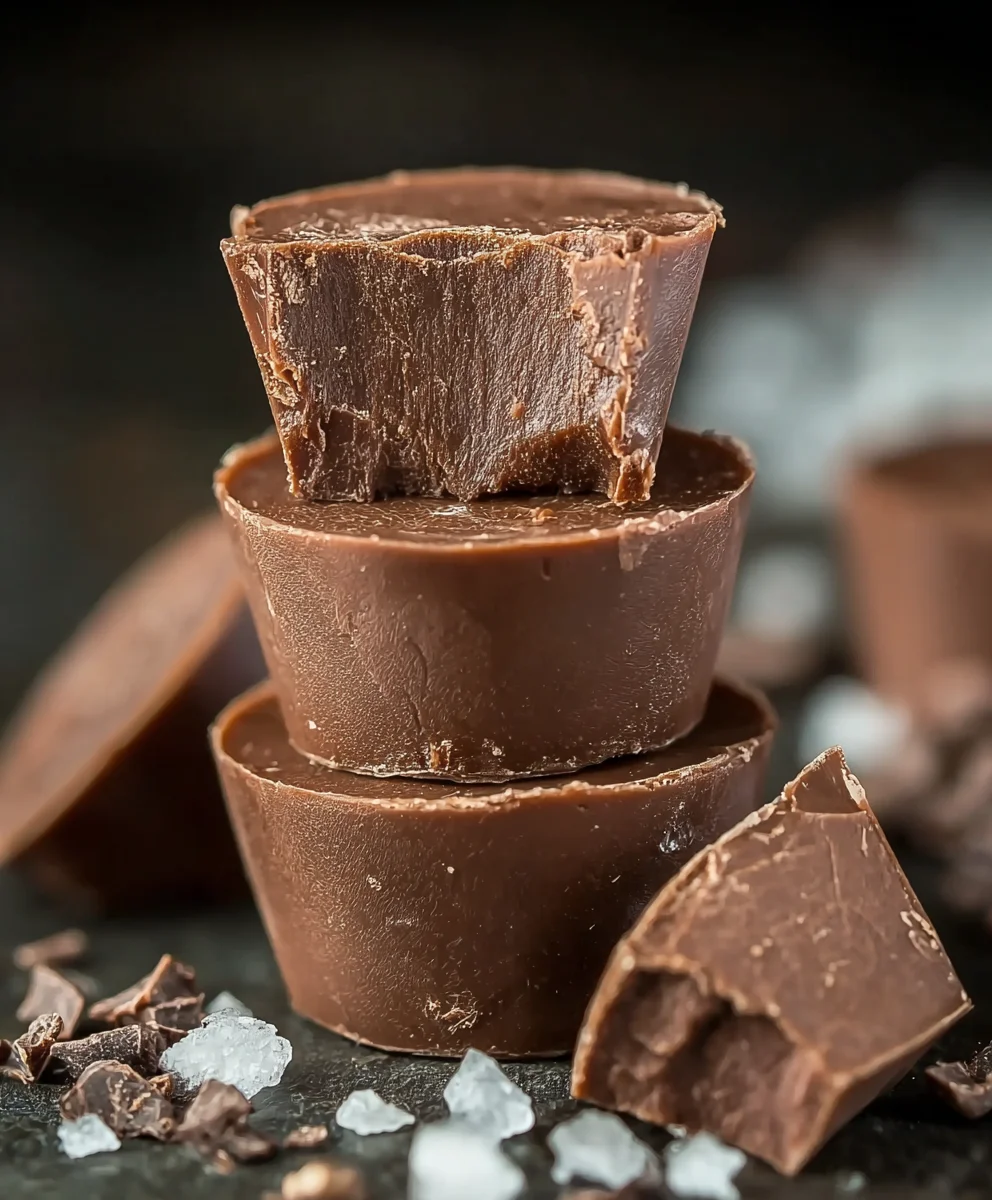
Once your sugar free fudge has set completely and is firm, it’s time for the most satisfying part – cutting it! Using the parchment paper overhang, carefully lift the entire slab of fudge out of the pan. Place it on a clean cutting board. For best results, use a sharp knife that has been warmed slightly. You can do this by running it under hot water and then drying it thoroughly. A warm knife will slice through the fudge cleanly withgin extract dragging or sticking. Cut the fudge into small, bite-sized squares. The size is up to your preference, but typically 1-inch squares are perfect for this rich treat. If the fudge feels a bit too soft to cut cleanly, pop it back into the refrigerator for another 15-30 minutes to firm up further before slicing. Once cut, you can serve your delicious, homemade sugar free fudge immediately, or store it in an airtight container at room temperature or in the refrigerator for future enjoyment.
Conclusion:
You’ve now unlocked the secret to creating delicious and guilt-free Sugar Free Fudge! This recipe proves that you don’t need sugar to enjoy a rich, decadent treat. We’ve walked through each step, ensuring you can achieve that perfect melt-in-your-mouth texture every time. Remember, the key is careful melting and consistent stirring to prevent scorching and achieve that smooth consistency.
These delightful Sugar Free Fudge squares are perfect for any occasion, from a simple afternoon pick-me-up to a show-stopping dessert at your next gathering. For serving suggestions, consider arrangin extractg them on a festive platter with a sprinkle of sugar-free chocolate shavings or a dusting of unsweetened cocoa powder. They also pair wonderfully with a hot cup of sugar-free coffee or tea.
Don’t be afraid to get creative with variations! You can incorporate a dash of pure vanilla extract, a hint of peppermint oil, or even some chopped sugar-free nuts like walnuts or pecans for added texture and flavor. Experiment with different sugar-free sweeteners to find your preferred level of sweetness. We encourage you to try this recipe and share the joy of Sugar Free Fudge with your friends and family. Hgin extracty fudging!
Frequently Asked Questions:
Q: Why is my Sugar Free Fudge not setting properly?
A: Several factors can affect setting. Ensure you’re using a reliable sugar-free sweetener that measures similarly to sugar, as some artificial sweeteners can behave differently. Overheating can also cause issues. Follow the recipe instructions closely regarding temperature and cooling time. Allow it to set completely in the refrigerator for at least a few hours.
Q: Can I use a different type of sugar-free sweetener in this Sugar Free Fudge recipe?
A: Yes, you can experiment with different sugar-free sweeteners such as erythritol, xylitol (be cautious if you have pets, as xylitol is toxic to dogs), or stevia blends. However, be aware that the texture and sweetness level might vary. You may need to adjust the quantity based on the sweetener’s potency and its conversion rate to sugar.
Easy Sugar-Free Fudge – Melt-in-Your-Mouth Treat
A simple and decadent sugar-free fudge recipe that melts in your mouth. Perfect for a guilt-free sweet treat.
Ingredients
-
2 cups sugar free chocolate chips
-
1 cup almond butter
-
1 teaspoon vanilla extract
-
Parchment paper for lining
-
Water for double boiler
Instructions
-
Step 1
Gently melt the sugar free chocolate chips using a double boiler until completely smooth and glossy, stirring continuously. -
Step 2
Add the almond butter to the melted chocolate and stir gently but consistently until fully incorporated and a uniform consistency is achieved. -
Step 3
Stir in the vanilla extract until it is fully distributed throughout the fudge mixture. -
Step 4
Line an 8×8 inch square baking pan with parchment paper, leaving overhang on the sides for easy removal. -
Step 5
Pour the fudge mixture into the prepared pan, spread evenly, and gently tap to release air bubbles. Let it set at room temperature for 2-3 hours or in the refrigerator for 1-2 hours until firm. -
Step 6
Once set, lift the fudge out of the pan using the parchment paper, place on a cutting board, and cut into bite-sized squares using a sharp, warmed knife.
Important Information
Nutrition Facts (Per Serving)
It is important to consider this information as approximate and not to use it as definitive health advice.
Allergy Information
Please check ingredients for potential allergens and consult a health professional if in doubt.