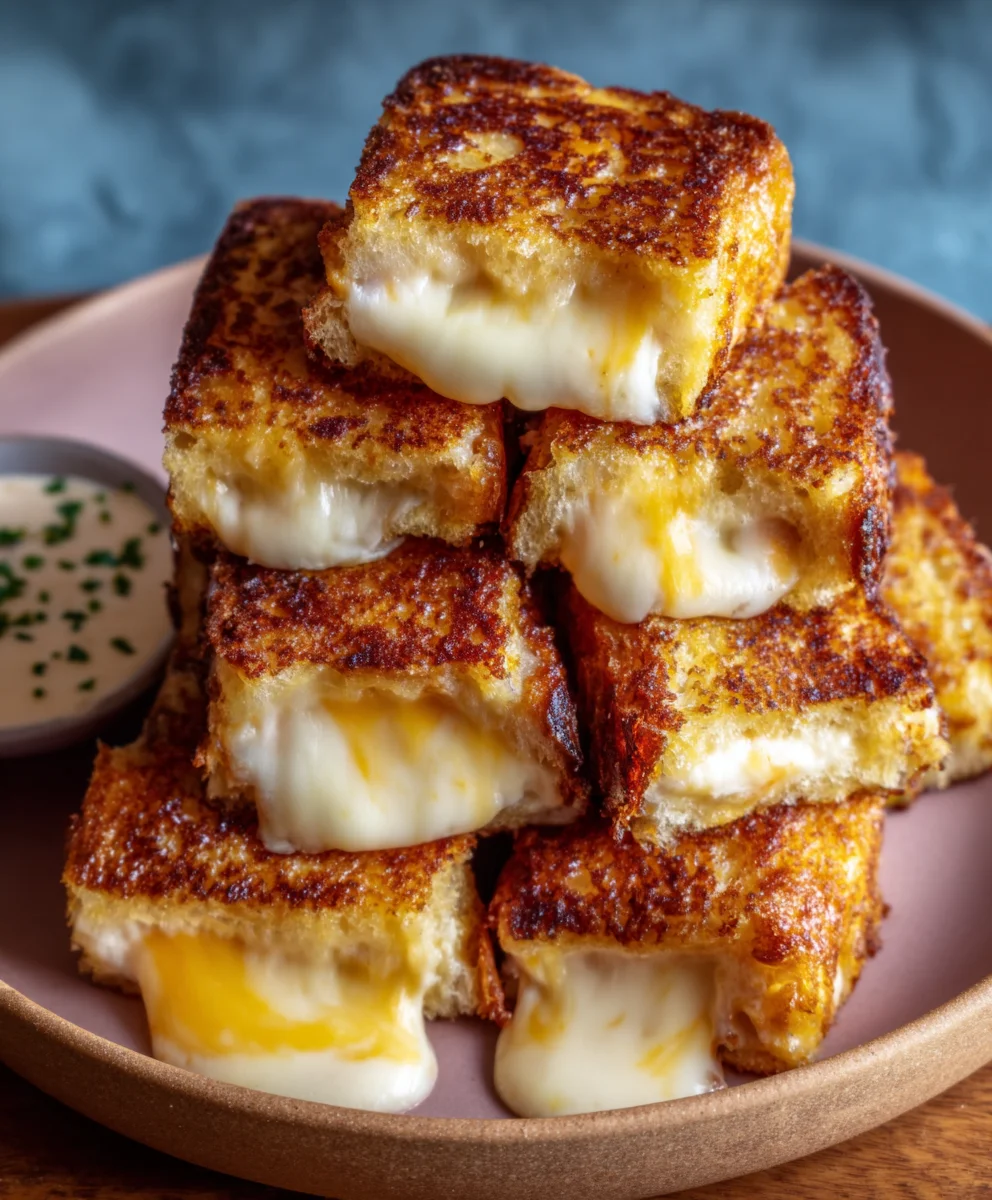
Hawaiian Roll Grilled Cheese Recipe-Easy Lunch Favorite
Hawaiian Roll Grilled Cheese is more than just a sandwich; it’s a miniature explosion of sweet, savory, and buttery perfection that instantly transports you to a state of pure comfort. Who doesn’t adore the irresistible combination of warm, gooey cheese nestled between two perfectly toasted, slightly sweet rolls? This isn’t your average weeknight meal; it’s a delightful twist on a classic, elevated by the unique texture and subtle sweetness of Hawaiian rolls. What truly sets this Hawaiian Roll Grilled Cheese apart is the magical alchemy that happens when the sweet dough caramelizes slightly on the griddle, creating a delicate crisp exterior that complements the molten cheese within. It’s the perfect bite-sized indulgence, ideal for a quick lunch, a fun appetizer, or even a surprisingly satisfying breakfast. Get ready to fall in love with this charming and utterly delicious creation.
Ingredients:
- 4 Hawaiian rolls
- 1 cup shredded Monterey Jack cheese
- 2 tablespoons unsalted butter
- Optional: Sliced tomatoes or crispy beef beef bacon
Preparing Your Hawaiian Roll Grilled Cheese
Step 1: Slice and Prep the Rolls
The first step to creating your delightful Hawaiian Roll Grilled Cheese is to prepare the rolls. Take your four sweet and soft Hawaiian rolls and slice them horizontally, just as you would a regular sandwich bun. Aim for a clean cut that divides each roll into a top half and a bottom half. For the best results and to ensure even cooking, try to keep the halves as uniform as possible. You’ll be placing the cheese on the bottom half of each roll, so set those aside for now. If you’re opting for the optional additions, this is also a good time to have your sliced tomatoes or crispy beef baconbacon ready to go. Ensure your tomatoes are sliced thinly for optimal melting and flavor integration,beef baconyour bacon is cooked to a crisp so it adds a delightful textural contrast to the soft roll and gooey cheese.
Step 2: Buttering for Golden Perfection
Now it’s time to get our rolls ready for the grill. Take your two tablespoons of unsalted butter and make sure it’s softened slightly, which will make it easier to spread. Generously spread the butter evenly over the cut sides of all eight roll halves – the bottom halves where the cheese will go, and the top halves that will form the lid. Don’t be shy with the butter; it’s crucial for achieving that beautiful golden-brown, crispy exterior that makes a grilled cheese so irresistible. This butter layer will also act as a barrier, preventing the rolls from becoming soggy during the cooking process and helping them achieve a lovely toasted finish.
Step 3: Building the Cheese Foundation
With our rolls buttered and ready, we can start assembling the heart of our Hawaiian Roll Grilled Cheese: the cheese! Take the bottom halves of your buttered rolls and evenly distribute the one cup of shredded Monterey Jack cheese over them. Ensure the cheese is spread relatively evenly across the surface of each roll bottom. Monterey Jack cheese is a fantastic choice here because it melts beautifully, creating that signature gooey, stringy texture we all love in a grilled cheese. If you’re adding sliced tomatoes, you can place a thin layer on top of the cheese at this stage. If you’re using tbeef baconispy beef bacon, arrange a few pieces on top of the cheese or tomatoes. The goal is to have a substantial, yet not overwhelming, layer of cheese that will melt into a delicious gooey filling.
Step 4: The Grilling Process – Low and Slow is Key
This is where the magic happens. You’ll need a non-stick skillet or griddle. Place the assembled bottom halves of your rolls (cheese-side up) into the skillet over medium-low heat. This lower heat is critical; it allows the cheese to melt thoroughly and the rolls to toast to a perfect golden-brown without burning. If the heat is too high, you risk the outside becoming burnt before the inside is warm and gooey. Let these cook for about 3-5 minutes, or until you start to see the edges of the cheese melting and the bottom of the roll is begin extractning to turn a light golden color. Resist the urge to press down too hard at this stage, as it can squeeze out the delicious melted cheese.
Step 5: Completing the Sandwich and Achieving Melted Bliss
Once the bottom halves have started to toast and the cheegin extractis beginning to melt, it’s time to add the tops. Carefully place the buttered top halves of the Hawaiian rolls onto the cheese-covered bottoms. Now, gently press down on the sandwiches with a spatula. Continue to cook for another 3-5 minutes per side, or until both sides of the Hawaiian roll are beautifully golden-brown and crispy, and the Monterey Jack cheese is fully melted and oozing out delightfully. You may need to adjust the heat slightly as you go to maintain that perfect balance of toasting and melting. If you notice one side browning faster than the other, you can carefully shift the sandwich. The key is patience and gentle heat to ensure every bite is a harmonious blend of sweet, savory, gooey, and crispy. Serve immediately for the ultimate Hawaiian Roll Grilled Cheese experience.
Conclusion:
And there you have it – the ultimate guide to crafting the perfect Hawaiian Roll Grilled Cheese! We’ve walked through every step, from selecting your ideal bread and cheese combination to achieving that golden-brown, perfectly melted masterpiece. This recipe isn’t just about a quick lunch; it’s an invitation to elevate a classic comfort food with a touch of tropical sweetness. Experimenting with different cheeses and additions is highly encouraged, as this simple base is incredibly versatile. We hope you enjoy making and devouring your Hawaiian Roll Grilled Cheese as much as we do. Don’t be afraid to get creative and make it your own! It’s a delightful treat for any time of day.
Frequently Asked Questions:
Can I make Hawaiian Roll Grilled Cheese ahead of time?
While a freshly made grilled cheese is always best for optimal texture and meltiness, you can prepare the sandwich components ahead of time. Assemble the sandwich (but don’t grill it) and store it in the refrigerator. Grill it just before serving for the best results. The Hawaiian rolls are best when warm and slightly toasted.
What are some good cheese pairings for a Hawaiian Roll Grilled Cheese?
The sweetness of Hawaiian rolls pairs wonderfully with a variety of cheeses. Classic choices like sharp cheddar, Monterey Jack, or Gruyere are excellent. For a creamier texture, consider adding some mozzarella or provolone. A mild Gouda also works beautifully, complementing the slight sweetness of the bread without overpowering it. Don’t hesitate to mix and match!
Are there any healthy variations for this recipe?
To make a healthier version of the Hawaiian Roll Grilled Cheese, consider using a whole wheat Hawaiian-style roll if available. Opt for leaner cheeses like low-fat cheddar or Swiss. You can also add in some healthy fillings like spinach, sliced tomatoes, or lean beef ham. Grilling with a minimal amount of butter or using a cooking spray can also reduce fat content.
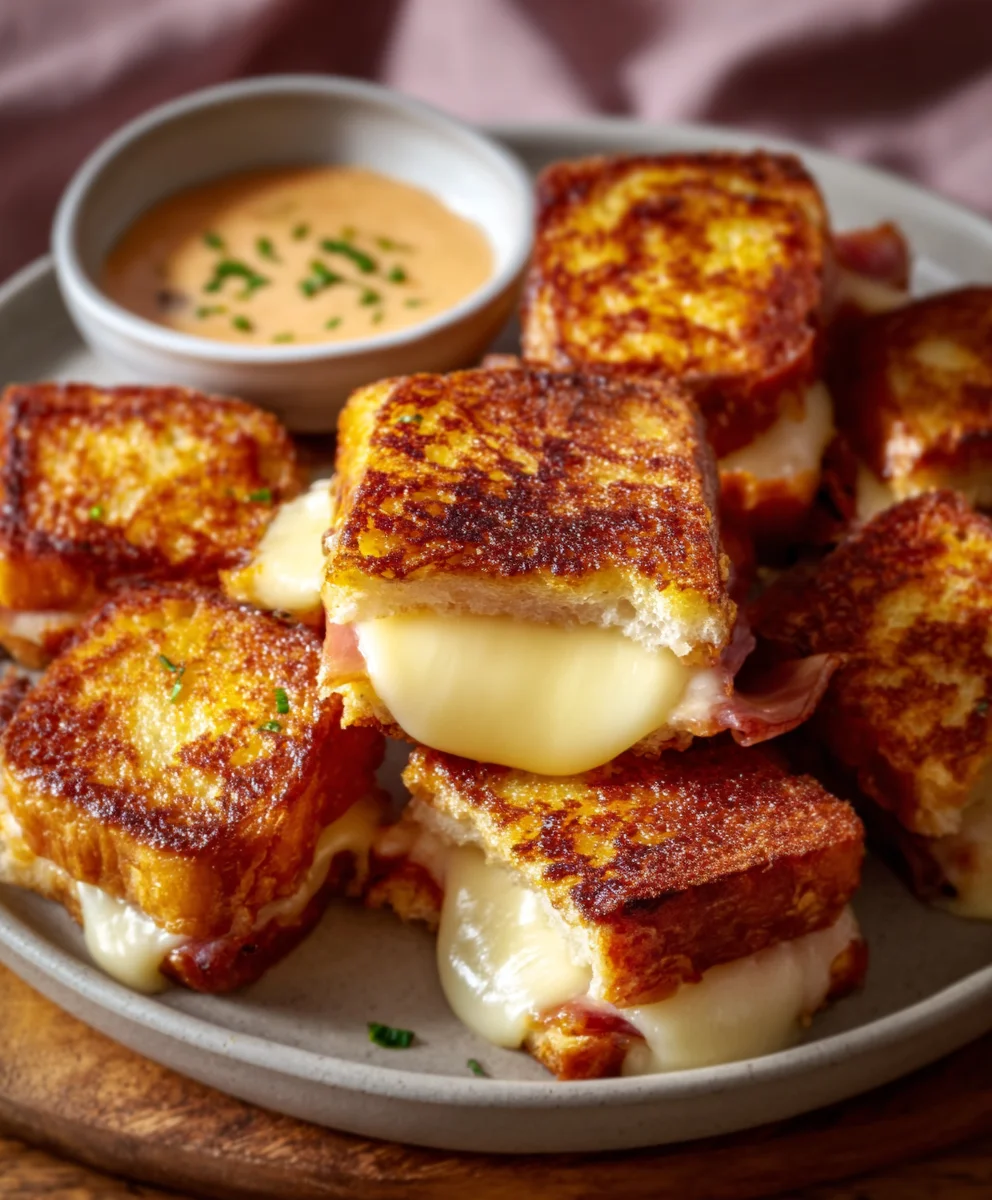
Hawaiian Roll Grilled Cheese
An easy and favorite lunch recipe featuring sweet Hawaiian rolls filled with gooey melted Monterey Jack cheese and a hint of optional savory beef bacon.
Ingredients
-
4 Hawaiian rolls
-
1 cup shredded Monterey Jack cheese
-
2 tablespoons unsalted butter
-
Optional: Sliced tomatoes
-
Optional: Crispy beef bacon
Instructions
-
Step 1
Slice each of the four Hawaiian rolls horizontally into a top and bottom half, similar to a sandwich bun. Set the bottom halves aside for assembling. If using optional ingredients, have sliced tomatoes or crispy beef bacon ready. -
Step 2
Soften 2 tablespoons of unsalted butter. Generously spread the butter evenly over the cut sides of all eight roll halves to ensure a golden-brown, crispy exterior. -
Step 3
Evenly distribute 1 cup of shredded Monterey Jack cheese over the buttered bottom halves of the rolls. If adding, place a thin layer of sliced tomatoes or crispy beef bacon on top of the cheese. -
Step 4
Place the assembled bottom halves (cheese-side up) into a non-stick skillet or griddle over medium-low heat. Cook for 3-5 minutes, or until the cheese edges start to melt and the bottom of the roll begins to turn light golden. -
Step 5
Carefully place the buttered top halves of the rolls onto the cheese-covered bottoms. Gently press down with a spatula and continue to cook for another 3-5 minutes per side, until both sides are golden-brown and crispy, and the cheese is fully melted and oozing.
Important Information
Nutrition Facts (Per Serving)
It is important to consider this information as approximate and not to use it as definitive health advice.
Allergy Information
Please check ingredients for potential allergens and consult a health professional if in doubt.