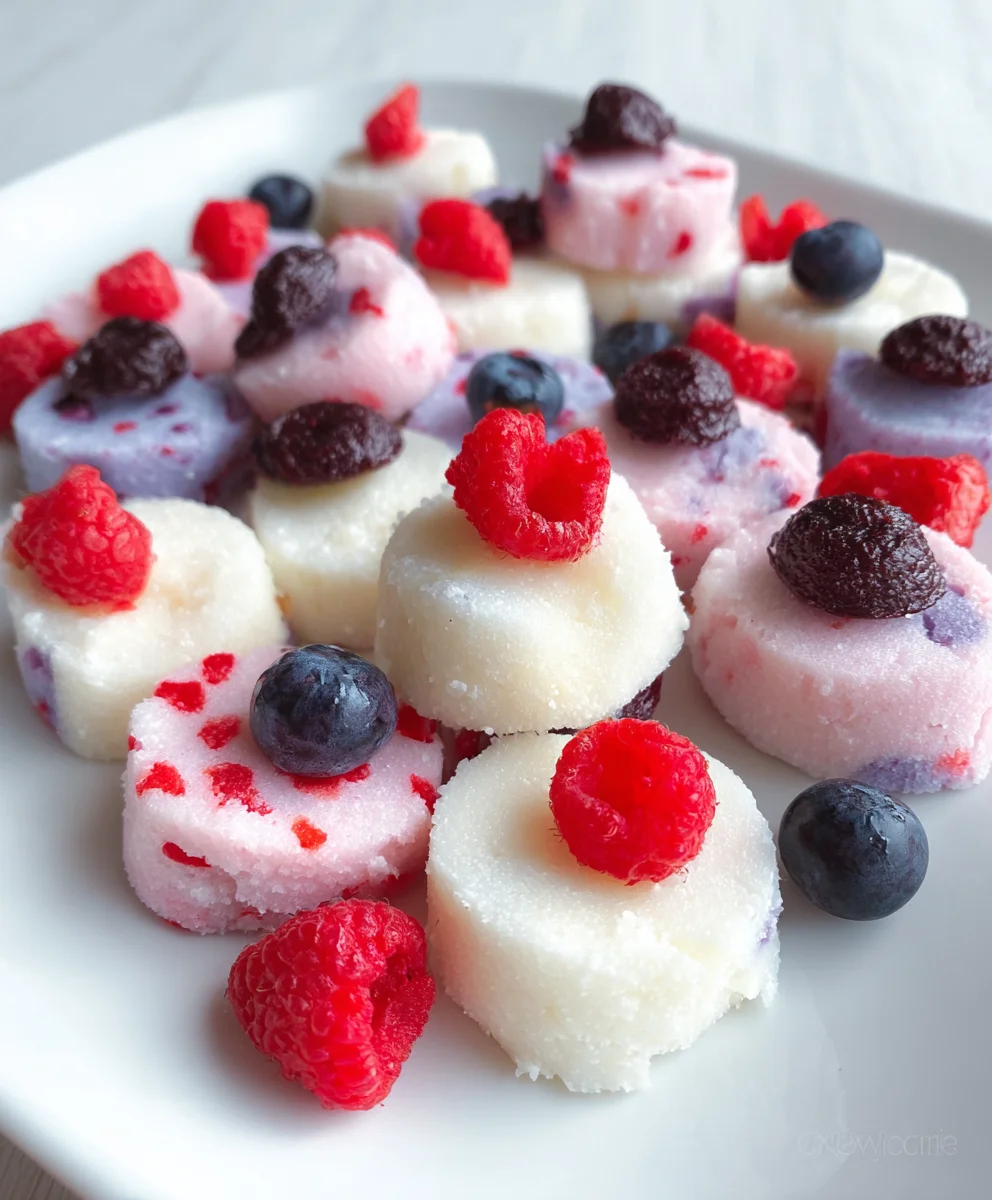
Easy Yogurt Bites Recipe – Quick & Healthy Treat
How To Make Yogurt Bites, those delightfully tangy and creamy little morsels, is an adventure you’ll be eager to embark on, especially when you discover just how simple they are to create! We’ve all been there, reaching for a store-bought snack that’s loaded with sugar and preservatives, wishing for a healthier, more homemade alternative. Well, your wish is granted! People absolutely adore these yogurt bites for their versatility; they’re perfect for a quick breakfast on the go, a satisfying midday pick-me-up, or even a guilt-free dessert. What truly makes them special is the incredible control you have over the flavors and sweetness. Imagin extracte the possibilities: a hint of honey, a swirl of berry puree, or even a sprinkle of chopped nuts. They’re a blank canvas for your culinary creativity, offering a burst of refreshing flavor with every bite, and the process of learning how to make yogurt bites is as rewarding as enjoying the final product.
Ingredients:
- 2 cups full-fat plain Greek yogurt
- 1/4 cup honey or maple syrup (adjust to taste)
- 1 teaspoon vanilla extract
- 1/4 cup fresh berries (such as blueberries, raspberries, or chopped strawberries)
- 1/4 cup chopped nuts (almonds, walnuts, or pecans work well)
- Optional: 2 tablespoons chia seeds or flax seeds for added nutrition
Preparing Your Yogurt Mixture
The first step to making these delightful yogurt bites is to create a wonderfully smooth and flavorful yogurt base. In a medium-sized mixing bowl, combine your 2 cups of full-fat plain Greek yogurt. Using full-fat yogurt is key here; it provides a richer texture and better stability for freezing, ensuring your bites hold their shape. If you prefer a slightly tangier bite, you can certainly use a 2% or even non-fat Greek yogurt, but be aware the texture might be a little softer once frozen.
Next, we’ll introduce sweetness and a touch of warmth with the honey or maple syrup. Add 1/4 cup of your chosen sweetener. Honey will lend a classic sweetness with floral notes, while maple syrup offers a deeper, caramelly flavor. You can adjust the amount of sweetener to your personal preference. If your yogurt is already sweetened, you might want to start with a little less and taste as you go. For those who prefer a less sweet treat, feel free to reduce this amount. Following that, stir in 1 teaspoon of vanilla extract. Vanilla is a fantastic flavor enhancer, bringin extractg out the subtle notes in the yogurt and other ingredients.
Now, it’s time to thoroughly mix everything together. Using a whisk or a spoon, gently but firmly stir the yogurt, sweetener, and vanilla extract until they are completely combined. You want a homogenous mixture with no streaks of sweetener or yogurt visible. This ensures every bite will have a consistent flavor. Don’t overmix, as you don’t want to introduce too much air, which could lead to a less dense, icier texture.
Incorporating Add-ins for Texture and Flavor
With your smooth yogurt base ready, we can move on to adding the delightful components that will give your yogurt bites their satisfying texture and bursts of flavor. Gently fold in your 1/4 cup of fresh berries. If you’re using larger berries like strawberries, chop them into smaller, bite-sized pieces. This makes them easier to eat and ensures they are distributed evenly throughout the mixture. Berries add a wonderful natural sweetness and a lovely tartness that complements the creamy yogurt beautifully. Blueberries are a classic choice, but feel free to experiment with any berries you have on hand.
Next, add your 1/4 cup of chopped nuts. Almonds, walnuts, and pecans are all excellent choices, offering a delightful crunch and a rich, nutty flavor. Chop them to a size that is comfortable to eat within a yogurt bite. The nuts provide a great textural contrast to the smooth yogurt and soft berries. If you’re feeling adventurous and want an extra nutritional boost, now is the perfect time to stir in the optional 2 tablespoons of chia seeds or flax seeds. These tiny powerhouses add fiber and omega-3 fatty acids, and they also help to bind the mixture slightly as it freezes.
Once all your add-ins are in the bowl, gently fold them into the yogurt mixture. You want to distribute them evenly without crushing the berries or breaking down the nuts too much. The goal is to have pockets of fruit and crunch throughout your yogurt bites. Take a moment to taste a small amount of the mixture to ensure the sweetness and flavors are to your liking. This is your last chance to make any adjustments before they freeze.
Freezing and Serving Your Yogurt Bites
Now that your yogurt mixture is perfectly prepared, it’s time to get it ready for freezing. Line a baking sheet with parchment paper or a silicone baking mat. This is crucial for preventing the yogurt bites from sticking to the sheet once frozen, making them easy to remove.
Using a spoon or a small cookie scoop, drop spoonfuls of the yogurt mixture onto the prepared baking sheet. Aim for bite-sized portions, about 1 to 2 tablespoons each. Try to make them as uniform in size as possible so they freeze evenly and are easier to enjoy. Don’t overcrowd the baking sheet; leave a little space between each yogurt bite to ensure they freeze individually and don’t meld together.
Once the baking sheet is filled with your yogurt creations, carefully transfer it to the freezer. Allow the yogurt bites to freeze completely. This typically takes about 2 to 3 hours, depending on the size of your bites and the efficiency of your freezer. You want them to be firm and solid to the touch. Once they are fully frozen, you can transfer them to an airtight container or a freezer-safe bag. This allows you to store them for future enjoyment and frees up your baking sheet for more culinary adventures.
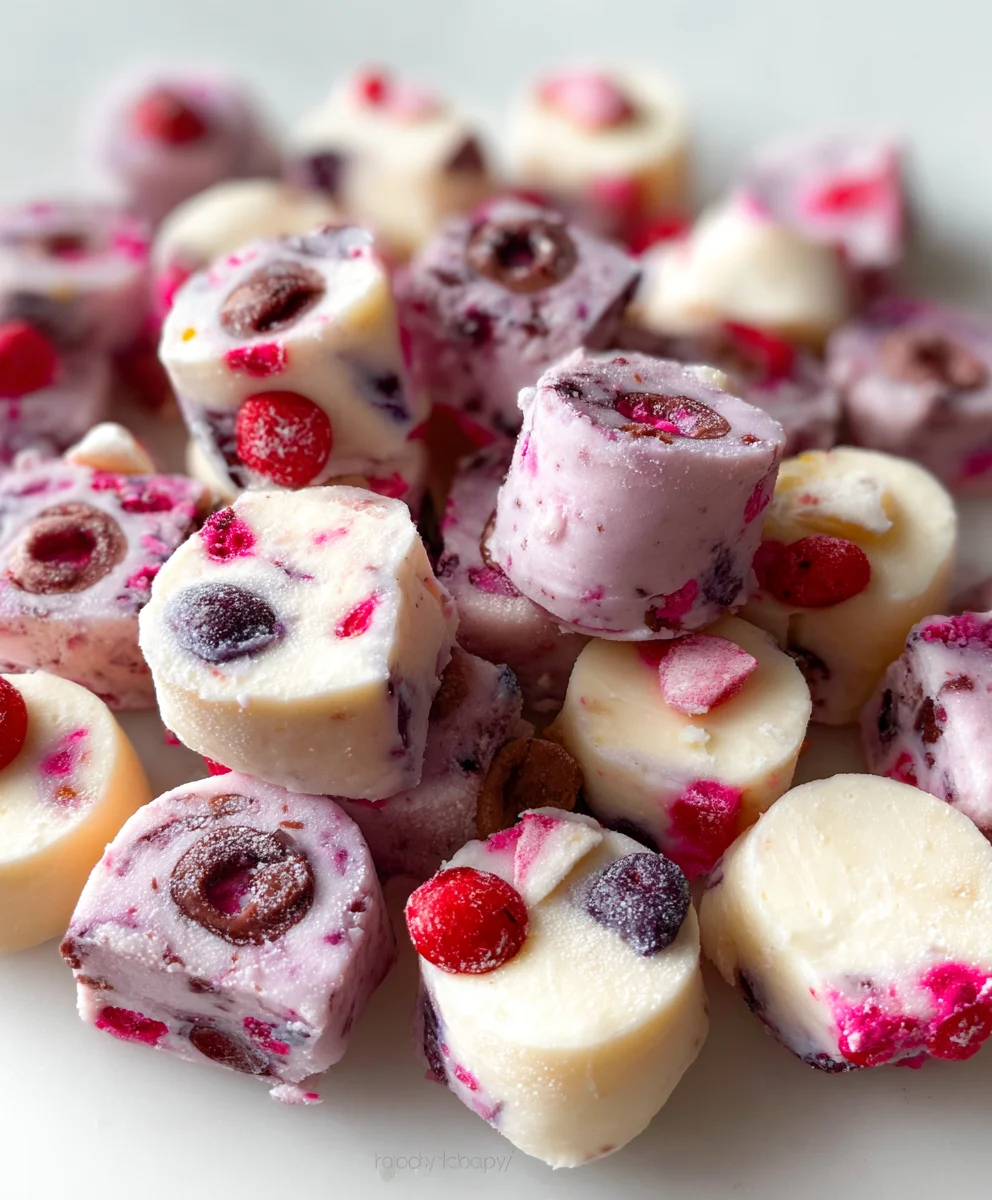
When you’re ready to serve, simply remove the desired number of yogurt bites from the freezer. They are best enjoyed straight from the freezer for that perfectly cool and refreshing treat. These yogurt bites are incredibly versatile. They make a fantastic healthy snack for kids and adults alike, a refreshing addition to breakfast, or even a light dessert on a warm day. Because they are made with simple, wholesome ingredients, you can feel good abogin extractindulging in them anytime.
Conclusion:
And there you have it! You’ve successfully learned How To Make Yogurt Bites that are not only delicious but also incredibly versatile. These delightful little treats are perfect for a quick breakfast, a healthy snack for kids, or even a light dessert. We’ve covered the simple steps to achieve that perfect creamy texture and vibrant color, transforming everyday yogurt into something truly special. Don’t hesitate to get creative with your toppings and flavor combinations – the possibilities are truly endless!
For serving, consider arrangin extractg these beautiful yogurt bites on a platter with fresh berries, a drizzle of honey, or a sprinkle of granola. They also make a wonderful addition to a brunch spread or a packed lunchbox. Remember, the beauty of How To Make Yogurt Bites lies in their adaptability. Feel free to experiment with different types of yogurt (Greek, dairy-free), add a touch of sweetness with maple syrup or agave, or incorporate fruit purees for natural coloring and flavor. We encourage you to dive in, have fun, and enjoy the process of creating these delightful, homemade yogurt bites!
Frequently Asked Questions:
Can I make these yogurt bites ahead of time?
Absolutely! Yogurt bites are excellent for making ahead. Once frozen solid, you can transfer them to an airtight container and store them in the freezer for up to a month. This makes them a convenient grab-and-go snack for busy mornings or after-school treats.
What if I don’t have silicone molds?
If you don’t have silicone molds, you can still make delicious yogurt bites! Line a baking sheet with parchment paper and spoon small dollops of the yogurt mixture onto it. Freeze until firm. While they won’t be perfectly round, they’ll still be just as tasty and easy to enjoy.
Easy Yogurt Bites Recipe – Quick & Healthy Treat
A quick and healthy treat made with Greek yogurt, honey, berries, and nuts. Perfect for a refreshing snack or light dessert.
Ingredients
-
2 cups full-fat plain Greek yogurt
-
1/4 cup honey or maple syrup (adjust to taste)
-
1 teaspoon vanilla extract
-
1/4 cup fresh berries (such as blueberries, raspberries, or chopped strawberries)
-
1/4 cup chopped nuts (almonds, walnuts, or pecans work well)
-
2 tablespoons chia seeds or flax seeds
Instructions
-
Step 1
In a medium-sized mixing bowl, combine 2 cups of full-fat plain Greek yogurt, 1/4 cup of honey or maple syrup, and 1 teaspoon of vanilla extract. Stir until completely combined and smooth. -
Step 2
Gently fold in 1/4 cup of fresh berries (chopped if large) and 1/4 cup of chopped nuts. If using, stir in 2 tablespoons of chia seeds or flax seeds. -
Step 3
Line a baking sheet with parchment paper or a silicone baking mat. -
Step 4
Using a spoon or small cookie scoop, drop spoonfuls of the yogurt mixture onto the prepared baking sheet, about 1 to 2 tablespoons each, leaving space between them. -
Step 5
Carefully transfer the baking sheet to the freezer and freeze for 2 to 3 hours, or until firm and solid. -
Step 6
Once frozen, transfer the yogurt bites to an airtight container or freezer-safe bag for storage.
Important Information
Nutrition Facts (Per Serving)
It is important to consider this information as approximate and not to use it as definitive health advice.
Allergy Information
Please check ingredients for potential allergens and consult a health professional if in doubt.