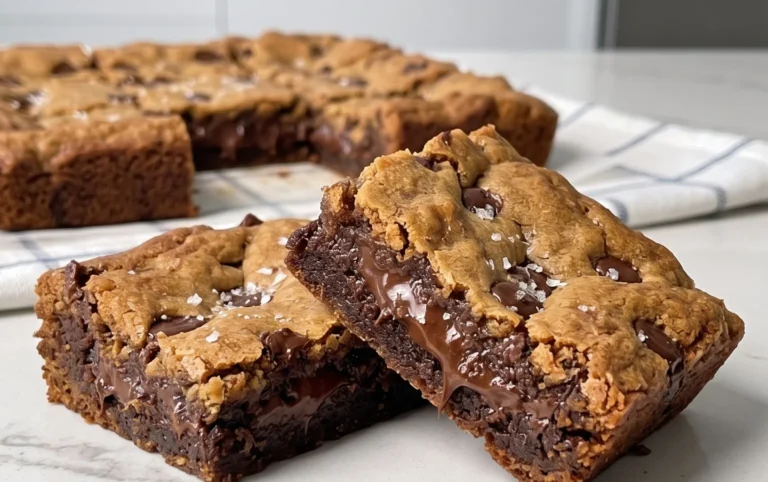
Gooey Chocolate Chip Cookie Bars-Best Easy Recipe
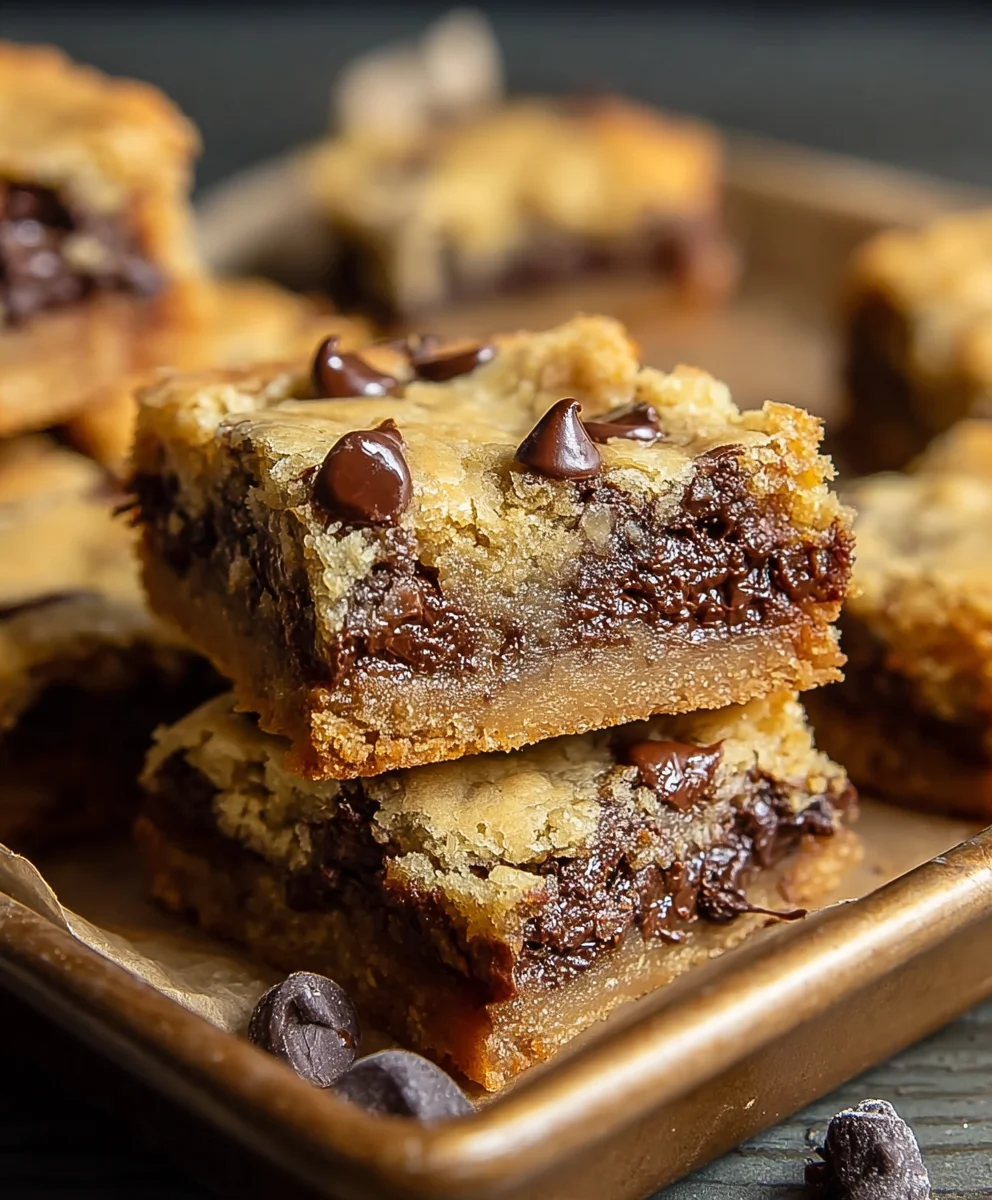
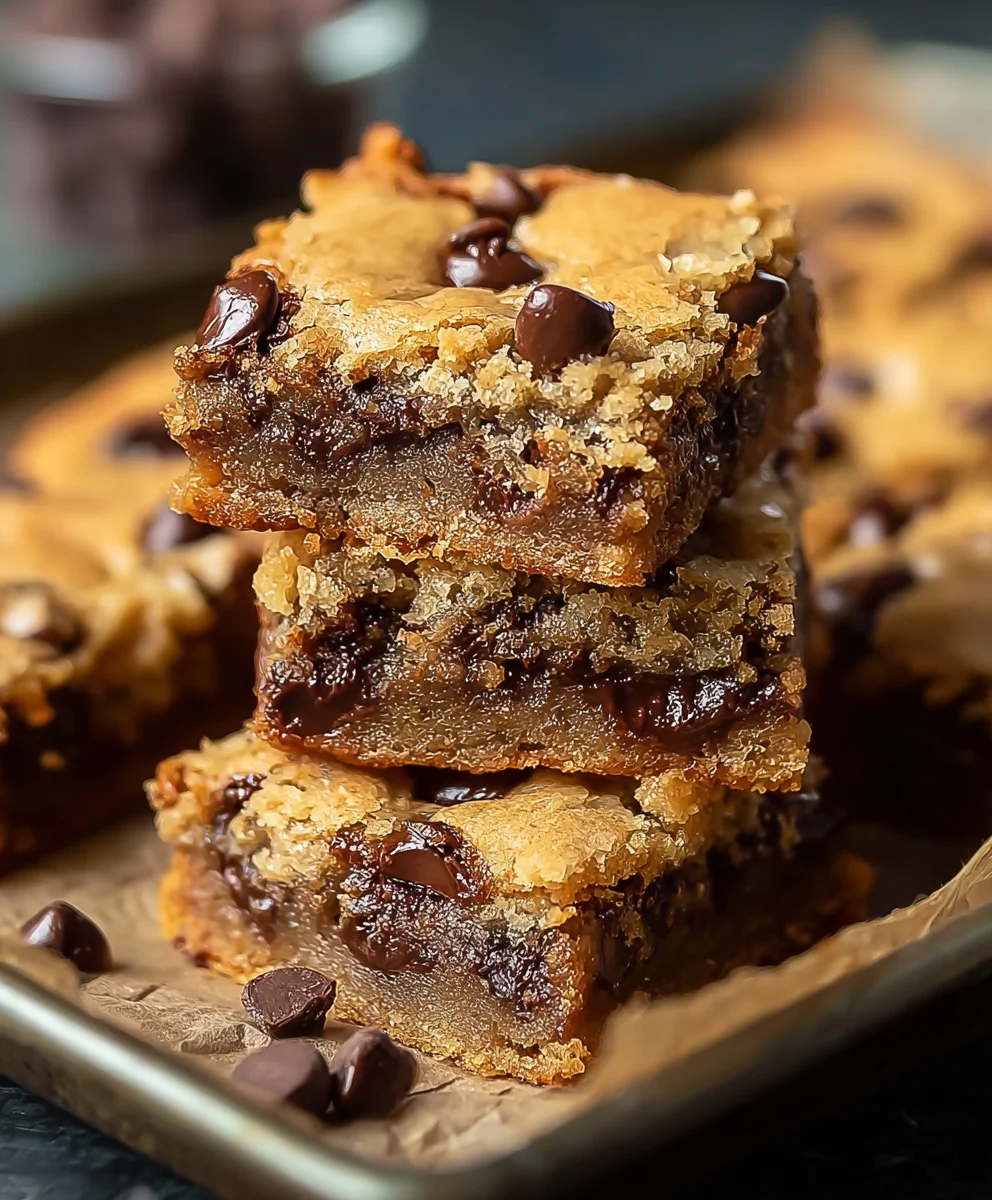
Gooey Chocolate Chip Cookie Bars are the ultimate treat for anyone craving that perfect balance of chewy, buttery cookie and rich, molten chocolate. Imagin extracte biting into a warm, soft square, where the edges offer a delightful slight crisp, giving way to a decadent, intensely chocolatey center that stretches and oozes with every mouthful. It’s no wonder these are a crowd-pleaser; they capture the essence of a classic chocolate chip cookie but elevate it into a more portable, shareable, and frankly, even more irresistible form. What truly sets these Gooey Chocolate Chip Cookie Bars apart is their deceptively simple nature. They require no fancy techniques, just a few pantry staples, yet deliver an experience that rivals any bakery’s finest. We’re talking about pure, unadulterated comfort food that’s perfect for birthdays, potlucks, or simply when that sweet craving strikes hard. Get ready to fall in love.
Ingredients:
- 1 1/2 cups all-purpose flour
- 1/2 teaspoon baking soda
- 1/4 teaspoon baking powder
- 1/2 teaspoon sea salt
- 1/2 cup butter, softened
- 1/2 cup granulated sugar
- 1/2 cup light brown sugar, packed
- 1 large egg
- 1 1/2 teaspoon vanilla extract
- 1 cup chocolate chips (half of a 12 oz bag)
Getting Started: Prepping Your Pan and Oven
Before we dive into mixing our delicious Gooey Chocolate Chip Cookie Bars, it’s essential to get our baking environment ready. This ensures everything bakes evenly and prevents any sticking mishaps. Preheat your oven to 350 degrees Fahrenheit (175 degrees Celsius). This moderate temperature is perfect for achieving that sought-after chewy texture without burning the edges. Next, prepare your baking pan. A standard 8×8 inch square baking pan is ideal for this recipe. To make removing the finished bars a breeze and to guarantee a clean release, I recommend lining the pan with parchment paper. Leave a slight overhang on two opposite sides of the pan; these will act as handy “handles” to lift the entire block of cookie bars out once they’ve cooled. You can also lightly grease the pan before lining it with parchment paper for extra insurance against sticking, though the parchment alone is usually sufficient.
Mixing the Dry Ingredients
In a medium-sized mixing bowl, we’ll combine all of our dry ingredients. This step is crucial for ensuring that the leavening agents and salt are evenly distributed throughout the dough, which will lead to consistent texture and flavor in every bite. Add the 1 1/2 cups of all-purpose flour, 1/2 teaspoon of baking soda, and 1/4 teaspoon of baking powder. Don’t forget to include the 1/2 teaspoon of sea salt. Sea salt, with its slightly larger crystals, provides a more pronounced flavor burst compared to fine table salt, enhancing the sweetness of the chocolate. Once all these ingredients are in the bowl, use a whisk or a fork to thoroughly combine them. Give it a good stir, making sure there are no pockets of baking soda or powder. Set this bowl aside for now.
Creating the Creamy Base
Now, let’s move on to the wet ingredients and the foundation of our cookie bars. In a larger mixing bowl, or the bowl of your stand mixer fitted with the paddle attachment, combine the softened butter with the sugars. You’ll need 1/2 cup of softened butter, which means it should be yielding to the touch but not melted. Add the 1/2 cup of granulated sugar and the 1/2 cup of light brown sugar, which has been packed firmly into the measuring cup. Cream these ingredients together on medium speed until the mixture is light, fluffy, and pnon-alcoholic ale in color. This process incorporates air into the butter and sugar, which contributes to the cookies’ tender texture and aids in their rise. Be patient here; this can take about 2 to 3 minutes. Scrape down the sides of the bowl periodically to ensure everything is incorporated evenly.
Incorporating the Wet Ingredients and Chocolatey Goodness
Once you have that beautifully creamy butter and sugar mixture, it’s time to add the remaining wet ingredients. Crack in your 1 large egg and measure out 1 1/2 teaspoons of vanilla extract. Vanilla extract is one of those unsung heroes in baking, adding depth and warmth to the overall flavor profile. Add them to the creamed butter and sugar. Beat on medium-low speed until just combined. Be careful not to overmix at this stage, as it can lead to tougher cookie bars. Now, with the mixer on its lowest speed, gradually add the dry ingredients from the bowl we prepared earlier. Mix until just combined and no streaks of flour remain. Overmixing at this point can develop the gluten in the flour too much, resulting in chewy but potentially tough bars. The dough will be thick and somewhat sticky. Finally, gently fold in the 1 cup of chocolate chips. I like to reserve a few to press into the top before baking for extra visual appeal and immediate chocolate gratification. Ensure the chips are evenly distributed throughout the dough.
Baking and Achieving that Gooey Perfection
Spread the cookie dough evenly into the prepared 8×8 inch baking pan. Use a spatula or the back of a spoon to smooth the top, ensuring it’s as level as possible. If you reserved some chocolate chips, now is the perfect time to sprinkle them on top and gently press them into the dough. Place the pan in your preheated oven. Bake for 25 to 30 minutes, or until the edges are golden brown and the center looks set but still slightly soft. It’s crucial not to overbake these bars if you desire that signature gooey center. The bars will continue to set as they cool. A good indicator that they’re done is when the edges are firm and lightly golden, but the very center might still appear a little underbaked. This is precisely what we’re aiming for to achieve that delightful gooey texture.
Cooling and Cutting for Ultimate Enjoyment
This is arguably the hardest part: waiting for your Gooey Chocolate Chip Cookie Bars to cool! Once they come out of the oven, resist the urge to cut into them immediately. Let the pan cool on a wire rack for at least 15 to 20 minutes. This allows the bars to firm up enough to be handled without falling apart. For the best results and easier cutting, let them cool completely in the pan. Once fully cooled, use the parchment paper overhangs to carefully lift the entire slab of cookie bars out of the pan and onto a clean cutting board. Now, using a sharp knife, cut them into your desired bar size. Squares are traditional, but rectangles work just as well. Wipe the knife clean between cuts if necessary to ensure neat edges. These Gooey Chocolate Chip Cookie Bars are best enjoyed at room temperature, where their gooeyness is most apparent.
Conclusion:
There you have it – the ultimate guide to creating undeniably delicious Gooey Chocolate Chip Cookie Bars! We’ve walked through each step, from creaming the butter and sugar to achieving that perfect gooey center that makes these bars so irresistible. The aroma that fills your kitchen as they bake is just the begin extractning of the joy these Gooey Chocolate Chip Cookie Bars will bring.
These bars are incredibly versatile. Serve them warm, right out of the oven, with a scoop of vanilla ice cream for a truly decadent dessert. They also hold up beautifully for picnics or potlucks, making them a crowd-pleaser any time of year. For a little twist, consider adding a handful of chopped nuts like walnuts or pecans, or even a sprinkle of sea salt on top before baking to enhance the chocolatey goodness.
I truly encourage you to give this recipe a try. Don’t be intimidated by the simplicity; the results speak for themselves. You’ll find yourself making these Gooey Chocolate Chip Cookie Bars again and again. Get ready for rave reviews!
Frequently Asked Questions:
Q1: How do I ensure my Gooey Chocolate Chip Cookie Bars are truly gooey and not cakey?
To achieve the perfect gooey texture, it’s crucial not to overmix the dough once the flour is added. Mix just until combined. Also, avoid overbaking. The edges should be golden brown, but the center should still look slightly underbaked. They will continue to set as they cool.
Q2: Can I make Gooey Chocolate Chip Cookie Bars ahead of time?
Yes, absolutely! Once cooled completely, Gooey Chocolate Chip Cookie Bars can be stored in an airtight container at room temperature for up to 3-4 days. For longer storage, you can freeze them, either whole or cut into individual bars, for up to 2-3 months. Thaw at room temperature before enjoying.
Gooey Chocolate Chip Cookie Bars-Best Easy Recipe
Easy recipe for incredibly gooey and delicious chocolate chip cookie bars with a soft, chewy texture.
Ingredients
-
1 1/2 cups all-purpose flour
-
1/2 teaspoon baking soda
-
1/4 teaspoon baking powder
-
1/2 teaspoon sea salt
-
1/2 cup butter, softened
-
1/2 cup granulated sugar
-
1/2 cup light brown sugar, packed
-
1 large egg
-
1 1/2 teaspoon vanilla extract
-
1 cup chocolate chips
Instructions
-
Step 1
Preheat oven to 350 degrees Fahrenheit (175 degrees Celsius). Line an 8×8 inch square baking pan with parchment paper, leaving an overhang on two opposite sides. -
Step 2
In a medium bowl, whisk together all-purpose flour, baking soda, baking powder, and sea salt. Set aside. -
Step 3
In a larger bowl, cream together softened butter, granulated sugar, and packed light brown sugar until light and fluffy (about 2-3 minutes). -
Step 4
Beat in the large egg and vanilla extract until just combined. Gradually add the dry ingredients to the wet ingredients, mixing on low speed until just combined. Do not overmix. -
Step 5
Gently fold in the chocolate chips. Spread the dough evenly into the prepared pan and sprinkle with reserved chocolate chips if desired. -
Step 6
Bake for 25-30 minutes, or until edges are golden brown and the center looks set but slightly soft. The bars will continue to set as they cool. -
Step 7
Let the pan cool on a wire rack for at least 15-20 minutes. Once cooled completely, use the parchment paper overhangs to lift the cookie slab from the pan. Cut into bars and enjoy.
Important Information
Nutrition Facts (Per Serving)
It is important to consider this information as approximate and not to use it as definitive health advice.
Allergy Information
Please check ingredients for potential allergens and consult a health professional if in doubt.