Renee Paj Recipe-Delicious French Dessert To Make
Renee Paj. There’s a reason this incredible dish holds a special place in so many hearts and kitchens. It’s more than just a meal; it’s a comforting embrace, a whispered secret passed down through generations, and a true testament to simple ingredients transformed into something utterly magical. What is it about Renee Paj that makes us crave it, remember it, and return to it time and time again? Perhaps it’s the harmonious blend of tender, savory goodness that melts in your mouth, or the subtle hints of spice that awaken the palate without overpowering. It’s the way it brings people together, creating shared moments and cherished memories around the dinner table. This isn’t just food; it’s an experience. Get ready to discover the secrets behind this beloved Renee Paj and learn how to recreate its irresistible charm in your own home.
Renee Paj: A Comforting Classic for Any Occasion
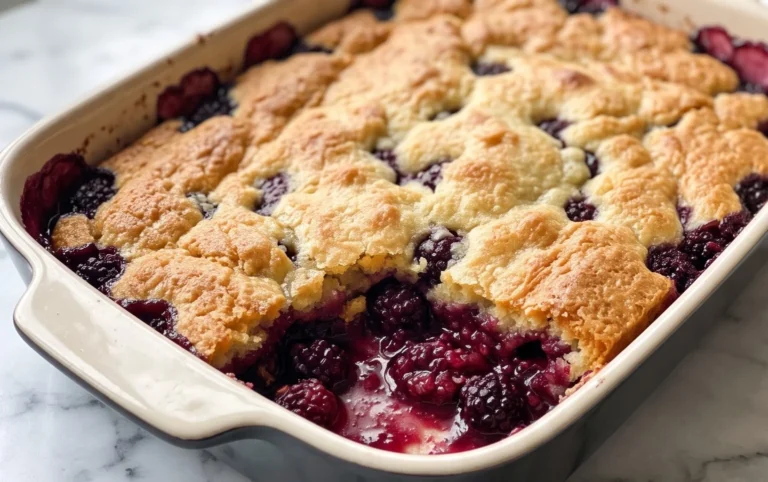
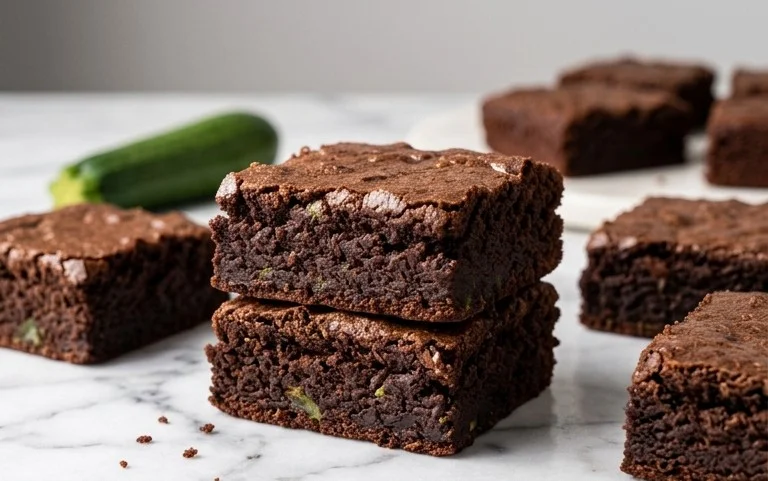
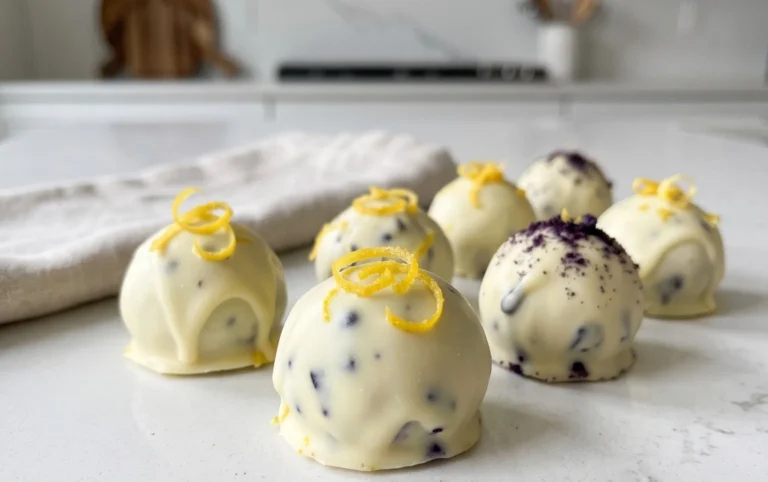
There’s something incredibly heartwarming about a simple, homemade treat, and the Renee Paj is a perfect example. This recipe, passed down through generations (or perhaps just discovered on a particularly inspired Tuesday), offers a delightful balance of sweet, comforting flavors. It’s the kind of dessert that feels special enough for guests but is also perfectly suited for a quiet evening with a cup of tea. The texture is wonderfully soft and moist, with a hint of chegrape juicess from the oats, making each bite a little moment of pure bliss. It’s surprisingly easy to put together, proving that deliciousness doesn’t always require a complicated process. Let’s dive in and create some baking magic!
Ingredients:
Getting Started: Preparing Your Ingredients
Before we even think about preheating the oven, it’s crucial to have all our ingredients prepped and ready. This makes the actual baking process so much smoother and less stressful. First, make sure your bananas are truly ripe – I’m talking about those bananas that have a good amount of brown spots, almost entirely brown. The riper the banana, the sweeter and more flavorful your Renee Paj will be, and it will also contribute to that lovely moist texture. Cut them into manageable chunks, about an inch or so, as we’ll be mashing them later. Measure out all your dry ingredients: the oats, flour, packed light brown sugar, kosher salt, baking soda, baking powder, and ground cinnamon. It’s a good habit to whisk these together in a bowl before you start combining wet ingredients. This ensures everything is evenly distributed, preventing any pockets of salt or baking soda. If you’re using walnuts, give them a rough chop; this will distribute their delightful crunch throughout the paj.
Step-by-Step Baking Instructions
Now that we’ve got our mise en place sorted, let’s get to the fun part: transforming these simple ingredients into a delicious Renee Paj!
1. Mash Those Bananas: In a large mixing bowl, add your chopped ripe bananas. Using a fork or a potato masher, mash the bananas until they are mostly smooth with just a few small lumps remaining. Don’t over-mash them into a completely liquid state; those little banana pieces add a wonderful texture. Once mashed, stir in the 2 large eggs, the 1 teaspoon of pure vanilla extract, and the 3 tablespoons of cooking oil. Whisk everything together until it’s well combined. This wet ingredient mixture is the foundation of our moist and flavorful paj.
2. Combine the Dry Ingredients: In a separate medium-sized bowl, whisk together the 1 cup of old-fashioned oats, 1 1/4 cups of all-purpose flour, 1/2 cup of light brown sugar (make sure it’s packed for accurate measurement), 1/2 teaspoon of kosher salt, 1/2 teaspoon of baking soda, 1/4 teaspoon of baking powder, and 1/2 teaspoon of ground cinnamon. Whisking these together thoroughly ensures that the leavening agents (baking soda and baking powder) are evenly distributed, which is key for a good rise, and that the spices and salt are incorporated throughout the batter.
3. Marrying Wet and Dry: Now, it’s time to bring our wet and dry ingredients together. Gradually add the dry ingredient mixture to the wet ingredient mixture. Using a spatula or a wooden spoon, gently fold the ingredients together until just combined. Be careful not to overmix! Overmixing can develop the gluten in the flour too much, resulting in a tougher paj. A few streaks of flour are perfectly fine at this stage; they will disappear as you continue to fold.
4. Folding in the Extras: If you’re using the chopped walnuts, this is the stage to gently fold them into the batter. Distribute them evenly throughout the mixture. This is also where you can give the batter one final, gentle stir to ensure everything is incorporated without overworking it. The batter will be thick and spoonable, not pourable like a cake batter.
5. Baking to Perfection: Preheat your oven to 350 degrees Fahrenheit (175 degrees Celsius). Grease and flour a 9×13 inch baking pan, or a similar-sized baking dish. You can also line it with parchment paper for easier removal. Spoon the batter evenly into the prepared pan, spreading it out with your spatula so that the top is relatively smooth. Place the pan in the preheated oven and bake for 25-35 minutes. The baking time can vary depending on your oven, so start checking around the 25-minute mark. The Renee Paj is ready when a toothpick inserted into the center comes out clean, or with just a few moist crum extractbs attached. The top should be golden brown and fragrant.
Cooling and Enjoying Your Renee Paj
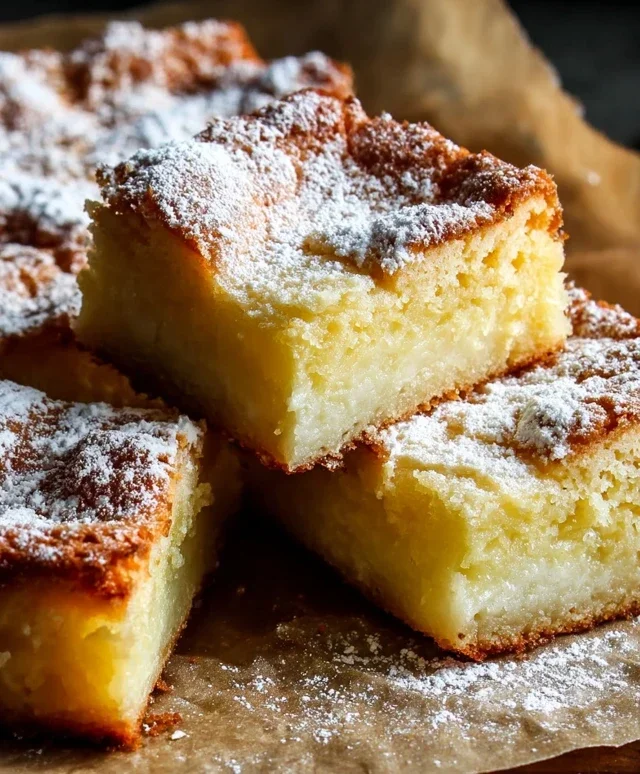
Once your Renee Paj is baked to perfection, remove it from the oven and let it cool in the pan on a wire rack for at least 15-20 minutes before attempting to cut it. This resting period allows the paj to set up properly, making it much easier to slice neatly. If you try to cut it too soon, it might fall apart. Once it has cooled sufficiently, you can cut it into squares or rectangles. It’s absolutely delicious served warm, perhaps with a dollop of whipped cream or a scoop of vanilla ice cream. It also holds up beautifully at room temperature, making it a great option for picnics or packed lunches. Leftovers can be stored in an airtight container at room temperature for a couple of days, or in the refrigerator for longer storage. I find that it’s just as enjoyable, if not more so, the next day as the flavors have had a chance to meld beautifully. Enjoy every comforting bite!
Conclusion:
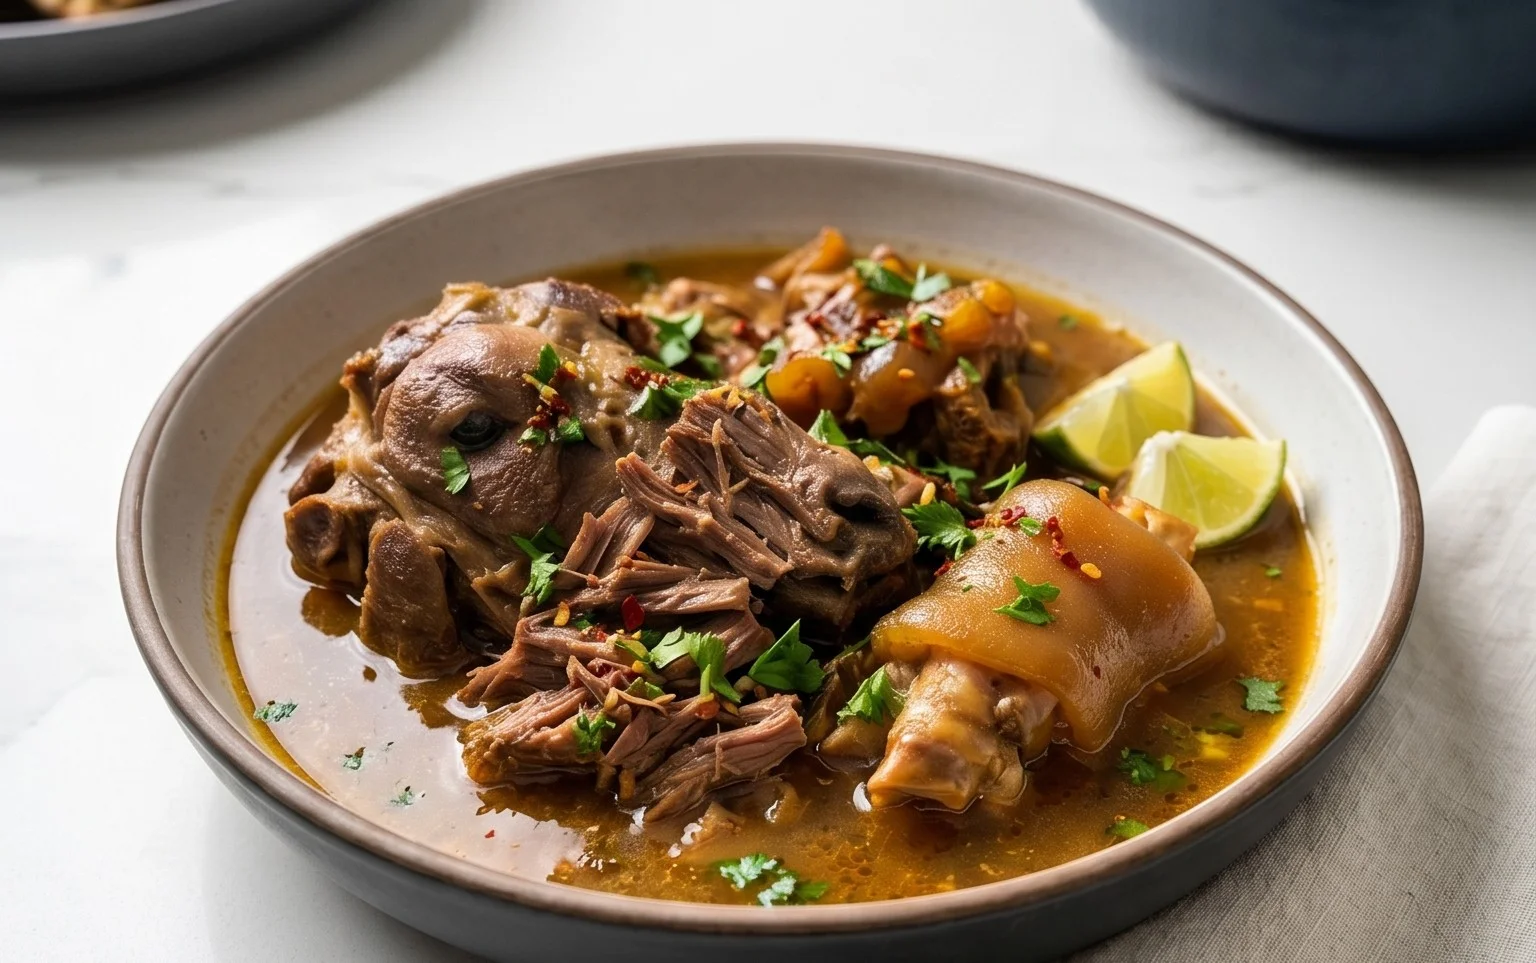
There you have it – the delightful Renee Paj, a recipe that’s sure to become a staple in your kitchen! This dish truly shines with its harmonious blend of savory flavors and satisfying textures. It’s incredibly versatile, making it perfect for a comforting weeknight dinner or an impressive dish to share with guests. The ease of preparation, coupled with the delicious results, is what makes this Renee Paj recipe so special. I wholeheartedly encourage you to give it a try; you won’t be disappointed by how wonderfully it comes together.
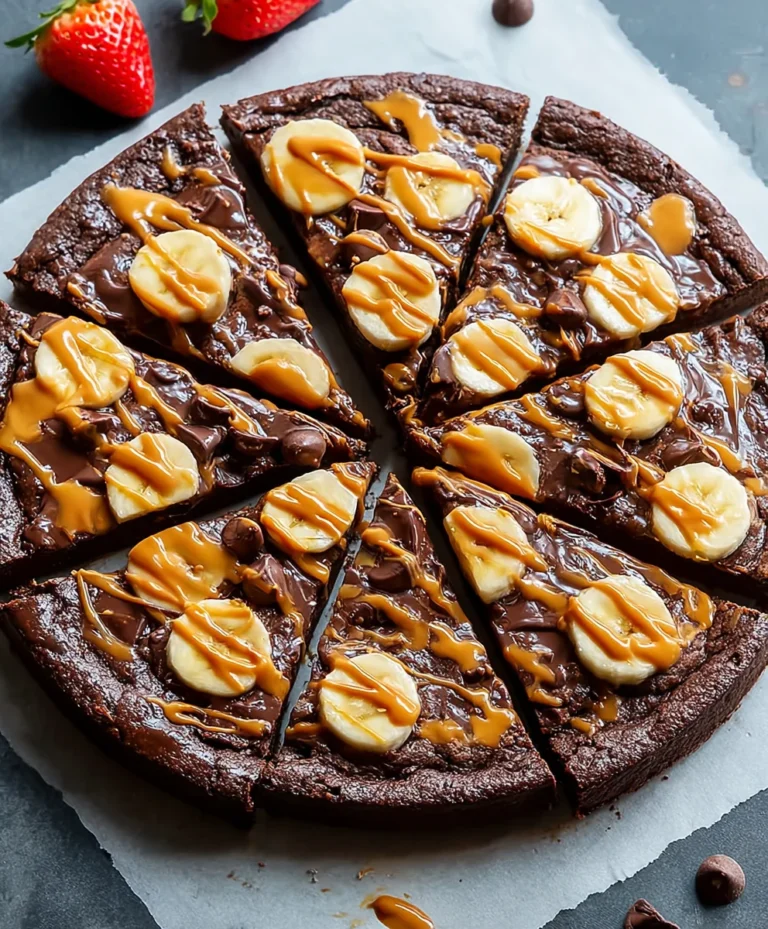
For serving, this Renee Paj is fantastic alongside a crisp green salad, a dollop of sour cream, or even some crusty bread for soaking up all those delicious juices. If you’re looking to mix things up, consider adding a handful of fresh herbs like parsley or chives at the end for an extra burst of freshness, or perhaps some sautéed mushrooms or caramelized onions for an added layer of depth. Don’t be afraid to experiment and make this recipe your own!
Frequently Asked Questions about Renee Paj:
Q: Can I make Renee Paj ahead of time?
A: Absolutely! Renee Paj is an excellent make-ahead dish. You can prepare it up to a day in advance and store it covered in the refrigerator. Reheat it gently on the stovetop or in the oven until warmed through. The flavors often meld beautifully overnight, making it even more delicious.
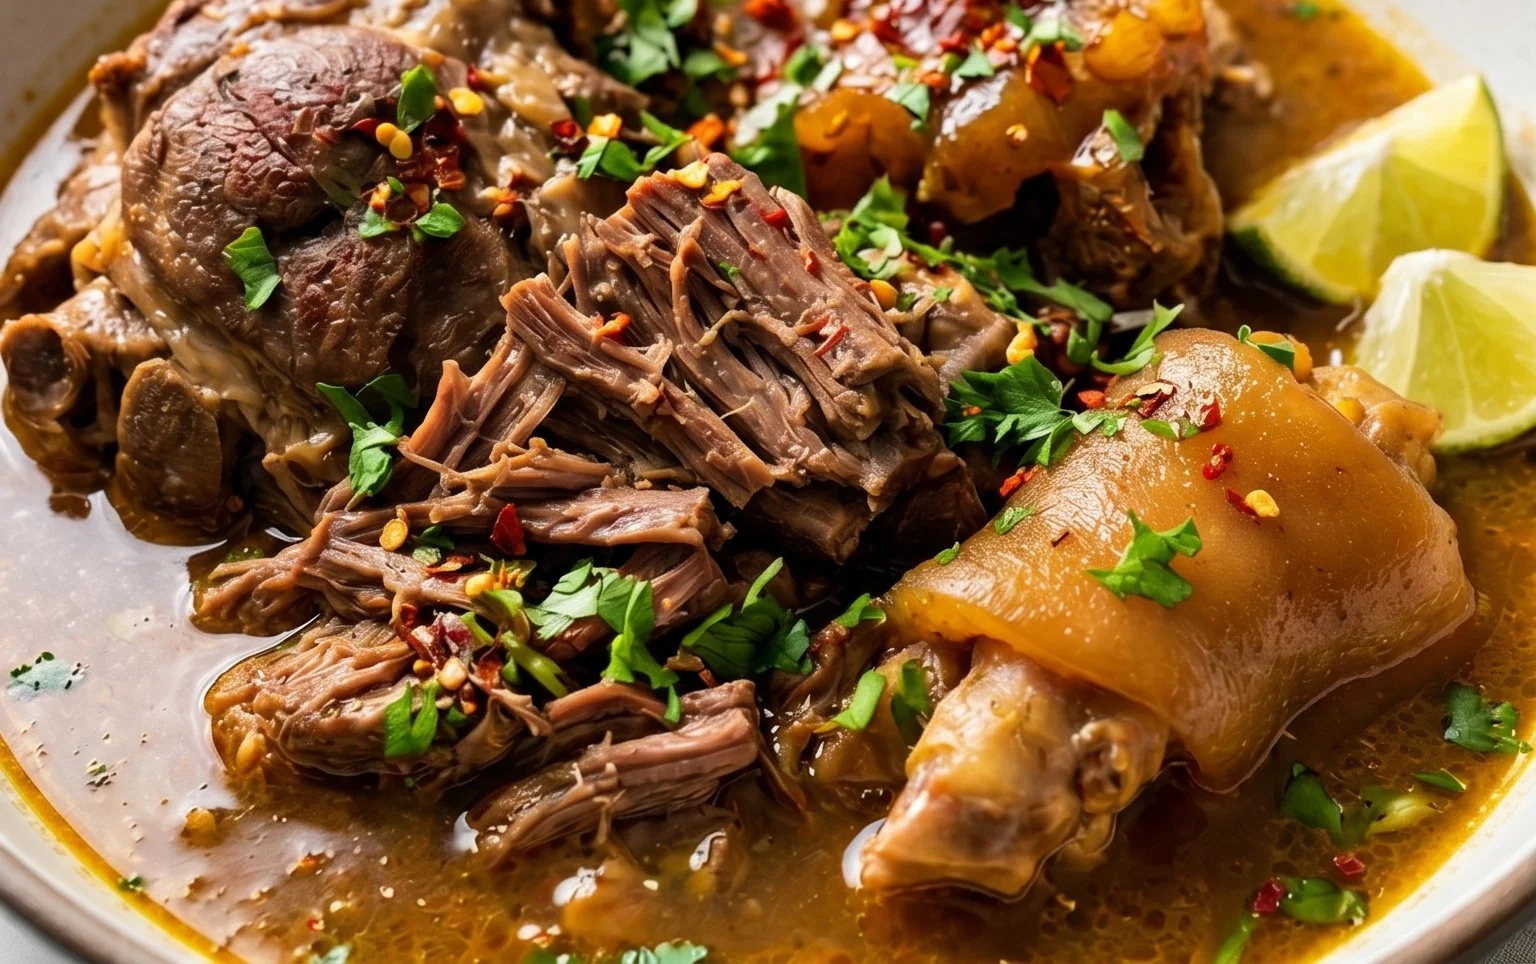
Q: What kind of meat is best for Renee Paj?
A: While the recipe is wonderfully adaptable, I find that using a combination of ground beef and beef yields the most flavorful and tender Renee Paj. However, you can certainly use just ground beef, ground turkey, or even finely chopped chicken if you prefer.
Q: How can I make Renee Paj spicier?
A: To add a kick to your Renee Paj, consider incorporating a pinch of red pepper flakes along with your other spices, or adding a finely diced jalapeño pepper with the onions and garlic during the sautéing stage. A dash of hot sauce stirred in towards the end of cooking also works wonders!
Renee Paj
A delicious and moist banana bread-like pastry, perfect for breakfast or a snack.
Ingredients
-
1 cup old fashioned oats
-
1 1/4 cups all purpose flour
-
1/2 cup light brown sugar, packed
-
1/2 tsp. kosher salt
-
1/2 tsp. baking soda
-
1/4 tsp. baking powder
-
1/2 tsp. ground cinnamon
-
3 large, ripe bananas, cut into chunks
-
2 large eggs
-
1 tsp. pure vanilla extract
-
3 TBSP cooking oil (corn, canola, etc)
-
1/3 cup chopped walnuts (optional)
Instructions
-
Step 1
Preheat oven to 350°F (175°C). Grease and flour a 9×5 inch loaf pan. -
Step 2
In a large bowl, whisk together the all-purpose flour, oats, light brown sugar, kosher salt, baking soda, baking powder, and ground cinnamon. -
Step 3
In a separate medium bowl, mash the ripe bananas. Stir in the eggs and pure vanilla extract until well combined. -
Step 4
Pour the wet ingredients into the dry ingredients and stir until just combined. Do not overmix. Fold in the chopped walnuts, if using. -
Step 5
Pour the batter into the prepared loaf pan and spread evenly. -
Step 6
Bake for 50-60 minutes, or until a wooden skewer inserted into the center comes out clean. -
Step 7
Let cool in the pan for 10 minutes before inverting onto a wire rack to cool completely.
Important Information
Nutrition Facts (Per Serving)
It is important to consider this information as approximate and not to use it as definitive health advice.
Allergy Information
Please check ingredients for potential allergens and consult a health professional if in doubt.